Create a native Android app with MAM SDK
Introduction
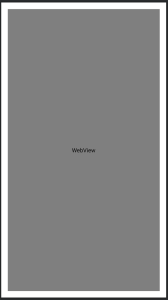
Citrix micro VPN library provides APIs to start secure per-app VPN tunnels and to enable objects for network tunneling. In this page, we describe how to create a native Android app that integrates with the micro VPN library and acts like a simple web browser, as shown in the following image:
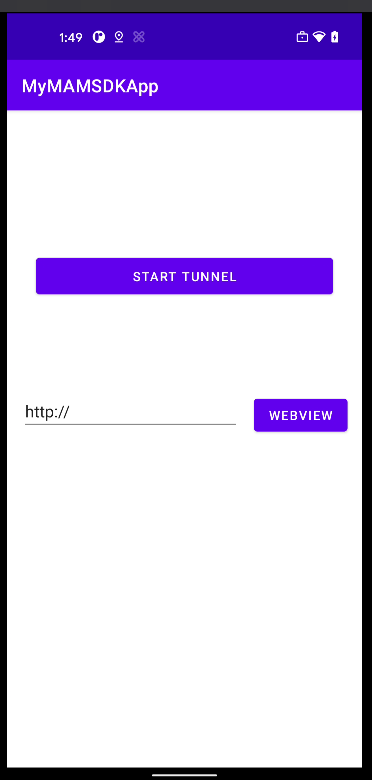
The following features are implemented in the app:
- Start tunnel.
- Enabling a WebView object for tunneling.
If you are looking for the source code of a more fully-fledged sample app, you can download it from GitHub. All the MAM SDKs are included and used in this sample app on GitHub. You can directly launch and verify the functionality of the SDKs and perform similar steps for integration as shown in the sample app.
Pre-requisites
Before you proceed, ensure that you have met the following prerequisites:
- Experience in developing Android mobile apps using Java.
- Access to Citrix Endpoint Management environment to upload .mdx and .apk files and distribute the app.
- Access to an Android Enterprise account to upload .aab or .apk files to Managed Google Play.
-
Access to test micro VPN tunneling with your app through Citrix Gateway.
- Recommended reading:
Software requirements
| Type | Requirements |
|---|---|
| Supported Android versions | Android 10.0 or later. |
| JDK | 8 or 11 |
| IDE | Android Studio 4.2 or later for Mac. |
| Test devices | Android device or Android virtual device. |
| Apps | The latest version of Secure Hub from the Google Play Store. |
| Android SDK | Android SDK or API version 24 or later. |
| Android Gradle plugin | 4.2 or later. |
| Gradle Wrapper | 6.7 or later. |
| MDX Creation | Java KeyStore (.jks or .keystore) for MDX file generation or an APK-signer file. |
Overview
Perform the following steps to build, deploy, and test your MAM SDK integrated Android native app:
- Launch Android Studio and create an empty app.
- Set up the MAM SDK library and build environment of your app.
- Create the UI template of your test app.
- Add the underlying logic to integrate your app with MAM SDK.
- Build your app.
- Distribute your app.
- Test your app.
Create your sample app
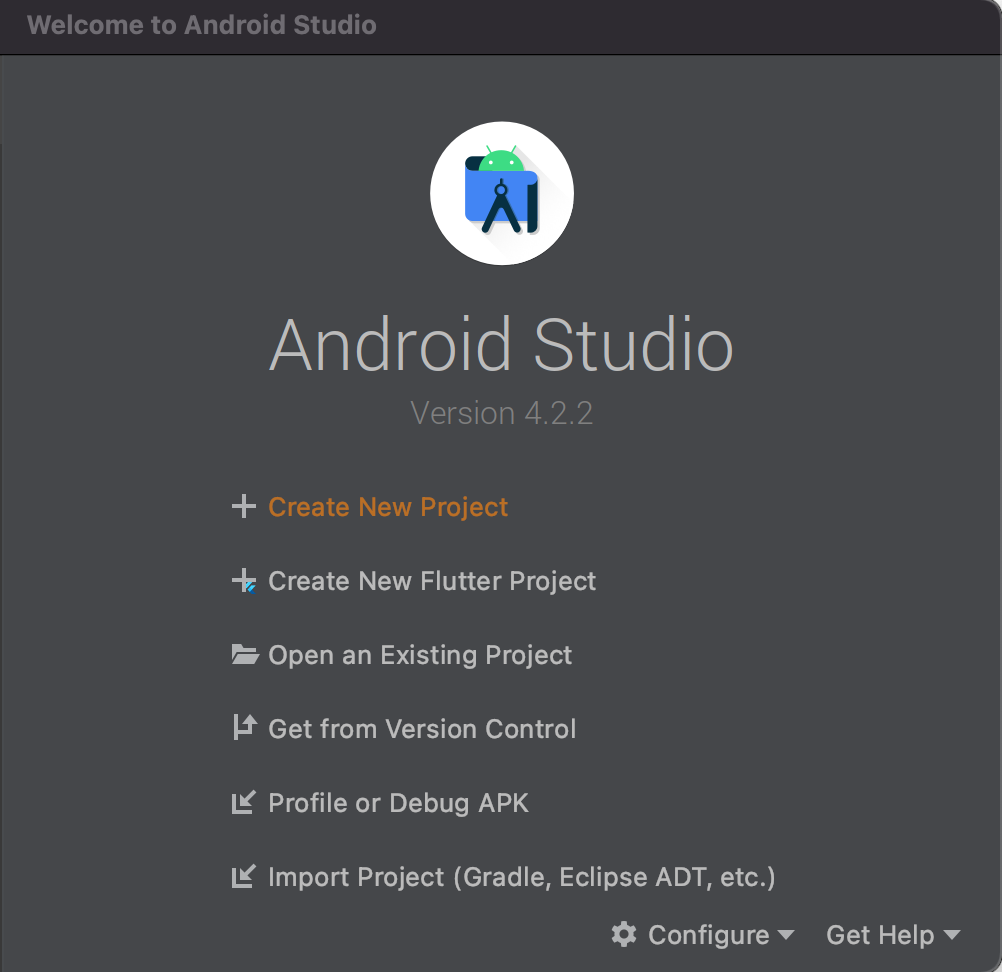
1. Launch Android Studio and create an empty app.
1.1 - Launch Android Studio and click Create New Project.
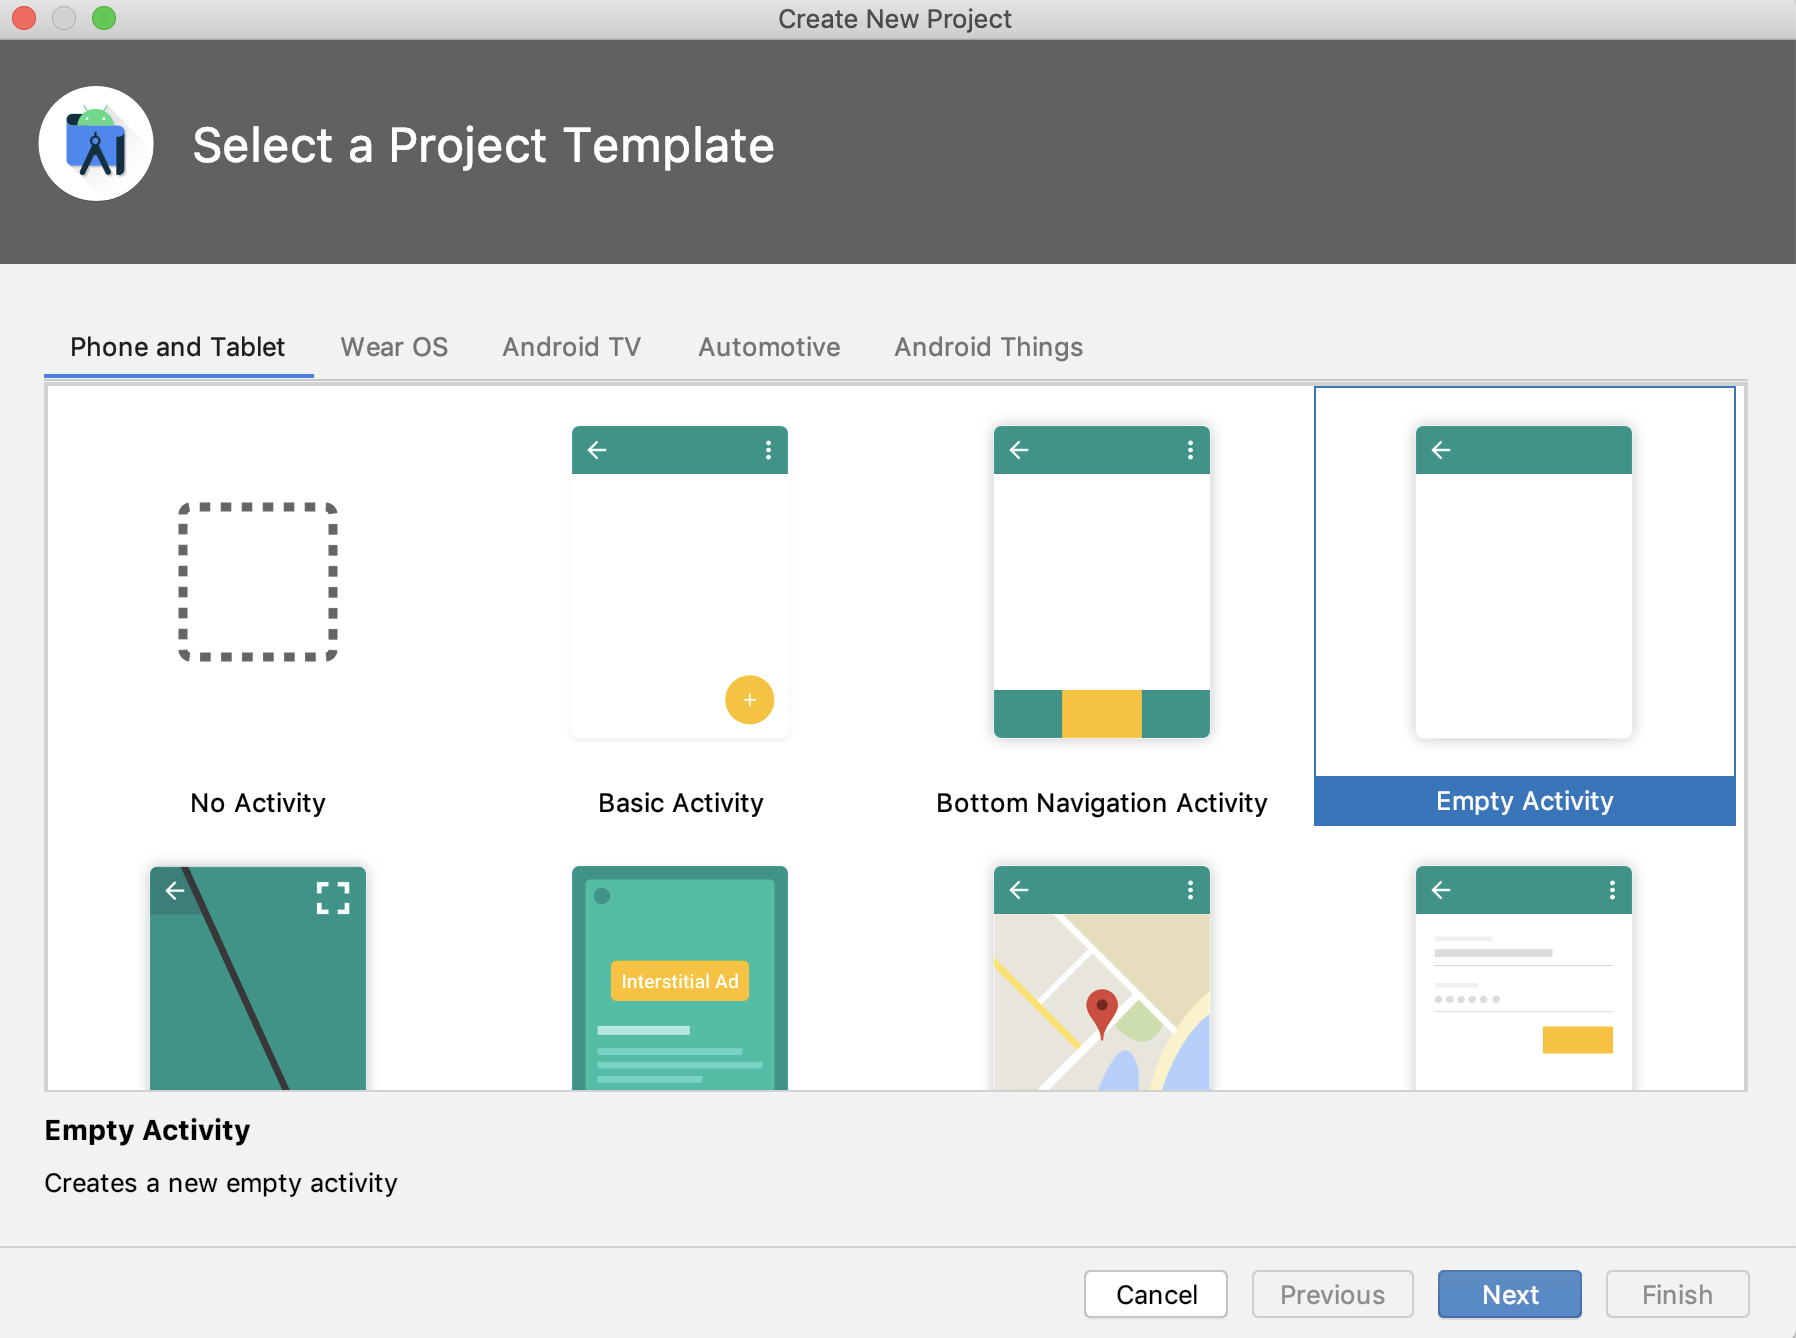
1.2 - Select the project template Empty Activity and click Next.
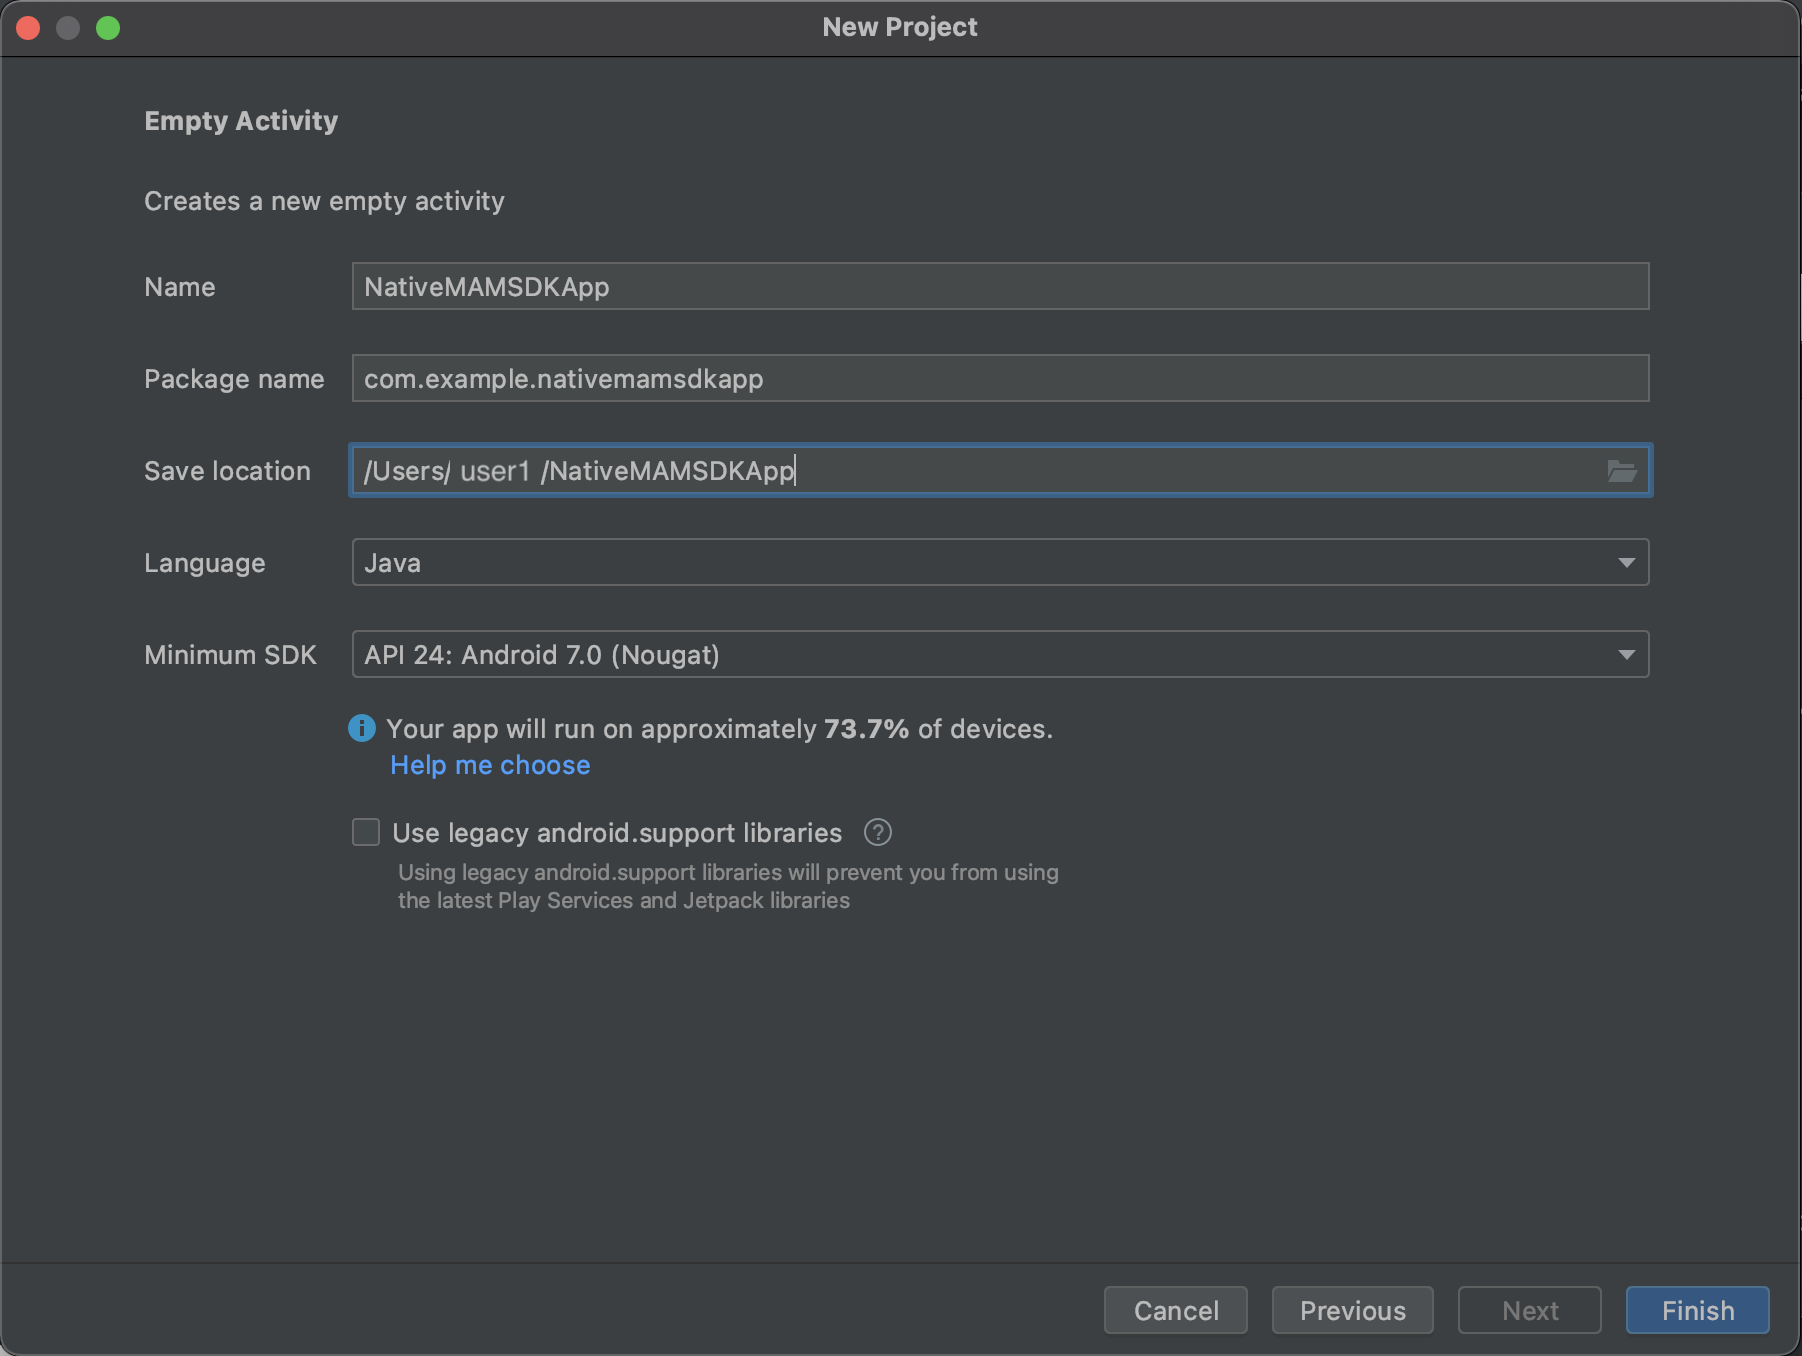
1.3 - Fill in project details.
Give your project a name, package name, and select the Java language. Set the Minimum SDK version, then click Finish.
The project name we select is “NativeMAMSDKApp”. The corresponding package name is “com.example.nativemamsdkapp”.
Currently, MAM SDK supports API 24+ (Android 7.0 (Nougat) or above) Android devices.
1.4 - Ensure that you have created a KeyStore and have a key within it.
Make a note of the key alias, KeyStore password, and key password. You need these details for signing apps and generating the .mdx file.
2. Set up the MAM SDK library and build environment of your app.
2.1 - Set up the MAM SDK library.
The steps to integrate the MAM SDK library are documented in detail at Setting up the library. Follow steps 2 to 16 on that page. Following is the checklist of all the files that you should have modified after completing the setup.
-
Verify 1 - You have created two new files - mamsdk.properties, and keystore.properties.
Ensure that you have created and correctly populated the two files: mamsdk.properties and keystore.properties.
Expand to see an example of mamsdk.properties file in your root folder.
  ##### Enter MAM SDK Maven library URL #####
  mamSdkLibraryMaven=https://raw.githubusercontent.com/citrix/citrix-mam-sdks/main/maven

  ##### Enter MAM SDK Tools library URL #####
  mamSdkLibraryTools=https://github.com/citrix/citrix-mam-sdks/raw/main/tools/java

  ##### Enter the latest MAM SDK version number (e.g. 21.9.0.+) #####
  mamSdkVersion=21.9.0.+

  ##### Enter the app's package name (e.g. com.citrix.mvpntestapp). The Package name has to be globally unique #####
  appPackageName=com.citrix.nativemamsdkapp
Expand to see an example of keystore.properties file in your root folder.
#### Enter KeyStore Path (e.g. <folder location>/mycompany.keystore ) ##### keyStorePath=<path to KeyStore>/keystore #### Enter KeyStore Password ##### keystorePassword=test123 #### Enter Key Alias ##### keyAlias=key0 #### Enter Key Password ##### keyPassword=test123 -
Verify 2 - Modify the build.gradle file inside your root folder and click Sync Now in Android Studio.
The final build.gradle file in the root folder module should have the following content:

Expand to see an example of build.gradle file in your root folder.
// Top-level build file where you can add configuration options common to all sub-projects/modules. buildscript { repositories { google() mavenCentral() } dependencies { classpath "com.android.tools.build:gradle:4.2.2" // NOTE: Do not place your application dependencies here; they belong // in the individual module build.gradle files } } // Load KeyStore properties def keystorePropertiesFile = rootProject.file("keystore.properties") def keystoreProperties = new Properties() keystoreProperties.load(new FileInputStream(keystorePropertiesFile)) // Load Citrix MAM SDK properties def mamsdkPropertiesFile = rootProject.file("mamsdk.properties") def mamsdkProperties = new Properties() mamsdkProperties.load(new FileInputStream(mamsdkPropertiesFile)) ext { mamSdkLibraryMaven = mamsdkProperties['mamSdkLibraryMaven'] if (mamSdkLibraryMaven.isEmpty()) { throw new GradleException('ERROR: mamSdkLibraryMaven property value is missing in mamsdk.properties.') } println 'mamSdkLibraryMaven:' + mamSdkLibraryMaven mamSdkLibraryTools = mamsdkProperties['mamSdkLibraryTools'] if (mamSdkLibraryTools.isEmpty()) { throw new GradleException('ERROR: mamSdkLibraryTools property value is missing in mamsdk.properties.') } println 'mamSdkLibraryTools:' + mamSdkLibraryTools mamSdkVersion = mamsdkProperties['mamSdkVersion'] if (mamSdkVersion.isEmpty()) { throw new GradleException('ERROR: mamSdkVersion property value is missing in mamsdk.properties.') } println 'mamSdkVersion:' + mamSdkVersion appPackageName = mamsdkProperties['appPackageName'] if (appPackageName.isEmpty()) { throw new GradleException('ERROR: appPackageName property value is missing in mamsdk.properties.') } println 'appPackageName:' + appPackageName keyStorePath = keystoreProperties['keyStorePath'] if (keyStorePath.isEmpty()) { throw new GradleException('ERROR: keyStorePath property value is missing in keystore.properties.') } println 'keyStorePath:' + keyStorePath keystorePassword = keystoreProperties['keystorePassword'] if (keystorePassword.isEmpty()) { throw new GradleException('ERROR: keystorePassword property value is missing in keystore.properties.') } keyAlias = keystoreProperties['keyAlias'] if (keyAlias.isEmpty()) { throw new GradleException('ERROR: keyAlias property value is missing in keystore.properties.') } keyPassword = keystoreProperties['keyPassword'] if (keyPassword.isEmpty()) { throw new GradleException('ERROR: keyPassword property value is missing in keystore.properties.') } } allprojects { repositories { maven { url "$rootProject.ext.mamSdkLibraryMaven" } google() mavenCentral() jcenter() } } task clean(type: Delete) { delete rootProject.buildDir } <!--NeedCopy--> -
Verify 3 - Modify the build.gradle file inside your app module and click Sync Now in Android Studio.
The final build.gradle file in your app module should have the following content:
Expand to see an example of the build.gradle file in your app module.
plugins { id 'com.android.application' id "de.undercouch.download" version "4.1.1" } android { compileSdkVersion 30 buildToolsVersion "31.0.0" defaultConfig { applicationId "${rootProject.ext.appPackageName}" minSdkVersion 24 targetSdkVersion 30 versionCode 1 versionName "1.0" testInstrumentationRunner "androidx.test.runner.AndroidJUnitRunner" } signingConfigs { debug { storeFile file(rootProject.ext.keyStorePath) storePassword "$rootProject.ext.keystorePassword" keyAlias "$rootProject.ext.keyAlias" keyPassword "$rootProject.ext.keyPassword" } release { storeFile file(rootProject.ext.keyStorePath) storePassword "$rootProject.ext.keystorePassword" keyAlias "$rootProject.ext.keyAlias" keyPassword "$rootProject.ext.keyPassword" } } buildTypes { release { minifyEnabled false proguardFiles getDefaultProguardFile('proguard-android-optimize.txt'), 'proguard-rules.pro' signingConfig signingConfigs.release } debug { signingConfig signingConfigs.debug } } compileOptions { sourceCompatibility JavaVersion.VERSION_1_8 targetCompatibility JavaVersion.VERSION_1_8 } } dependencies { implementation "com.citrix.android.sdk:mamsdk:${rootProject.ext.mamSdkVersion}" implementation 'androidx.appcompat:appcompat:1.3.1' implementation 'com.google.android.material:material:1.4.0' implementation 'androidx.constraintlayout:constraintlayout:2.0.4' testImplementation 'junit:junit:4.+' androidTestImplementation 'androidx.test.ext:junit:1.1.3' androidTestImplementation 'androidx.test.espresso:espresso-core:3.4.0' } task downloadTools(type: Download, dependsOn: build) { src "${rootProject.ext.mamSdkLibraryTools}/managed-app-utility.jar" dest "$buildDir/tools/managed-app-utility.jar" overwrite false } task generateMdx(type: Exec, dependsOn: [downloadTools]) { commandLine 'java', '-jar', "$buildDir/tools/managed-app-utility.jar", 'wrap', '-in', "$buildDir/outputs/apk/release/${project.name}-release.apk", '-out', "$buildDir/outputs/apk/release/${project.name}.mdx", '-appType', 'sdkapp', '-storeUrl', "https://play.google.com/store/apps/details?id=${rootProject.ext.appPackageName}", '-keystore', "${rootProject.ext.keyStorePath}", '-storepass', "${rootProject.ext.keystorePassword}", '-keyalias', "${rootProject.ext.keyAlias}", '-keypass', "${rootProject.ext.keyPassword}" } build.finalizedBy generateMdx <!--NeedCopy--> -
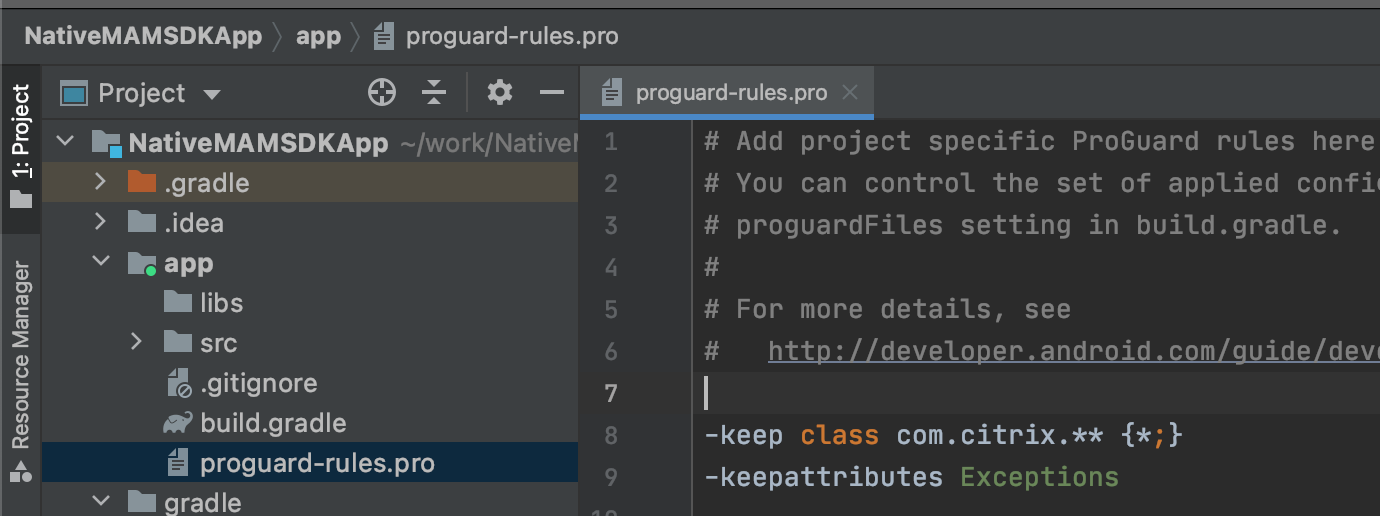
Verify 4 - Proguard-rules are added in the file proguard-rules.pro within your app module.
-
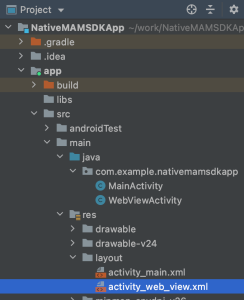
Verify 5 - Modify your app’s AndroidManifest.xml file usually located here: app > src > main
The final AndroidManifest.xml file should have the following content:
Expand to see an example of AndroidManifest.xml file in your app module.
  <?xml version="1.0" encoding="utf-8"?>
      <manifest xmlns:android="http://schemas.android.com/apk/res/android"
              xmlns:tools="http://schemas.android.com/tools"
              package="com.example.nativemamsdkapp">
          <application
                      android:allowBackup="true"
                      android:icon="@mipmap/ic_launcher"
                      android:label="@string/app_name"
                      android:roundIcon="@mipmap/ic_launcher_round"
                      android:supportsRtl="true"
                      tools:replace="android:theme"
                      android:theme="@style/Theme.NativeMAMSDKApp" >
              <uses-library android:name="org.apache.http.legacy" android:required="false" />
              <activity android:name=".MainActivity" >
                  <intent-filter>
                      <action android:name="android.intent.action.MAIN" />
                      <category android:name="android.intent.category.LAUNCHER" />
                  </intent-filter>
              </activity>
          </application>
          <queries>
              <package android:name="com.zenprise" />
              <package android:name="com.citrix.Receiver" />
          </queries>
      </manifest>
  <!--NeedCopy-->
2.2 - Build your app, and it should be successful.
Run the following command. Identify and resolve any errors if present.
$ ./gradlew clean build
build log...
3. Create the UI template of your test app.
3.1 - Define the layout of your app.
In this portion, we define the layout of the app. The following link outlines the basics of building a simple user interface: Basics of building the UI of your sample app.
3.2 - Create a simple UI consisting of four elements.
Note: The reading material in step 3.1 is required to complete this step.
The following table lists the elements that you must create in the UI:
| Activity | Type | id | Value |
|---|---|---|---|
| activity_main.xml | Button | idButtonStartTunnel | “Start Tunnel” |
| activity_main.xml | Button | idButtonWebView | “Web View” |
| activity_main.xml | PlainText | idTextURL | Your Test Website URL |
| activity_web_view.xml | WebView | idWebViewPage | N/A |
4. Add the underlying logic to integrate your app with MAM SDK.
4.1 - Make modifications to the MainActivity.java file.
In this step, you can add the necessary functions and modify the MainActivity.java file to enable the Start Tunnel and Web View buttons. You also import any packages required by the functions.
Recommended reading:
Add the following elements to the MainActivity.java file.
| Name | Type | Description |
|---|---|---|
| onClickStartTunnel | Method | Invoked when the Start Tunnel button is clicked. |
| TunnelHandler | Class | Extends MvpnDefaultHandler and implements method handleMessage. |
| handleMessage | Method | Handler function for when MicroVPNSDK.startTunnel is invoked. |
| onClickWebView | Method | Invoked when the Web View button is clicked. |
Expand to see a sample MainActivity.java file.
package com.example.nativemamsdkapp;

import androidx.appcompat.app.AppCompatActivity;

import android.content.Intent;
import android.os.Bundle;
import android.os.Message;
import android.os.Messenger;
import android.util.Log;
import android.view.View;
import android.widget.EditText;
import android.widget.Toast;

import com.citrix.mvpn.api.MicroVPNSDK;
import com.citrix.mvpn.api.MvpnDefaultHandler;

public class MainActivity extends AppCompatActivity {
    private String url;
    @Override
    protected void onCreate(Bundle savedInstanceState) {
        super.onCreate(savedInstanceState);
        setContentView(R.layout.activity_main);
        url = ((EditText) findViewById(R.id.idTextURL)).getText().toString();
    }
    // Use micro VPN Library to start tunnel
    public void onClickStartTunnel(View view) {
        MicroVPNSDK.startTunnel(this, new Messenger(new TunnelHandler()));
    }
    // Provide a Handler function
    public class TunnelHandler extends MvpnDefaultHandler {
        @Override
        public void handleMessage(Message message) {
            super.handleMessage(message);
            if (isNetworkTunnelRunning()) {
                Toast.makeText(MainActivity.this, "Tunnel Started Successfully!!!", Toast.LENGTH_SHORT).show();
            } else {
                Toast.makeText(MainActivity.this, "Tunnel Failed to Start!!!", Toast.LENGTH_SHORT).show();
            }
        }
    }
    // Load the WebViewActivity when Web View Button is clicked
    public void onClickWebView(View view) {
        Intent intent = new Intent(this, WebViewActivity.class);
        url = ((EditText)findViewById(R.id.idTextURL)).getText().toString();
        Log.i("MVPN", "Trying to connect to " + url);
        intent.putExtra("URL", url);
        startActivity(intent);
    }
}
<!--NeedCopy-->
4.2 - Make modifications to the WebViewActivity.java file.
In this step, you can modify the WebViewActivity.java file to load the contents of the URL onto the WebView widget.
Recommended reading:
Expand to see a sample WebViewActivity.java file.
package com.example.nativemamsdkapp;

import androidx.appcompat.app.AppCompatActivity;

import android.os.Bundle;
import android.util.Log;
import android.webkit.WebView;
import android.webkit.WebViewClient;

import com.citrix.mvpn.api.MicroVPNSDK;

public class WebViewActivity extends AppCompatActivity {
    // Get extended data(URL) from intent and load the Web View
    @Override
    protected void onCreate(Bundle savedInstanceState) {
        super.onCreate(savedInstanceState);
        setContentView(R.layout.activity_web_view);
        String url = getIntent().getStringExtra("URL");
        WebView webView = findViewById(R.id.idWebViewPage);
        WebViewClient webViewClient = new WebViewClient();
        Log.i("MVPN", "Loading WebView for the URL " + url);
        try {
            MicroVPNSDK.enableWebViewObjectForNetworkTunnel(this, webView, webViewClient);
        } catch (Exception e) {
            Log.e("MVPN", e.getMessage());
        }
        webView.loadUrl(url);
    }
}
<!--NeedCopy-->
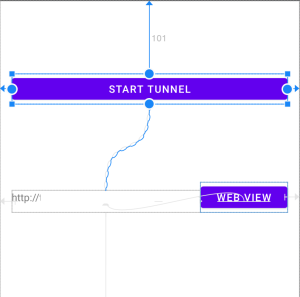
4.3 Add onClick actions for the buttons.
In this step, you can add onClick actions for both the buttons in app > src > main > res > layout > activity_main.xml path.
- Click Start Tunnel.
- In the Attributes tab on the right, scroll to find the onClick attribute.
- Select the onClickStartTunnel value from the drop-down list.
- Click Web View.
- In the Attributes tab on the right, scroll to find the onClick attribute.
- Select the onClickWebView value from the drop-down list.

5.1 - Run the following command to build your app, and the “Build Successful” message appears.
$ ./gradlew clean build
build logs...
<!--NeedCopy-->
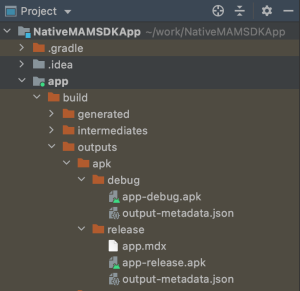
5.2 - Verification for .mdx and .apk files.
Under app > build > outputs > apk > release, you should see both the .mdx and .apk files.
6.1 - Choose your platform and distribute your app.
MAM SDK is supported for Android Enterprise. Use the following link to see how to distribute your app:
7.1 - Test your app on the Android Enterprise platform.
Depending on the build type, there are two ways in which you can test your app.
7.2 - Verify the behavior of your app.
- Verify that the following message appears when you click Start Tunnel: “Tunnel Started Successfully!!!”.
- Verify that the URL you entered opens when you click WebView.