Generating an iOS Apple Store Package (IPA)
An .ipa (iOS App Store Package) file is an iOS application archive file which stores an iOS app written for Apple iOS devices such as iPhone, iPod Touch, or iPad. It is downloaded from the Apple iTunes App Store and can be transferred to the iOS device via iTunes when the device is connected to the computer.
Prerequisites
Integrate the MAM SDK into your iOS Application
Add the SDK Initialization Code.
Deciding on a Distribution Method
Generate a Provisioning Profile
Depending on the distribution method, a provisioning profile will be required that is either Development or Production. Follow Apple’s guidance on how to generate an appropriate Provisioning Profile and Signing Certificate for your application.
Publish app archive
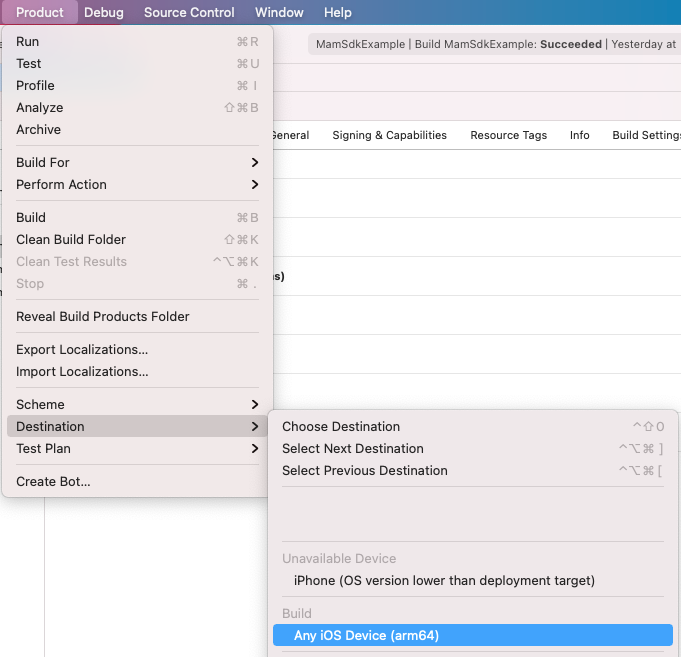
In Xcode, select Product → Destination and then choose Any iOS Device (arm64).
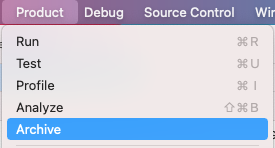
Select Product → Archive.
This makes the build available in the next step.
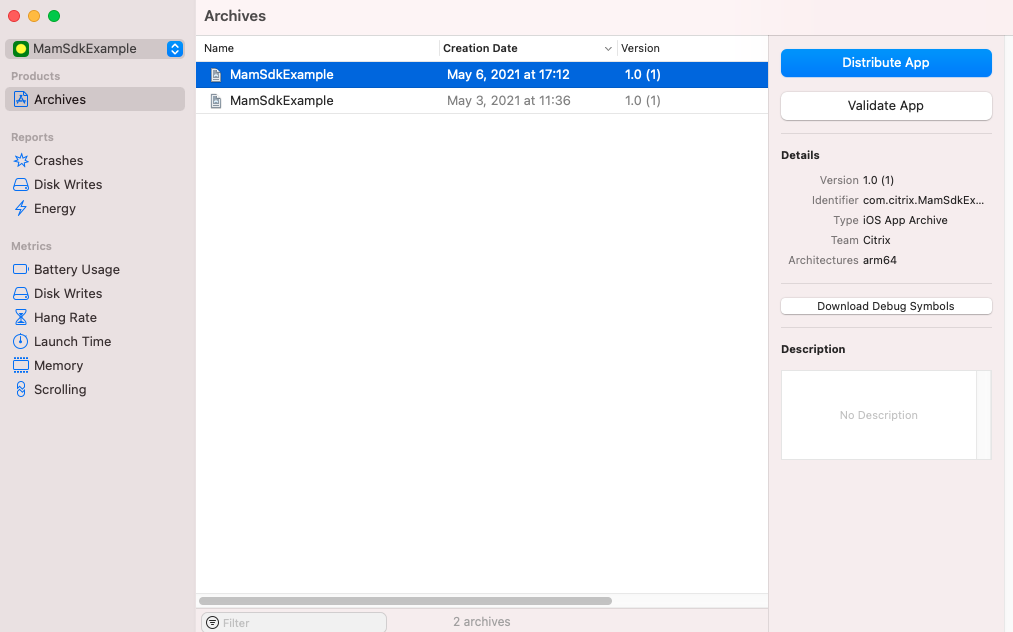
Generate IPA File
- Click Distribute App.
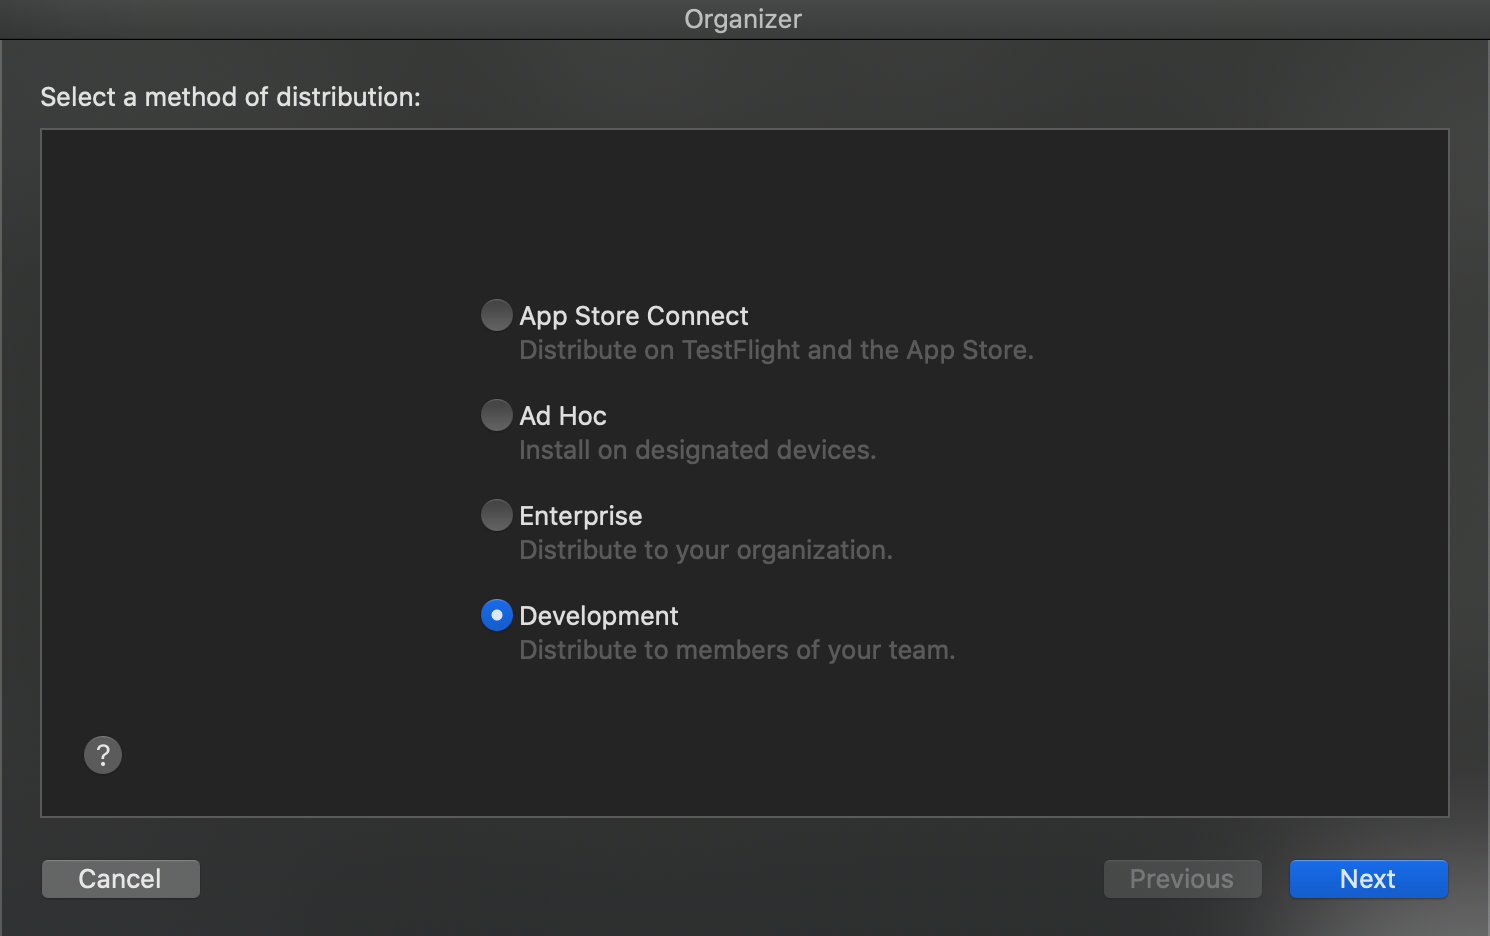
- The Method of distribution screen is displayed. Select the distribution method.
- Click Next.
For more information, see Distribution Method.
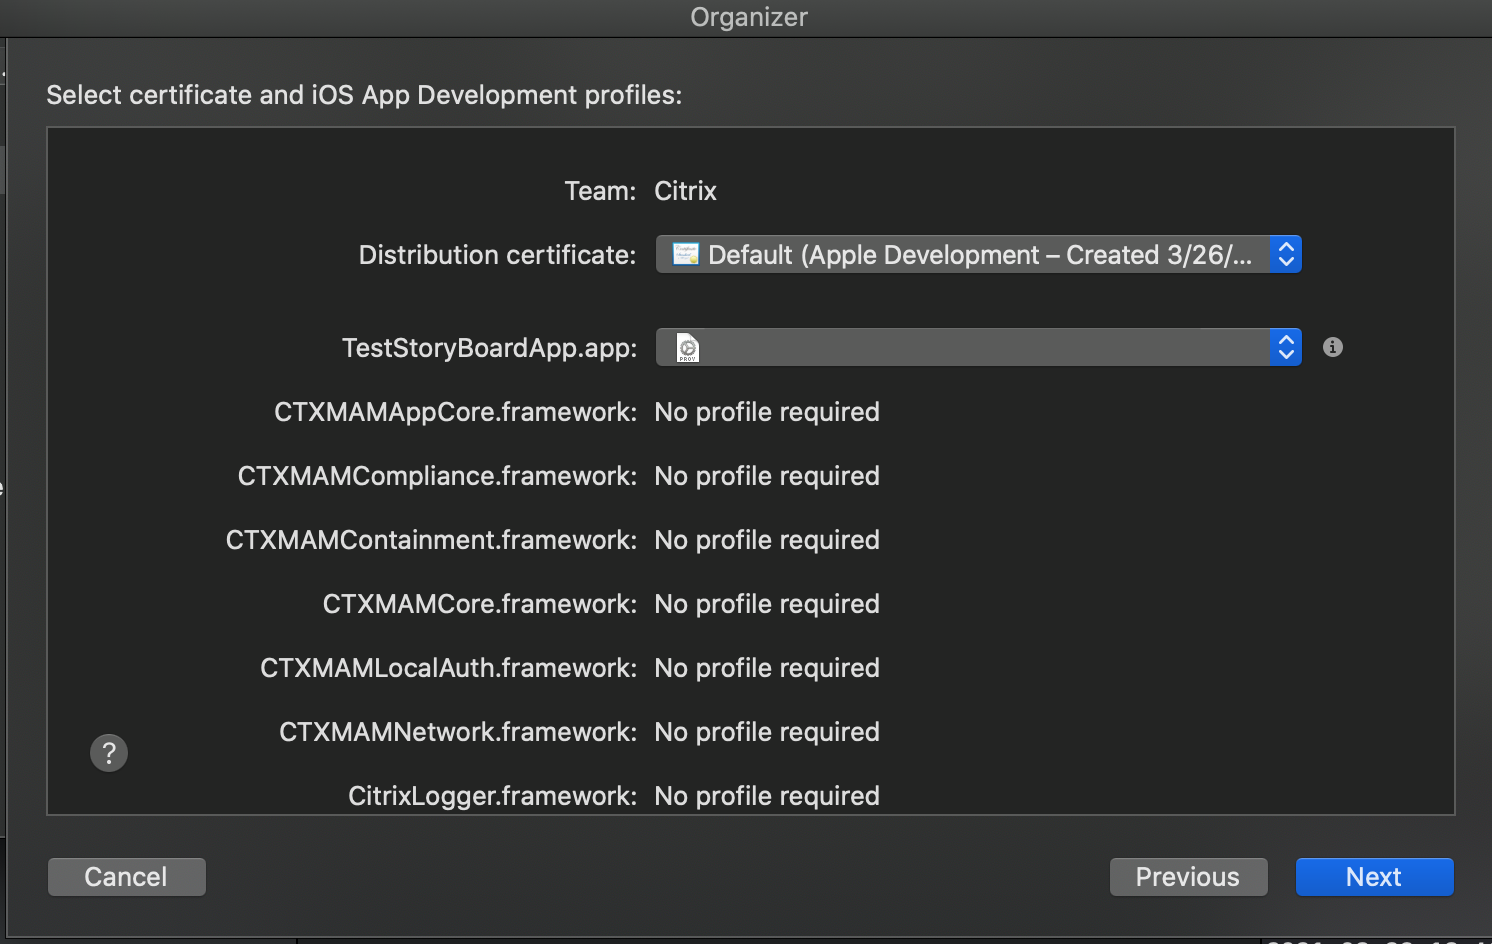
- From the certificates and development profiles screen, select the Distribution profile you want to use.
- Click Next.
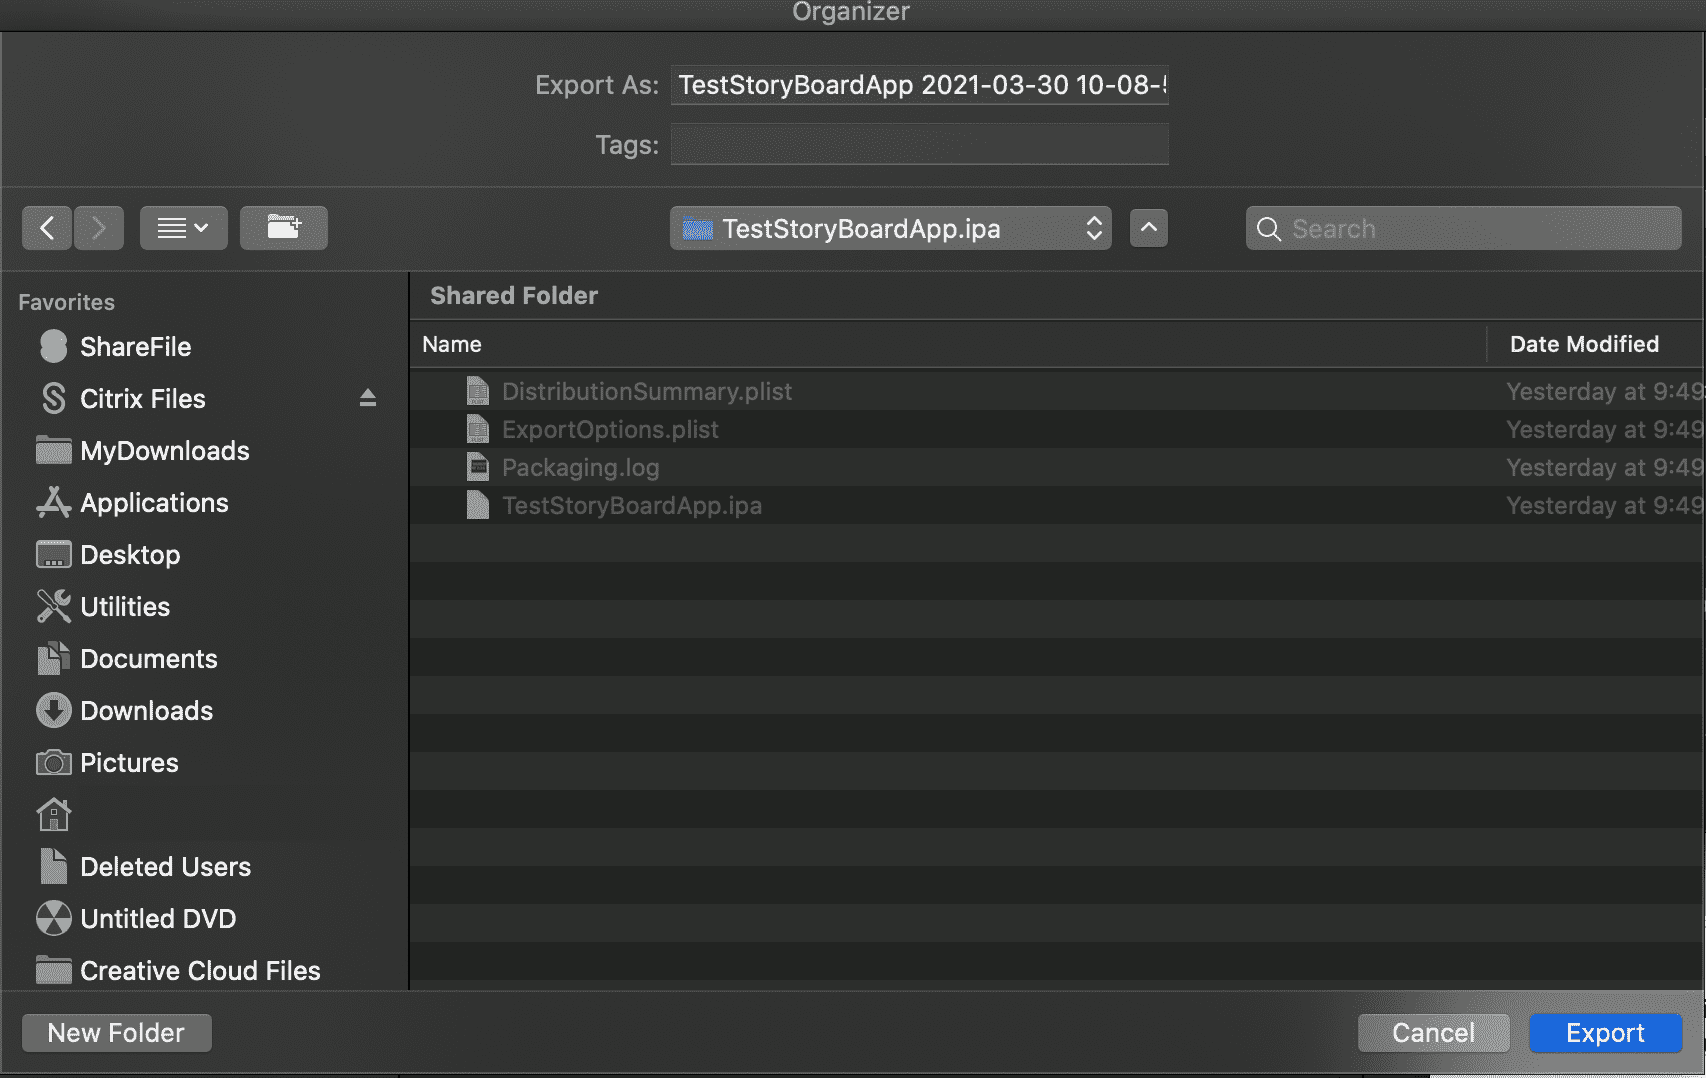
- Select the location to save the IPA.
- Click Export.
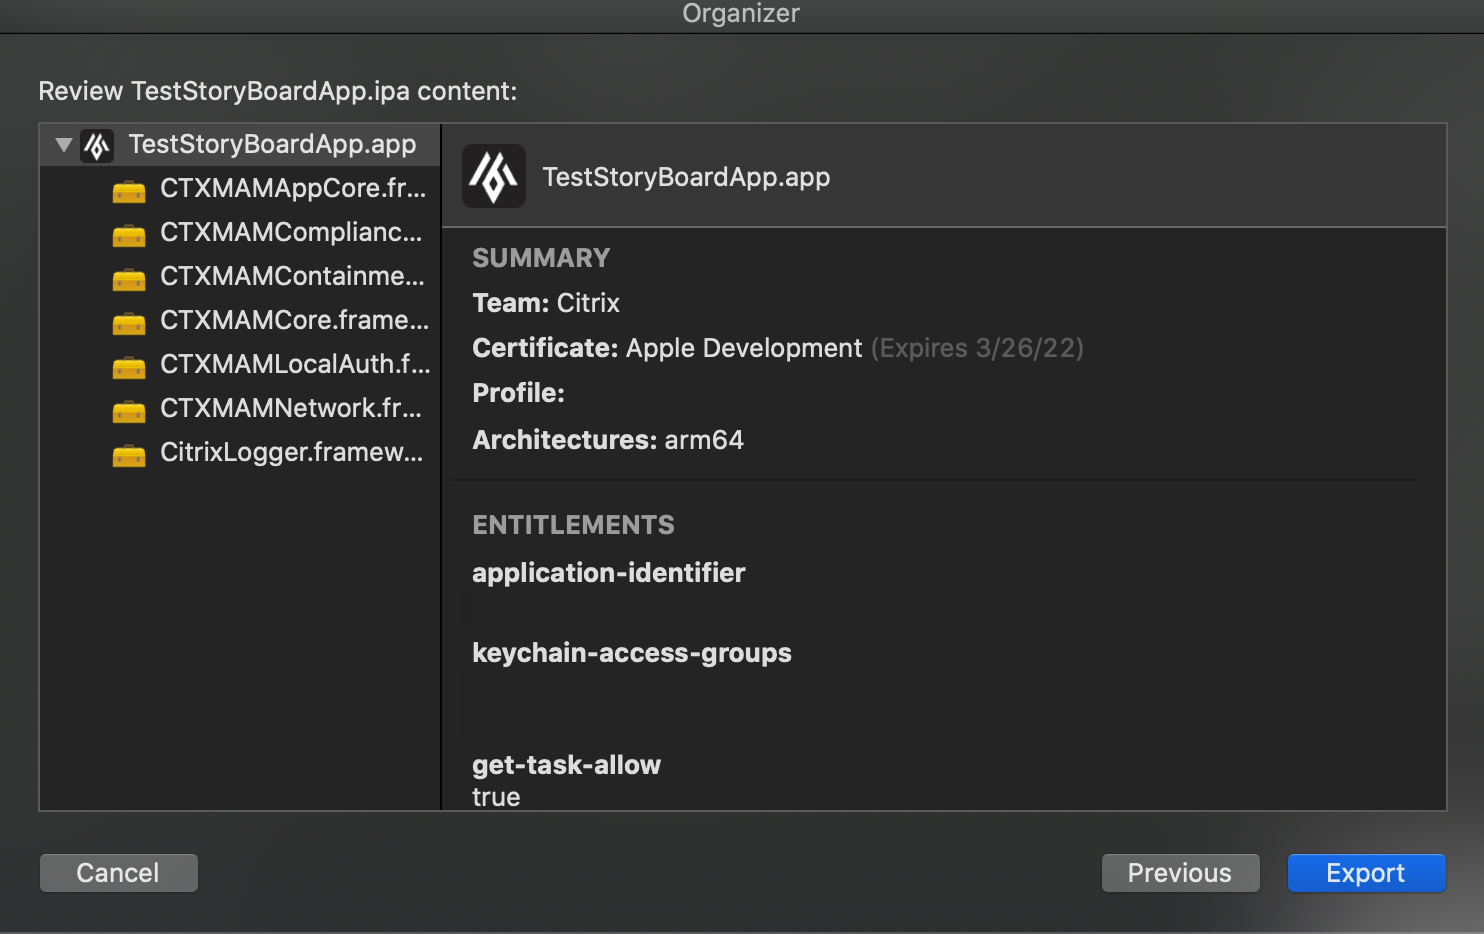
Your IPA will be in the folder you selected for export.
- If your device is directly connected to your Mac/Xcode workstation via USB cable, the compiled app will be automatically pushed to your device.
- It does not matter how the IPA gets installed on the device.
- If the app detects that Secure Hub is installed, it will attempt to retrieve the MAM policies and authorization from Secure Hub to run.
- You must install the MDX file into the CEM console in the following step before attempting to run the app.
-
The policies will be present in the CEM service till the MDX file has been uploaded.
Attention
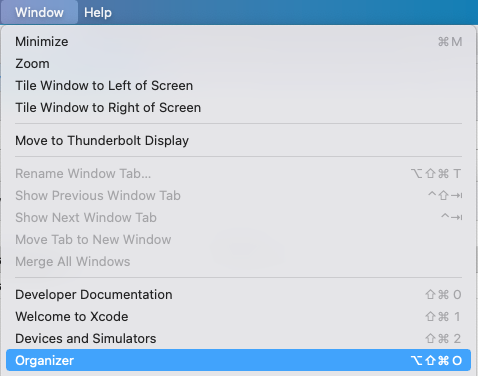
If focus is lost to Organizer, you can find it by navigating to Window→Organizer.
Get STOREURL
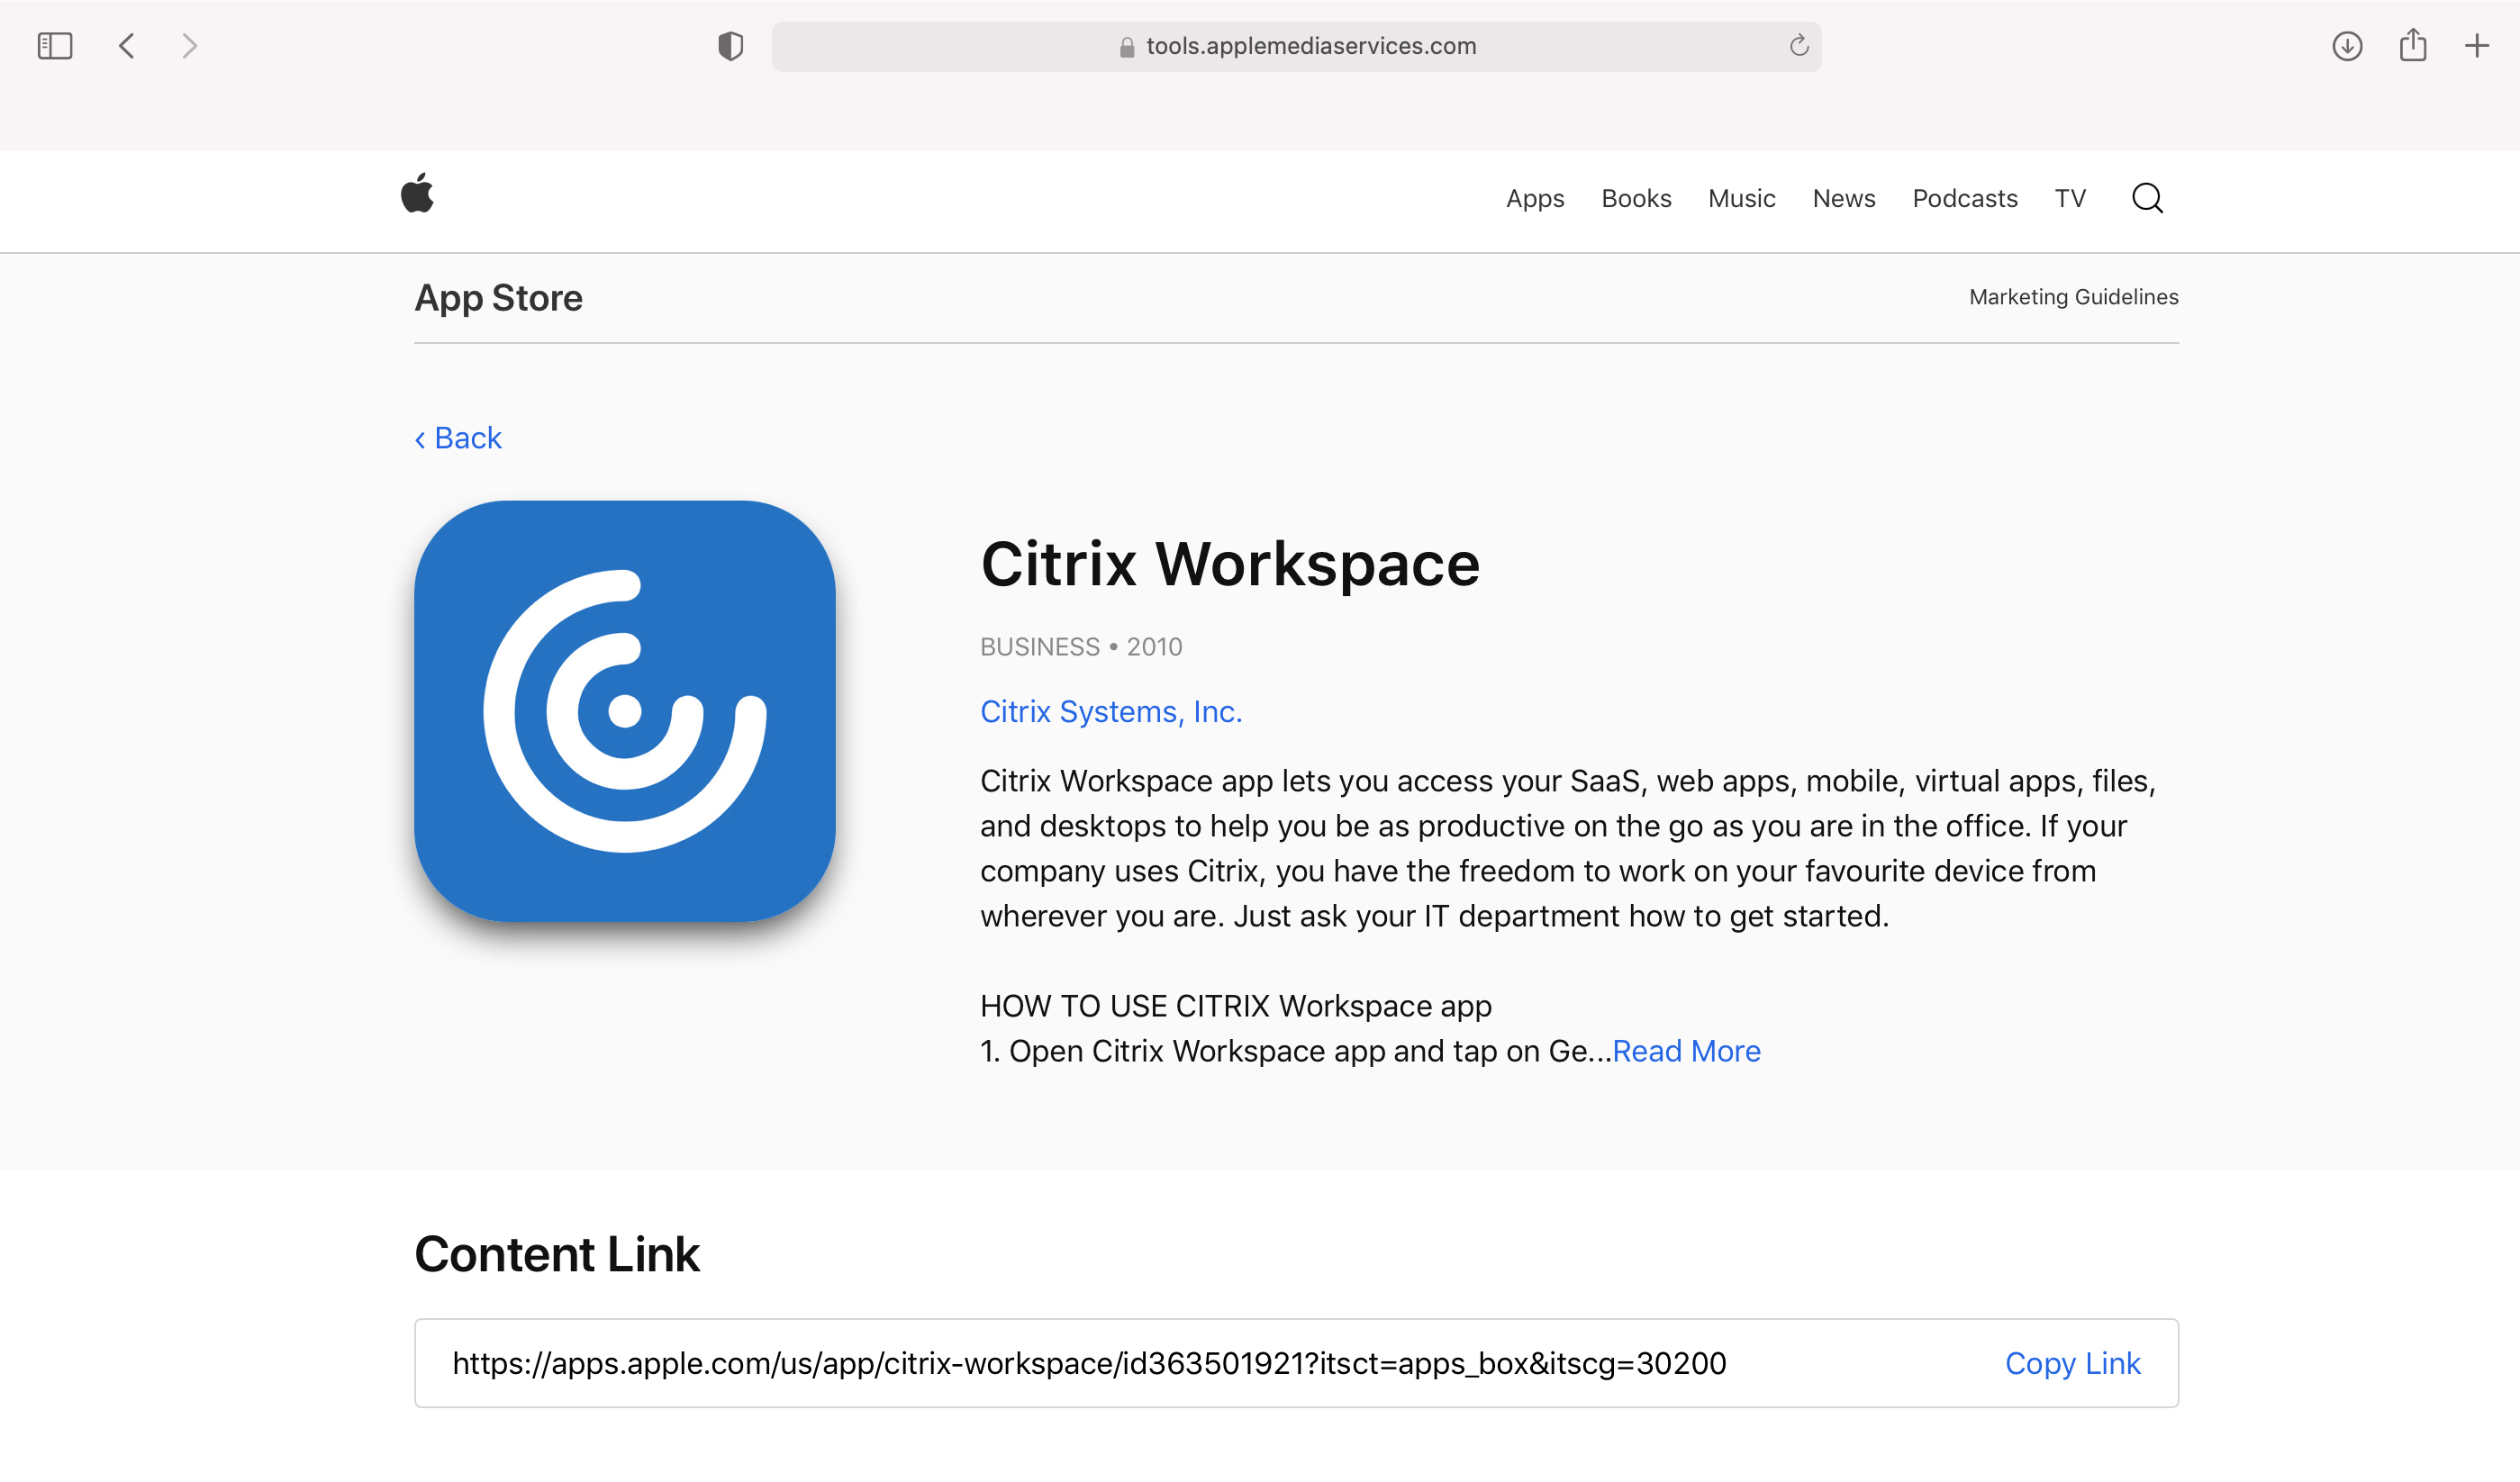
Get the store URL of the application that will be published to the Apple App Store.
To search your app, go to Creating easy-to-read short links to the App Store for your apps and company page, click the Apple Services Marketing Tools link. In the following example, we have searched for the Citrix Workspace App.
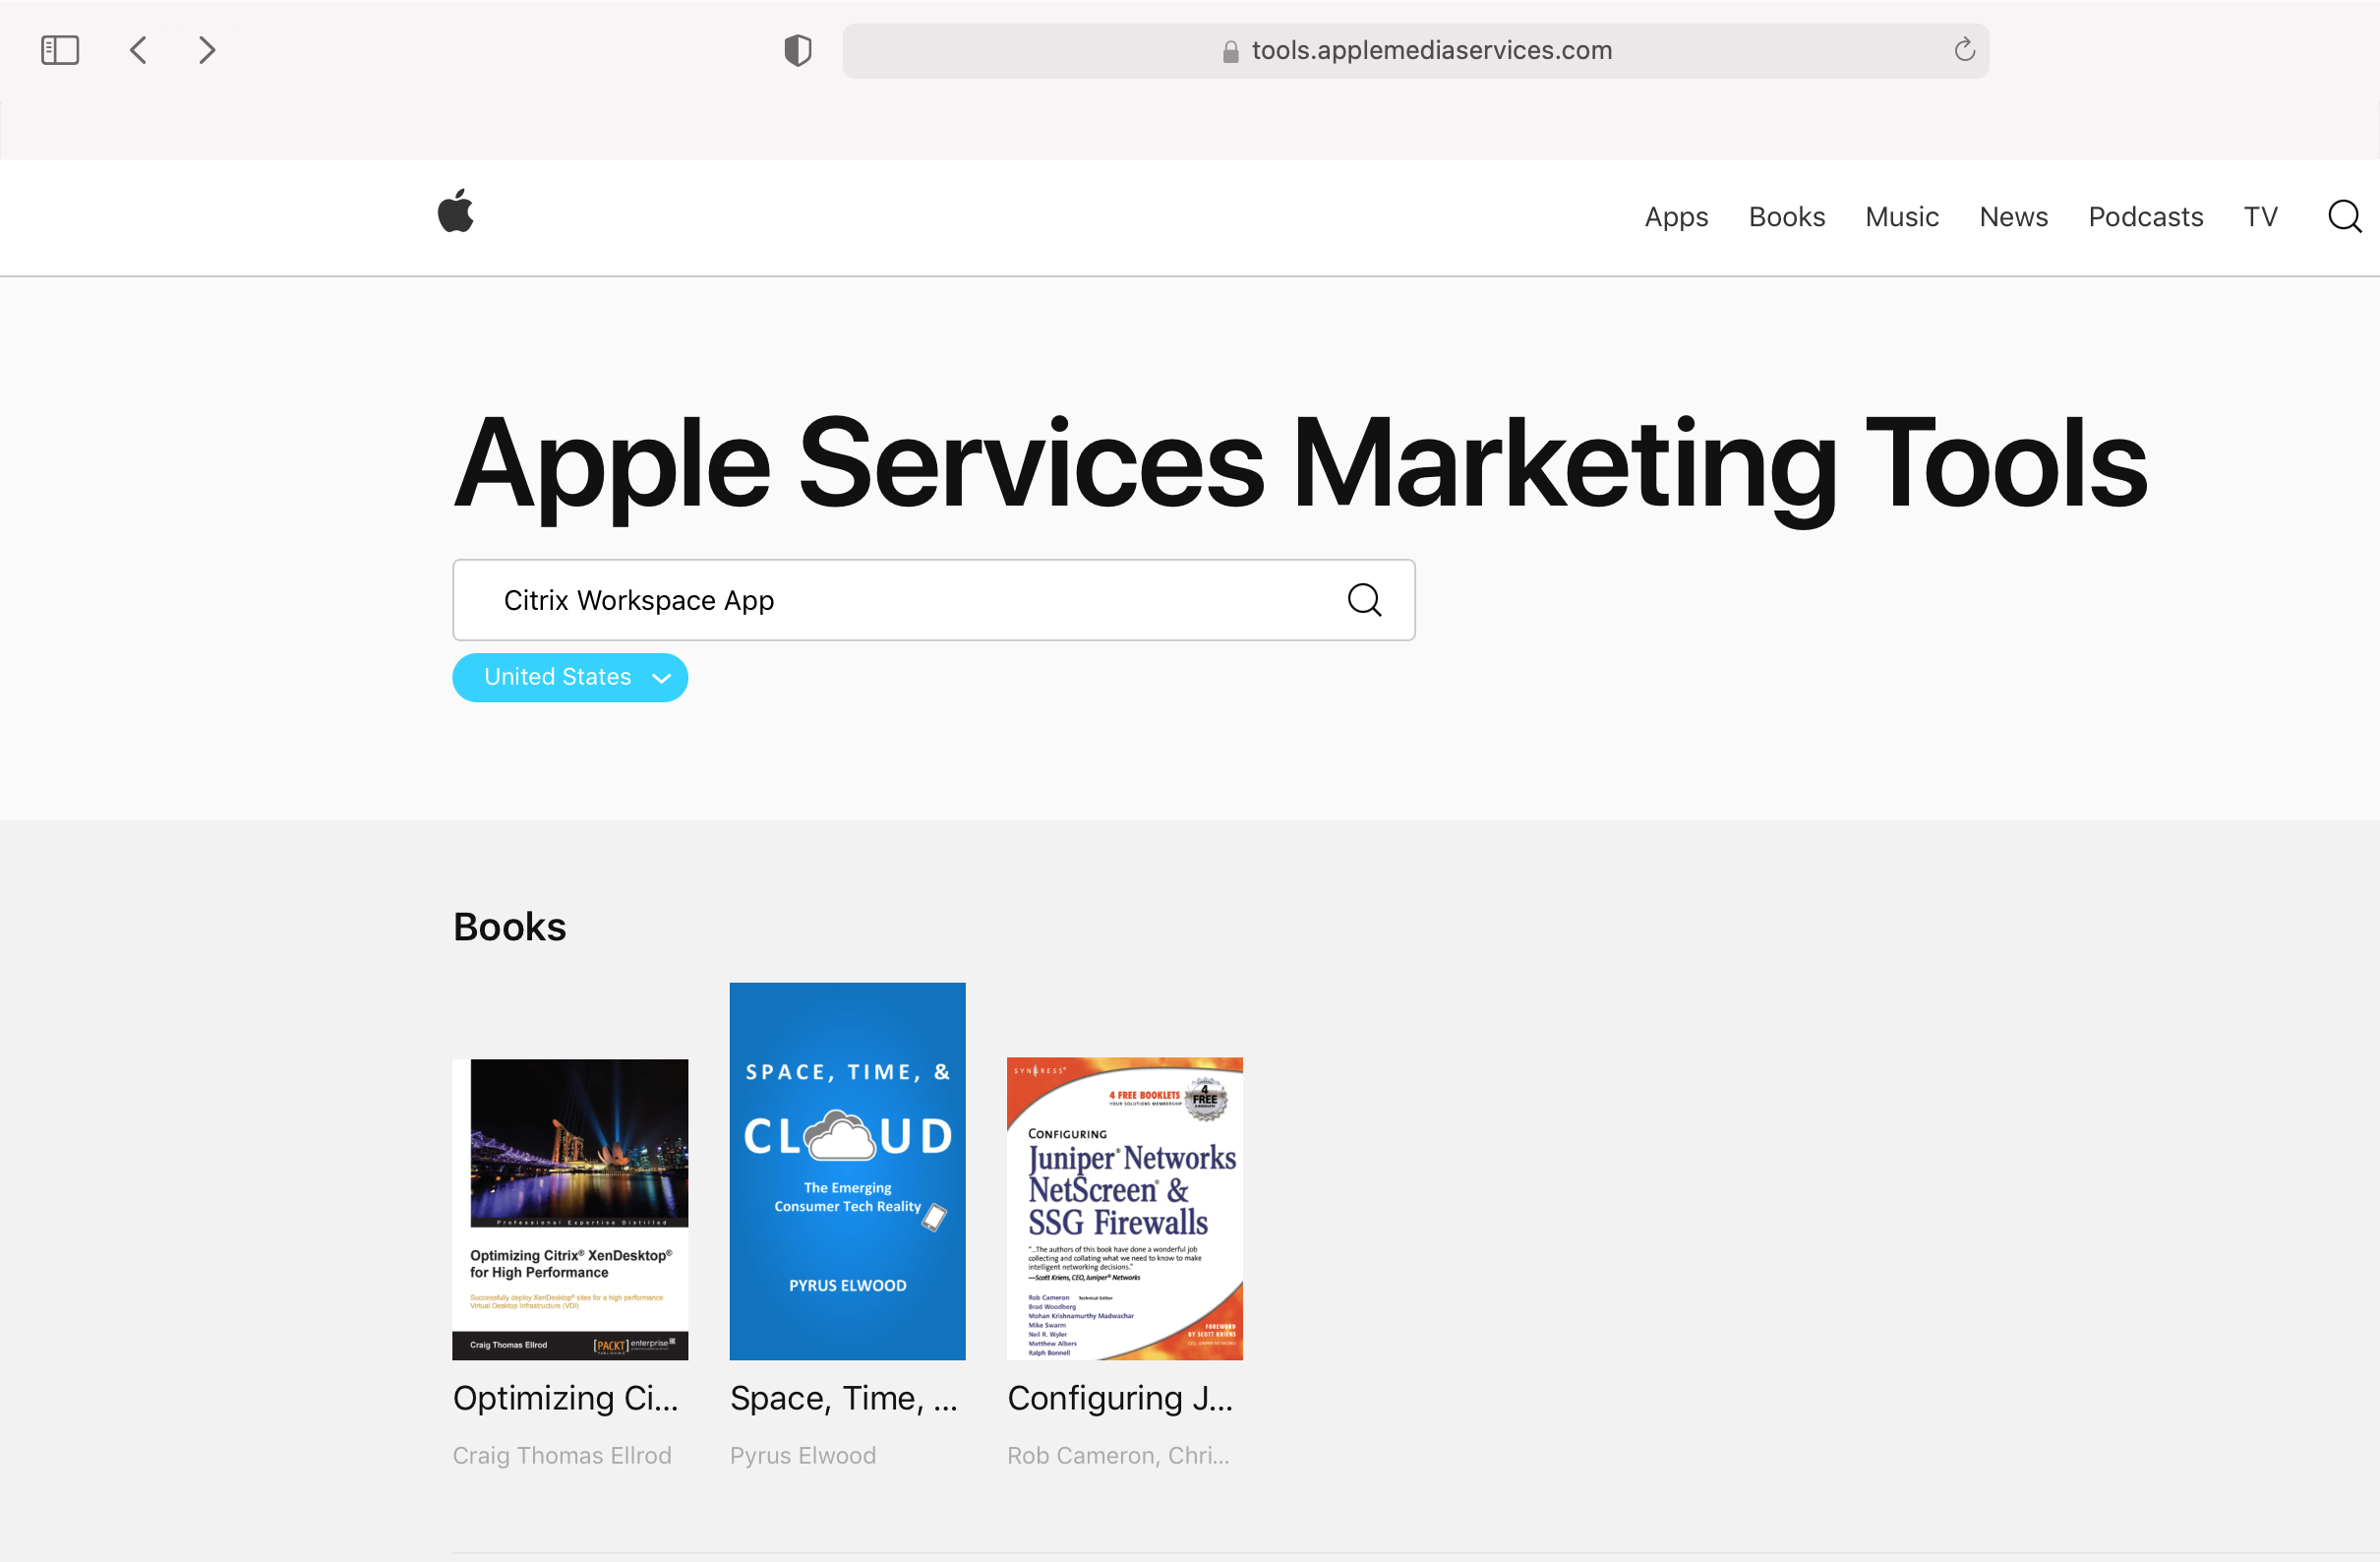
Scroll down to find the app and click on it to go to the app’s page. You will find the Content Link for the app, make a note of it (it will be referred to as the STOREURL).
Note
If the app is distributed via CEM Server, then the STOREURL need not to be changed in the build script. You can skip the next step, Update STOREURL.
Update STOREURL
Update the script’s STOREURL and rebuild:
 #WARNING: Ensure that no hidden characters are added to the file in the process of copying contents. Some editors will add formatting data when copying from them.
    export STOREURL="http://yourstore.yourdomain.com" #STOREURL can be set to any URL during development (e.g., http://yourstore.yourdomain.com). The URL may need to be changed later depending on the distribution method selected.
    export APPTYPE="sdkapp" #APPTYPE should be set to sdkapp for apps that use the iOS MAM SDK, as this is the only valid option. Since the iOS MAM SDK is built into the app, XCode can prepare the app like any other Apple applications. Consequently less post-build preparation is needed than when performing an MDX app wrapping.
    export PACKAGEID="" #Please run uuidgen on the terminal and paste the output value in PACKAGEID. This has be the same UUID which was generated when adding the URL Type.
    export APPIDPREFIX="" #APPIDPREFIX should be set to the Team ID that is located in the Apple Developer Account.
    export TOOLKIT_DIR="$PROJECT_DIR/Tools"

    if [ -z "${PACKAGEID}" ]
    then
     echo "PACKAGEID variable was not found or was empty, please run uuidgen at the command line and paste the output value in the PACKAGEID variable in your post build script."
     exit 1
    fi

    if [ -z "${APPIDPREFIX}" ]
    then
     echo "APPIDPREFIX variable was not found or was empty, please refer to the \"how to\" document located in the documentation folder of the SDK package on where to find your Apple's application prefix ID."
     exit 1
    fi

    if [ ! -d $TOOLKIT_DIR/logs ]
    then
     mkdir $TOOLKIT_DIR/logs
    fi

    "$TOOLKIT_DIR/CGAppCLPrepTool" SdkPrep -in "$CONFIGURATION_BUILD_DIR/$EXECUTABLE_FOLDER_PATH" -out "$CONFIGURATION_BUILD_DIR/$EXECUTABLE_NAME.mdx" -storeURL "${STOREURL}" -appType "${APPTYPE}" -packageId "${PACKAGEID}" -entitlements "$SRCROOT/$PROJECT/$PROJECT.entitlements" -appIdPrefix "${APPIDPREFIX}" -minPlatform "9.0"
<!--NeedCopy-->
The -storeURL argument value should be this app’s URL link in the public app-store or a private web-server. In the preceding example, the URL is from the Apple Store. This is needed for SecureHub to install your app. You may skip specifying the STOREURL (by just giving any URL) if you plan to side-load your app on your iOS device, run it from Xcode (i.e. install the app directly yourself bypassing SecureHub) for testing. For any production needs, it is advised to provide a valid app-store URL.
Now build the project again.
Validate the App
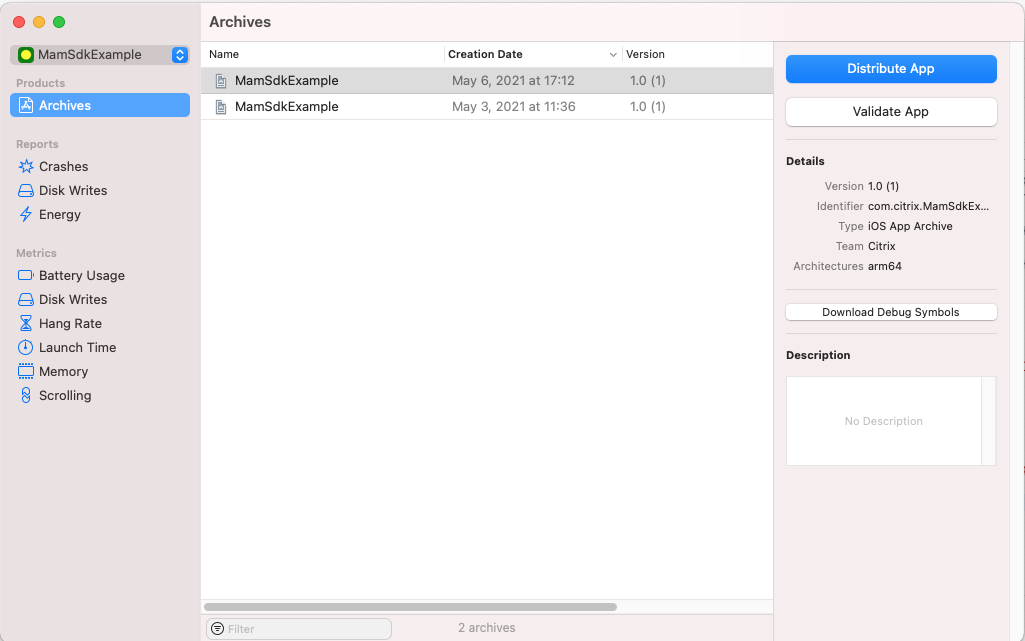
Navigate to Window→Organizer.

Click Validate App.
Click Next.
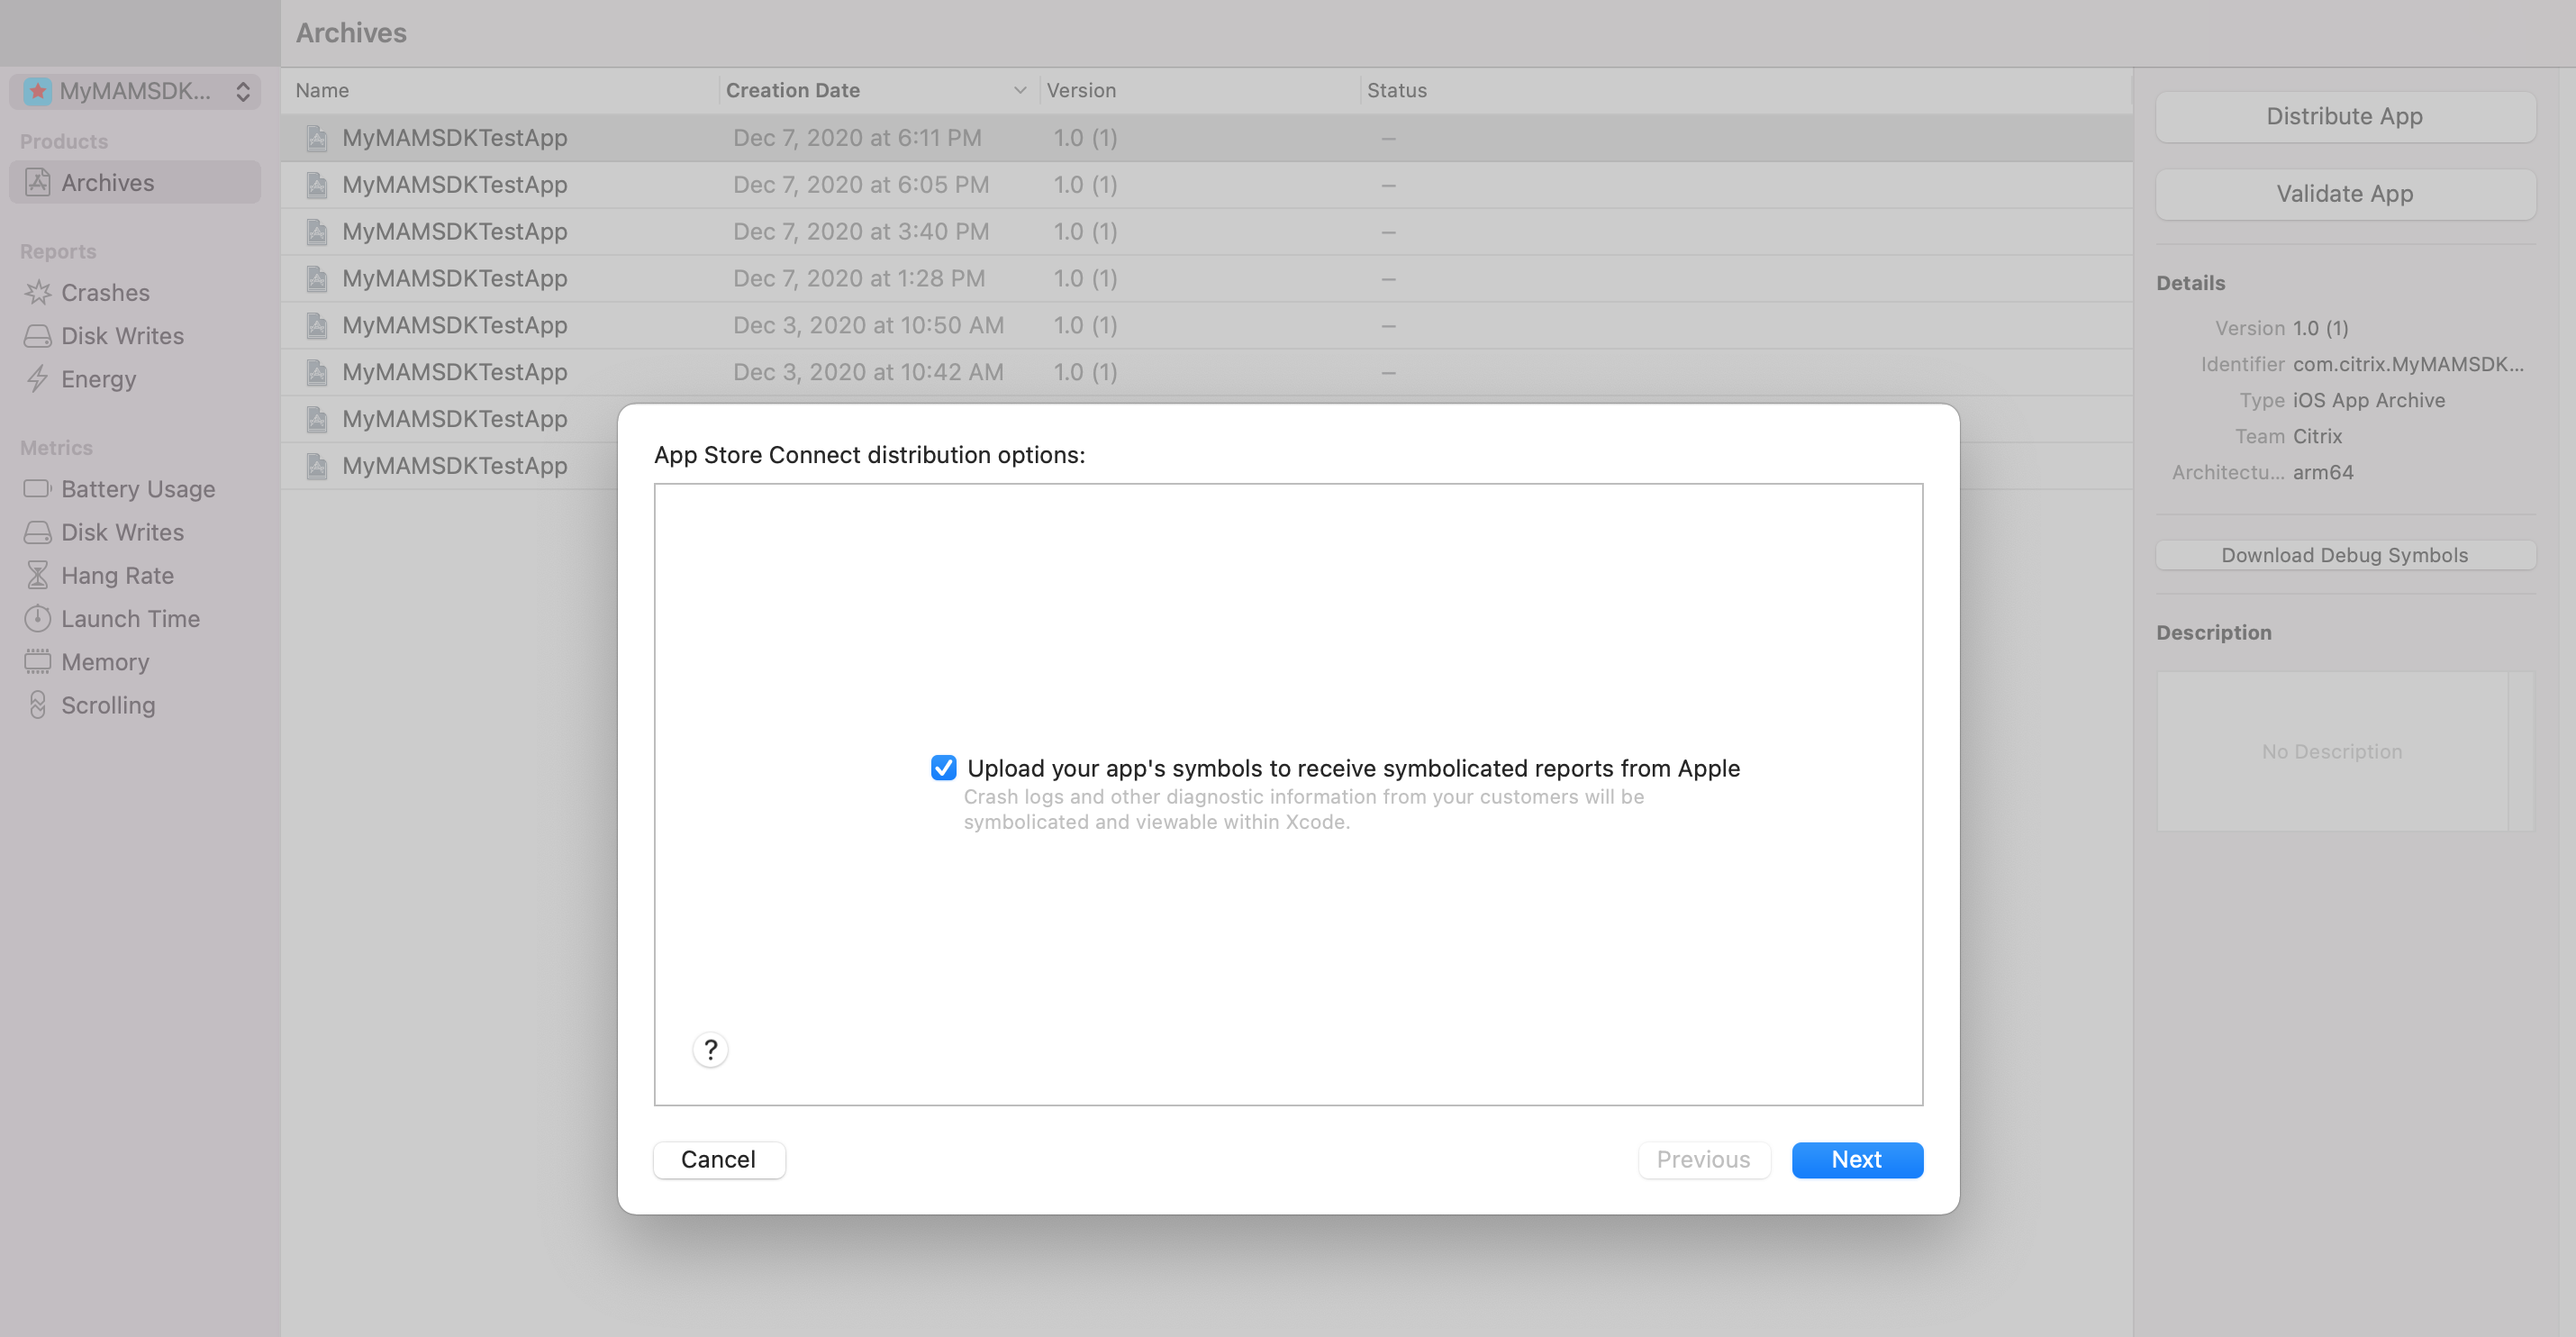
This will check different aspects of the profile and correct any issues before proceeding further.
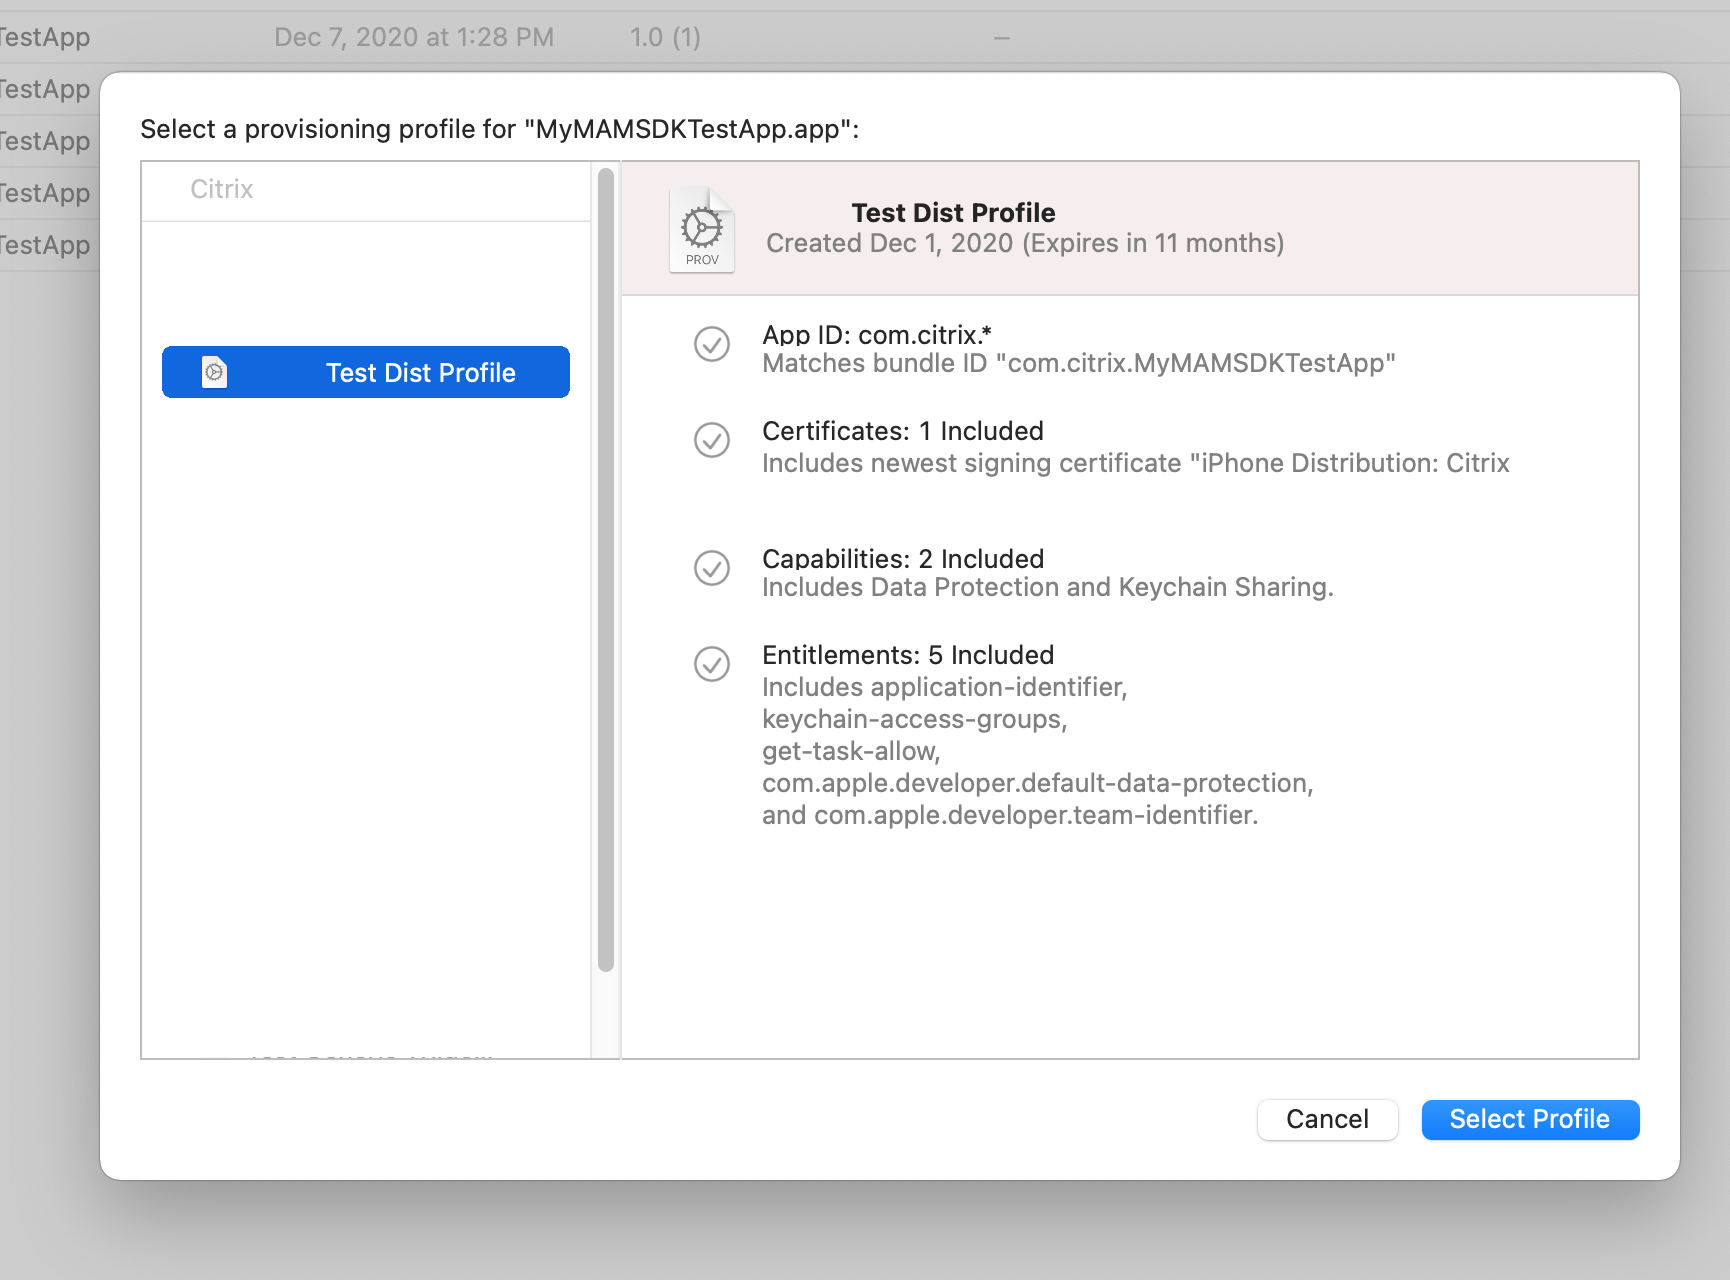
Note
The entitlements shown are those specified when the Provisioning Profile is generated, if the app is accepted by Apple for distribution in the Apple store, Apple will add/modify the entitlements.
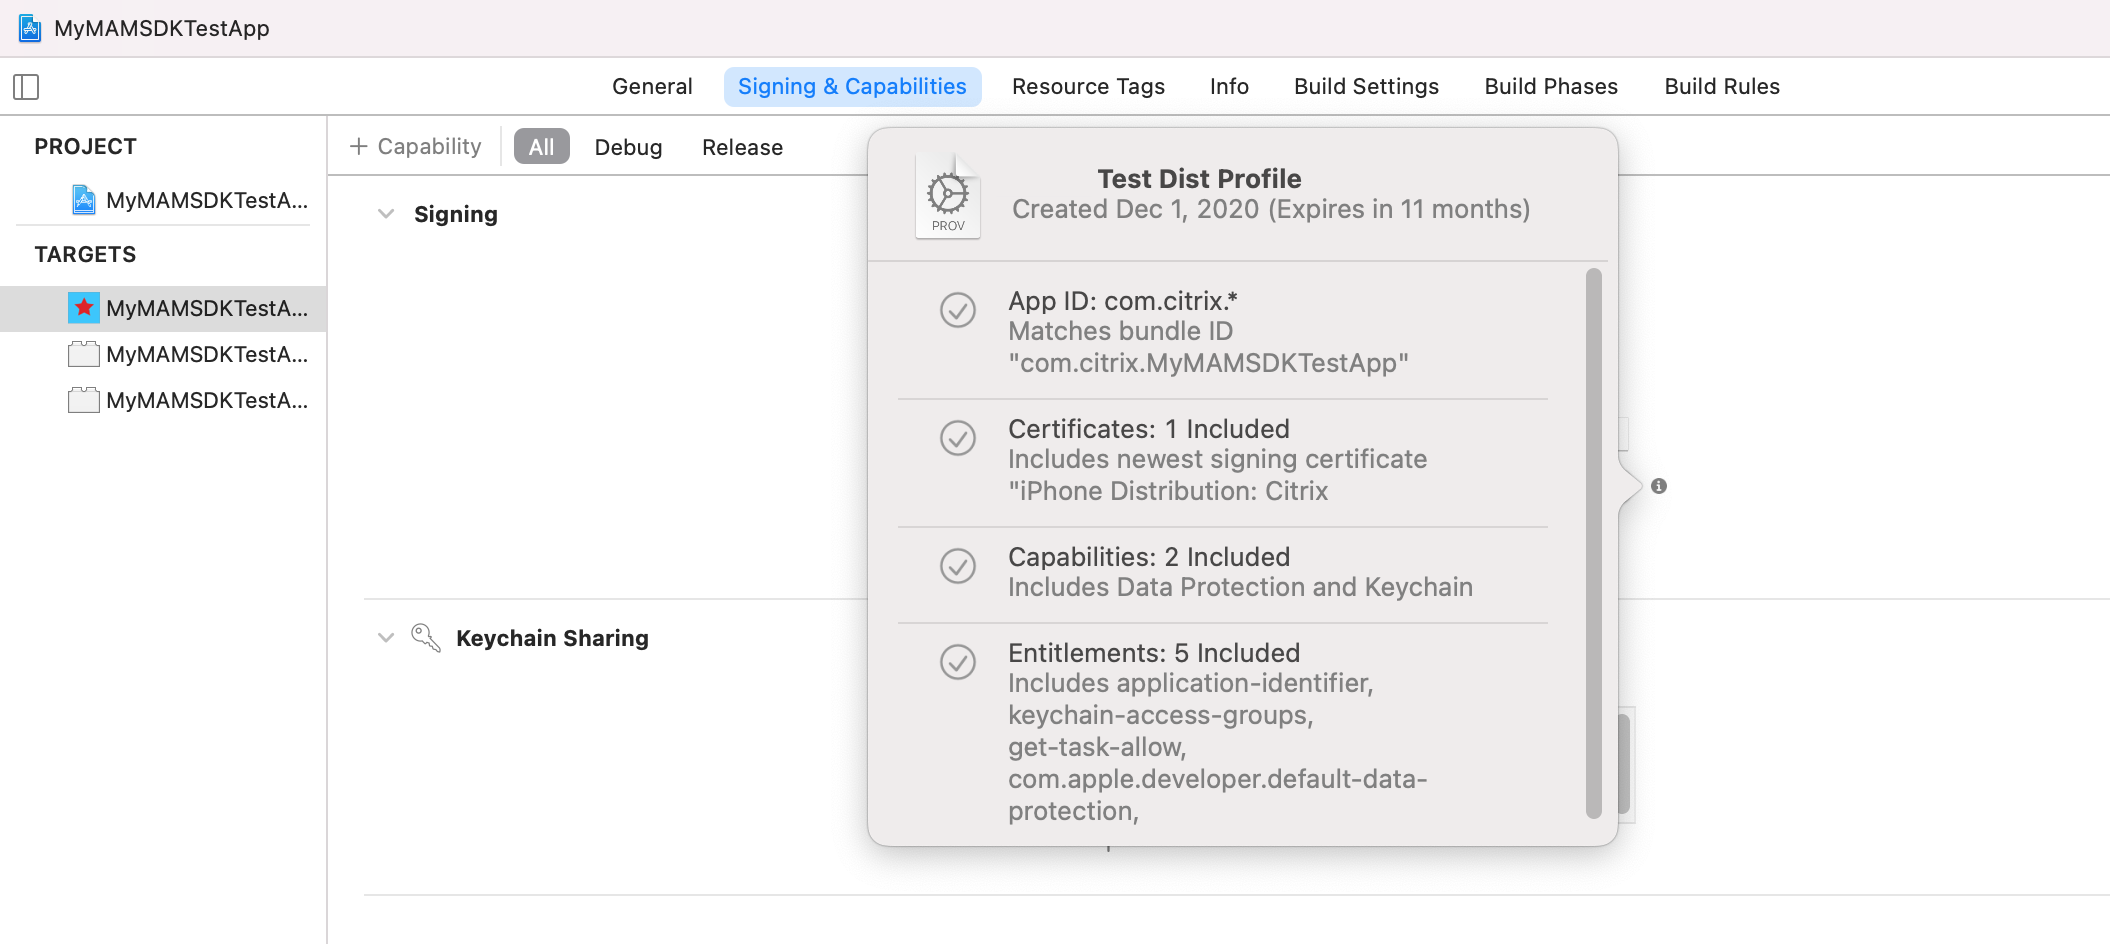
Warning
Using the default profile may result in a NON successful validation.
Generate IPA File
Navigate to Window→Organizer.

Distribute App - this will generate an IPA.

If distributing via the Apple App Store Connect, then submit the app for review by Apple. If distributing via CEM server, continue to Embed IPA into an MDX file.