Setting up the sample Xamarin.Forms Android app with MAM SDK
Introduction
The Citrix Xamarin MAM SDK libraries are useful for developing Xamarin.Android (Native) and Xamarin.Forms apps with the Citrix Endpoint Management Mobile Application Management SDK (MAM SDK). The Citrix Xamarin MAM SDK libraries are designed to allow per-app VPN connections without requiring mobile device management (MDM). These libraries enable the creation of a Web SSO network tunnel for a Xamarin app. With the Citrix Xamarin MAM SDK libraries, apps are no longer required to be wrapped with the MDX Toolkit.
Currently, the Citrix Xamarin MAM SDK libraries for Android support tunneling for the following Xamarin components:
- Xamarin.Android WebView
- Xamarin.Forms WebView
- Xamarin HttpClient
Pre-requisites
Before you proceed, ensure that you have met the following pre-requisites:
- Access to a Citrix developer account(Optional).
- Experience with Xamarin.Forms mobile app development on the Visual Studio IDE.
- Access to a Citrix Endpoint Management console to deploy MDX and APK files.
- Access to an Android Enterprise account to upload .aab or .apk files to the Managed Google Play Store.
- Access to test micro VPN tunneling with your app through Citrix Gateway.
- Recommended reading:
Software requirements
| Type | Requirements |
|---|---|
| Supported OS | Android 10 or later. |
| JDK | 8 or 11 |
| Supported Xamarin components | Xamarin.Android WebView, Xamarin.Forms WebView, and Xamarin HttpClient. |
| IDE | Visual Studio 8 or later for MacOS. |
| .NET Standard | 2.0 or later. |
| Test devices | Android device or Android virtual device. |
| Apps | Latest version of Secure Hub from the Google Play Store. |
| Android SDK | Android SDK or API version 24 or later. |
| MDX creation | Java KeyStore (.jks or .keystore) for MDX file generation or an APK-signer file. |
Overview
Perform the following steps to build, deploy, and test your MAM SDK integrated Xamarin.Forms app:
- Download the Citrix Xamarin MAM SDK libraries and the Xamarin.Forms sample app.
- Integrate the Citrix Xamarin MAM SDK libraries with the sample app.
- Build the sample app.
- Generate the MDX file from the APK.
- Distribute the sample app.
- Test the sample app.
Note: There are two ways to download the Citrix Xamarin MAM SDK libraries and the Xamarin.Forms sample app:
-
From the Citrix GitHub repository - Click here to go to section 1 for the steps.
-
From citrix.com/downloads - Click here to go to section 2 for the steps.
Note: A Citrix developer account is required to download the zip file.
1. Perform the following steps to download the Citrix Xamarin MAM SDK libraries from GitHub
1.1 - Clone the Citrix MAM SDK repository.
git clone https://github.com/citrix/citrix-mam-sdks.git
<!--NeedCopy-->
1.2 - Clone the Citrix Xamarin sample app repository.
git clone https://github.com/citrix/citrix-mam-sdk-sample-browser-app-xamarin.git

# Rename the sample app

mv citrix-mam-sdk-sample-browser-app-xamarin/XamarinForms citrix-mam-sdk-sample-browser-app-xamarin/MvpnTestFormsApp
<!--NeedCopy-->
1.3 - After you have performed the preceding steps, go to section 3 - Integrate the plug-in with the sample app.
2. Perform the following steps to download the Citrix Xamarin MAM SDK zip file from the Citrix website’s downloads page
2.1 - Download the Citrix Xamarin MAM SDK zip file.
Note: A Citrix developer account is required to download the zip file.
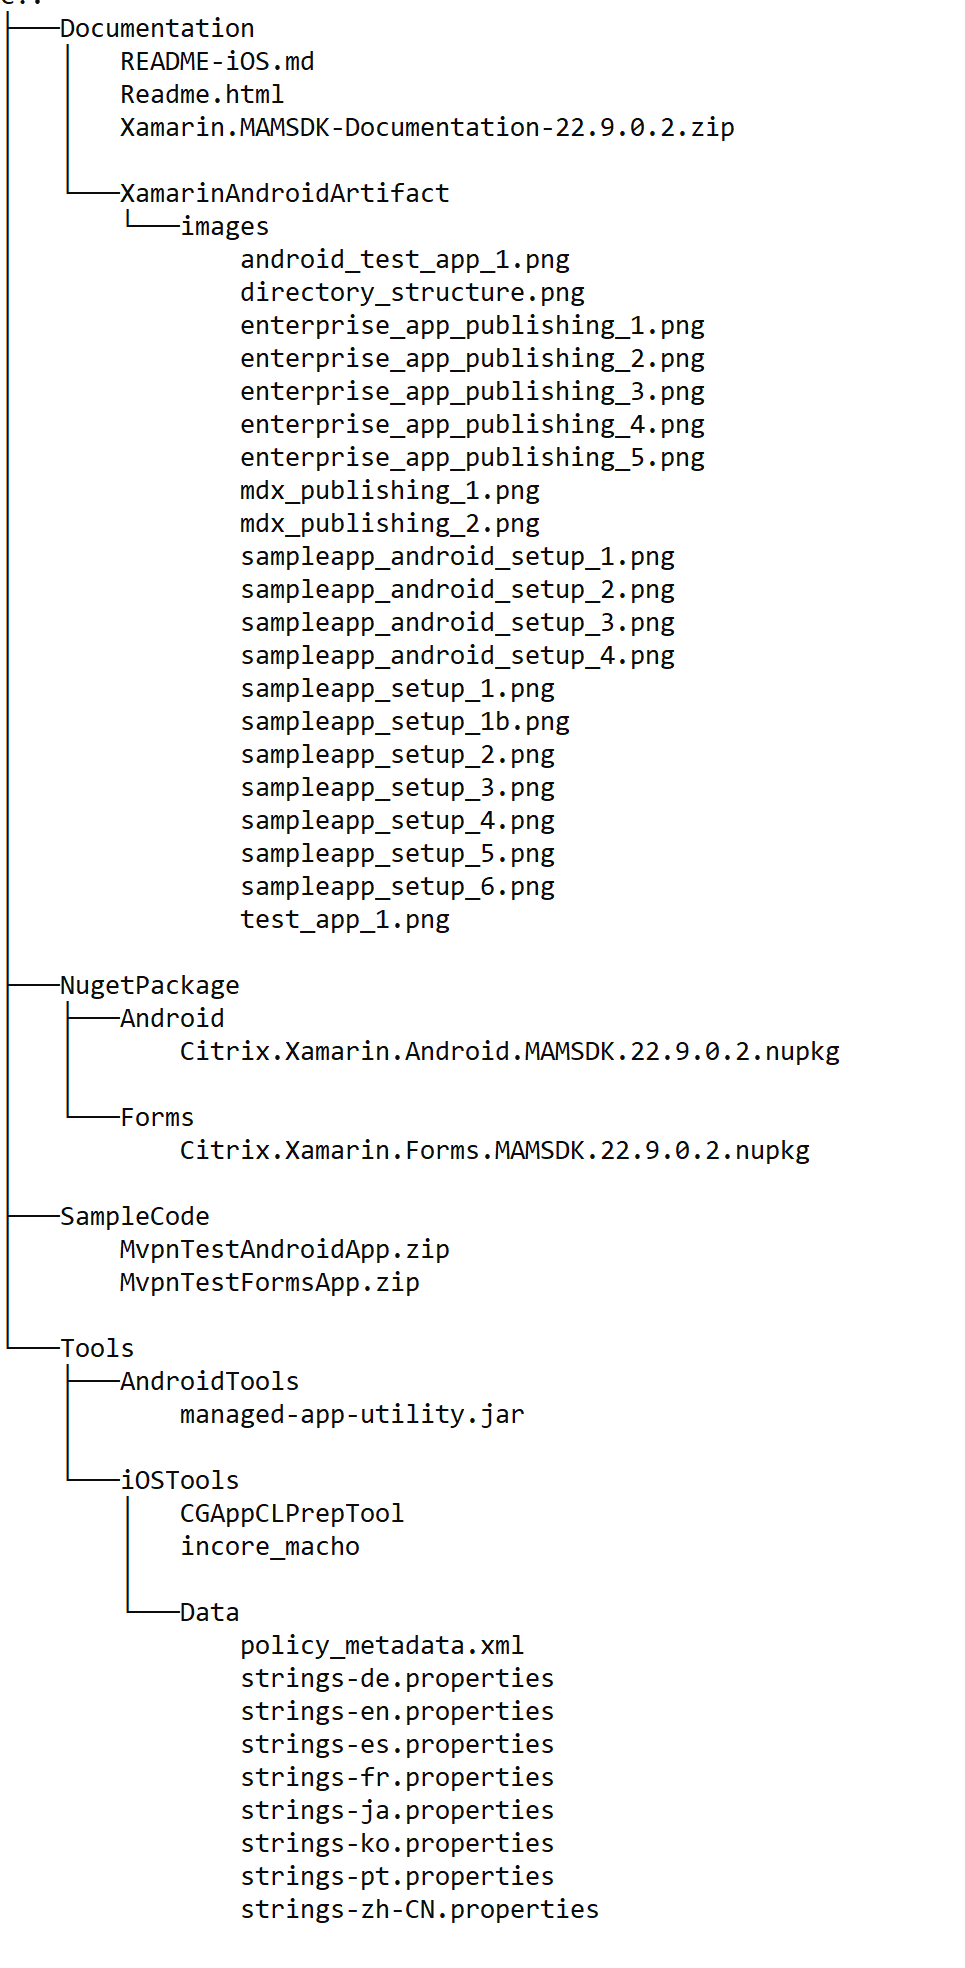
2.2 - Unzip the file - MAM_SDK_for_Android_Xamarin_23.1.0.3zip.
unzip MAM_SDK_for_Android_Xamarin_23.1.0.3.zip -d MAM_SDK_for_Android_Xamarin_23.1.0.3
<!--NeedCopy-->
The unzipped folder will have the following directory structure:
2.3 - Unzip the sample app - MvpnTestAndroidApp.zip.
cd MAM_SDK_for_Android_Xamarin_23.1.0.3
unzip SampleCode/MvpnTestFormsApp.zip -d SampleCode/MvpnTestFormsApp
<!--NeedCopy-->
The unzipped folder will have the following directory structure:

3. Integrate the plugin with the sample app
3.1 - Ensure that you have created a KeyStore and have a key within it.
Make a note of the key alias, KeyStore password, and key password. You need these details for signing apps and generating the MDX file. The following link has more details on generating a key and KeyStore: Generate a key and KeyStore to sign your apps using Visual Studio.
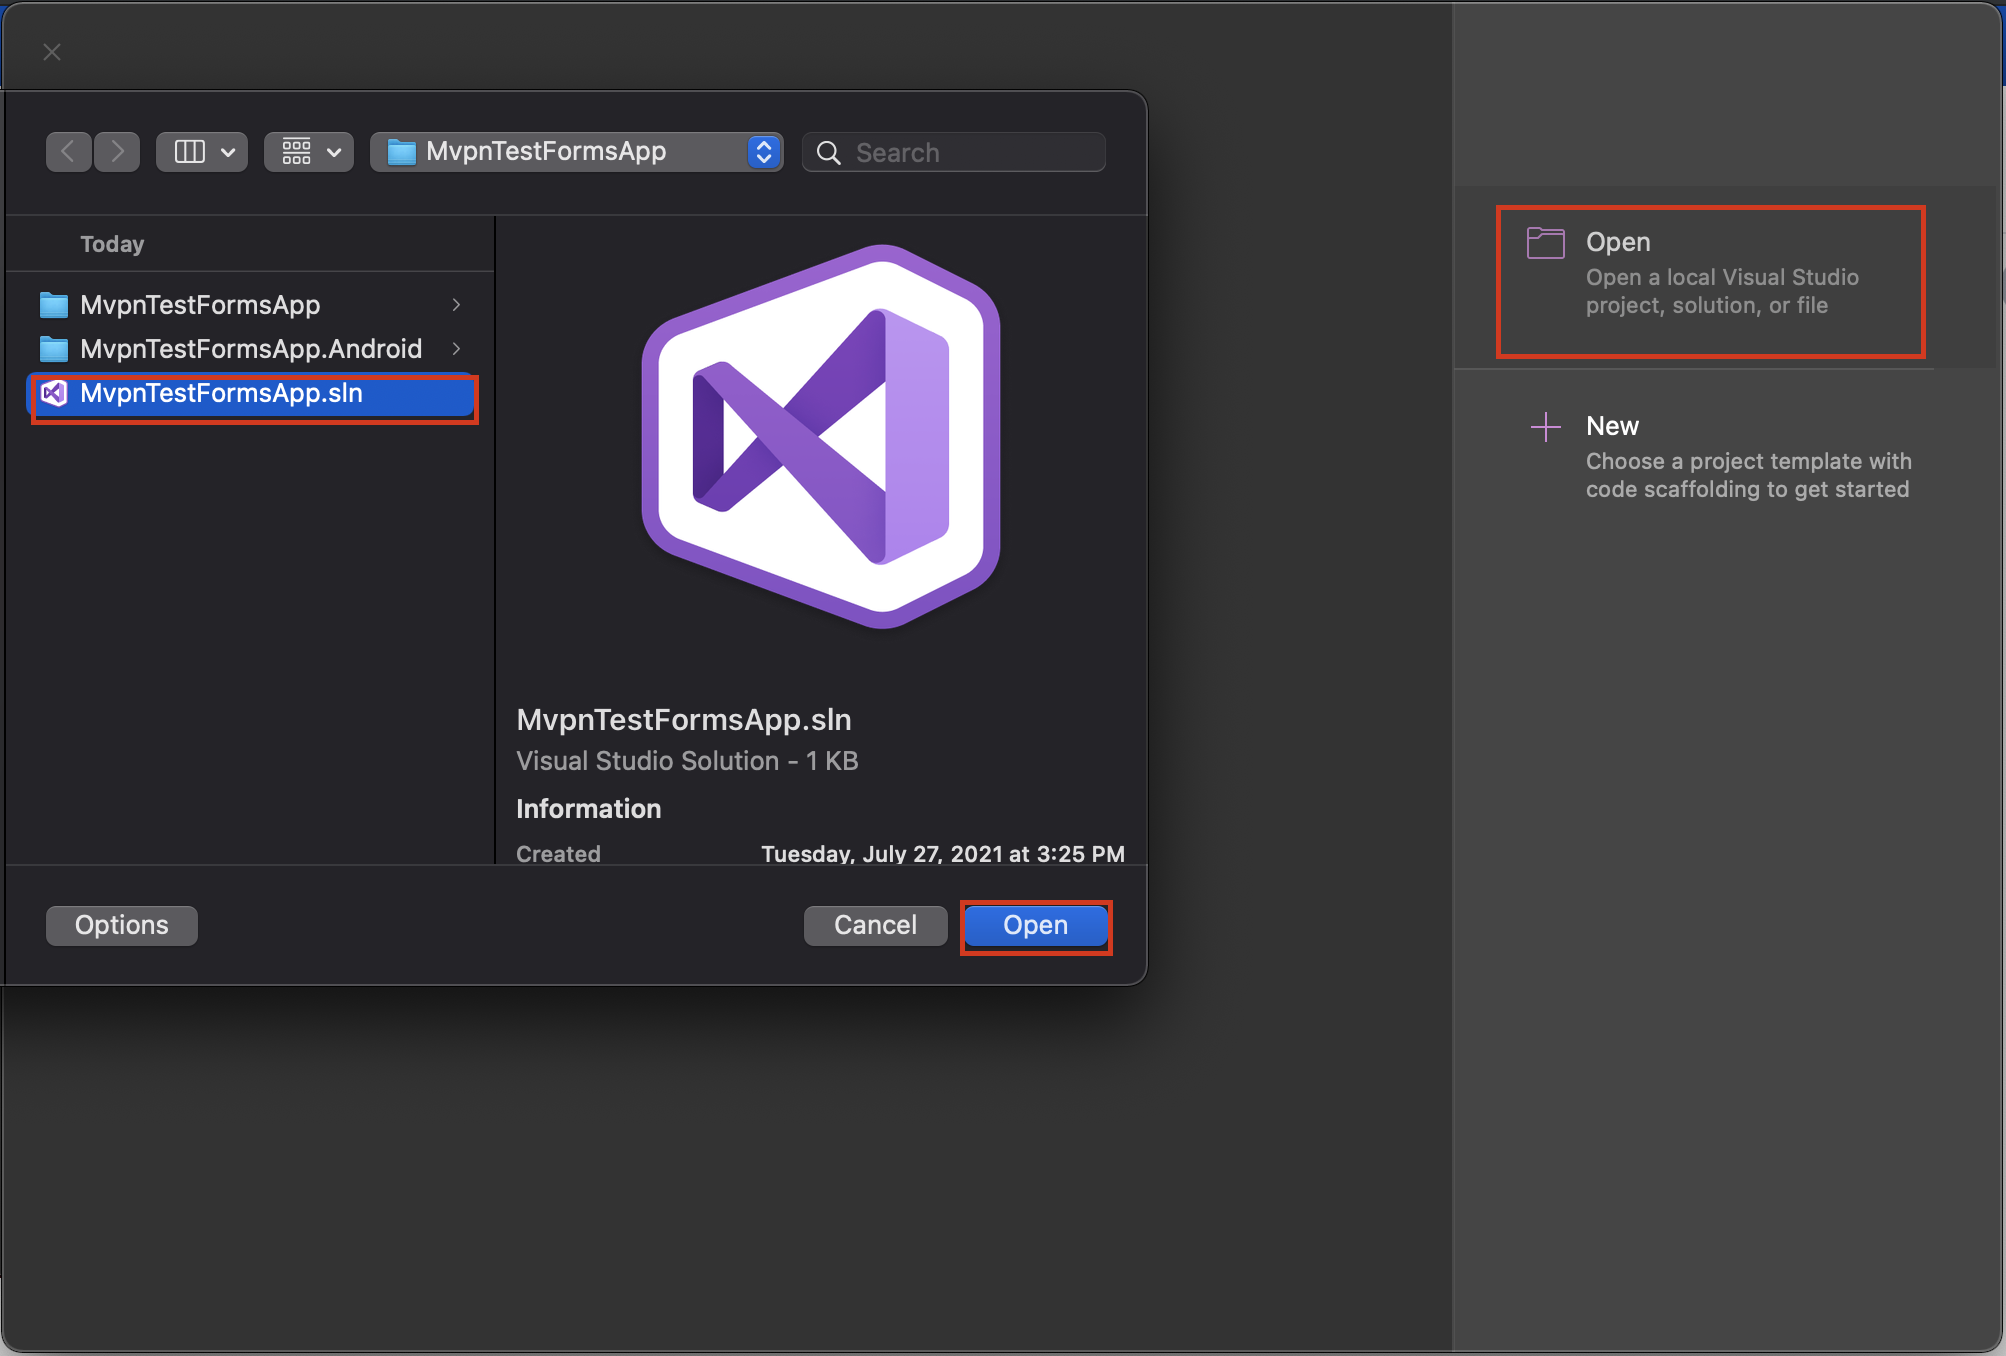
3.2 - Open the solution file of the Xamarin.Forms sample app in Visual Studio.
The .sln file is located at <path to sample app>/MvpnTestFormsApp.sln and can be opened in Visual Studio as shown in the following image:
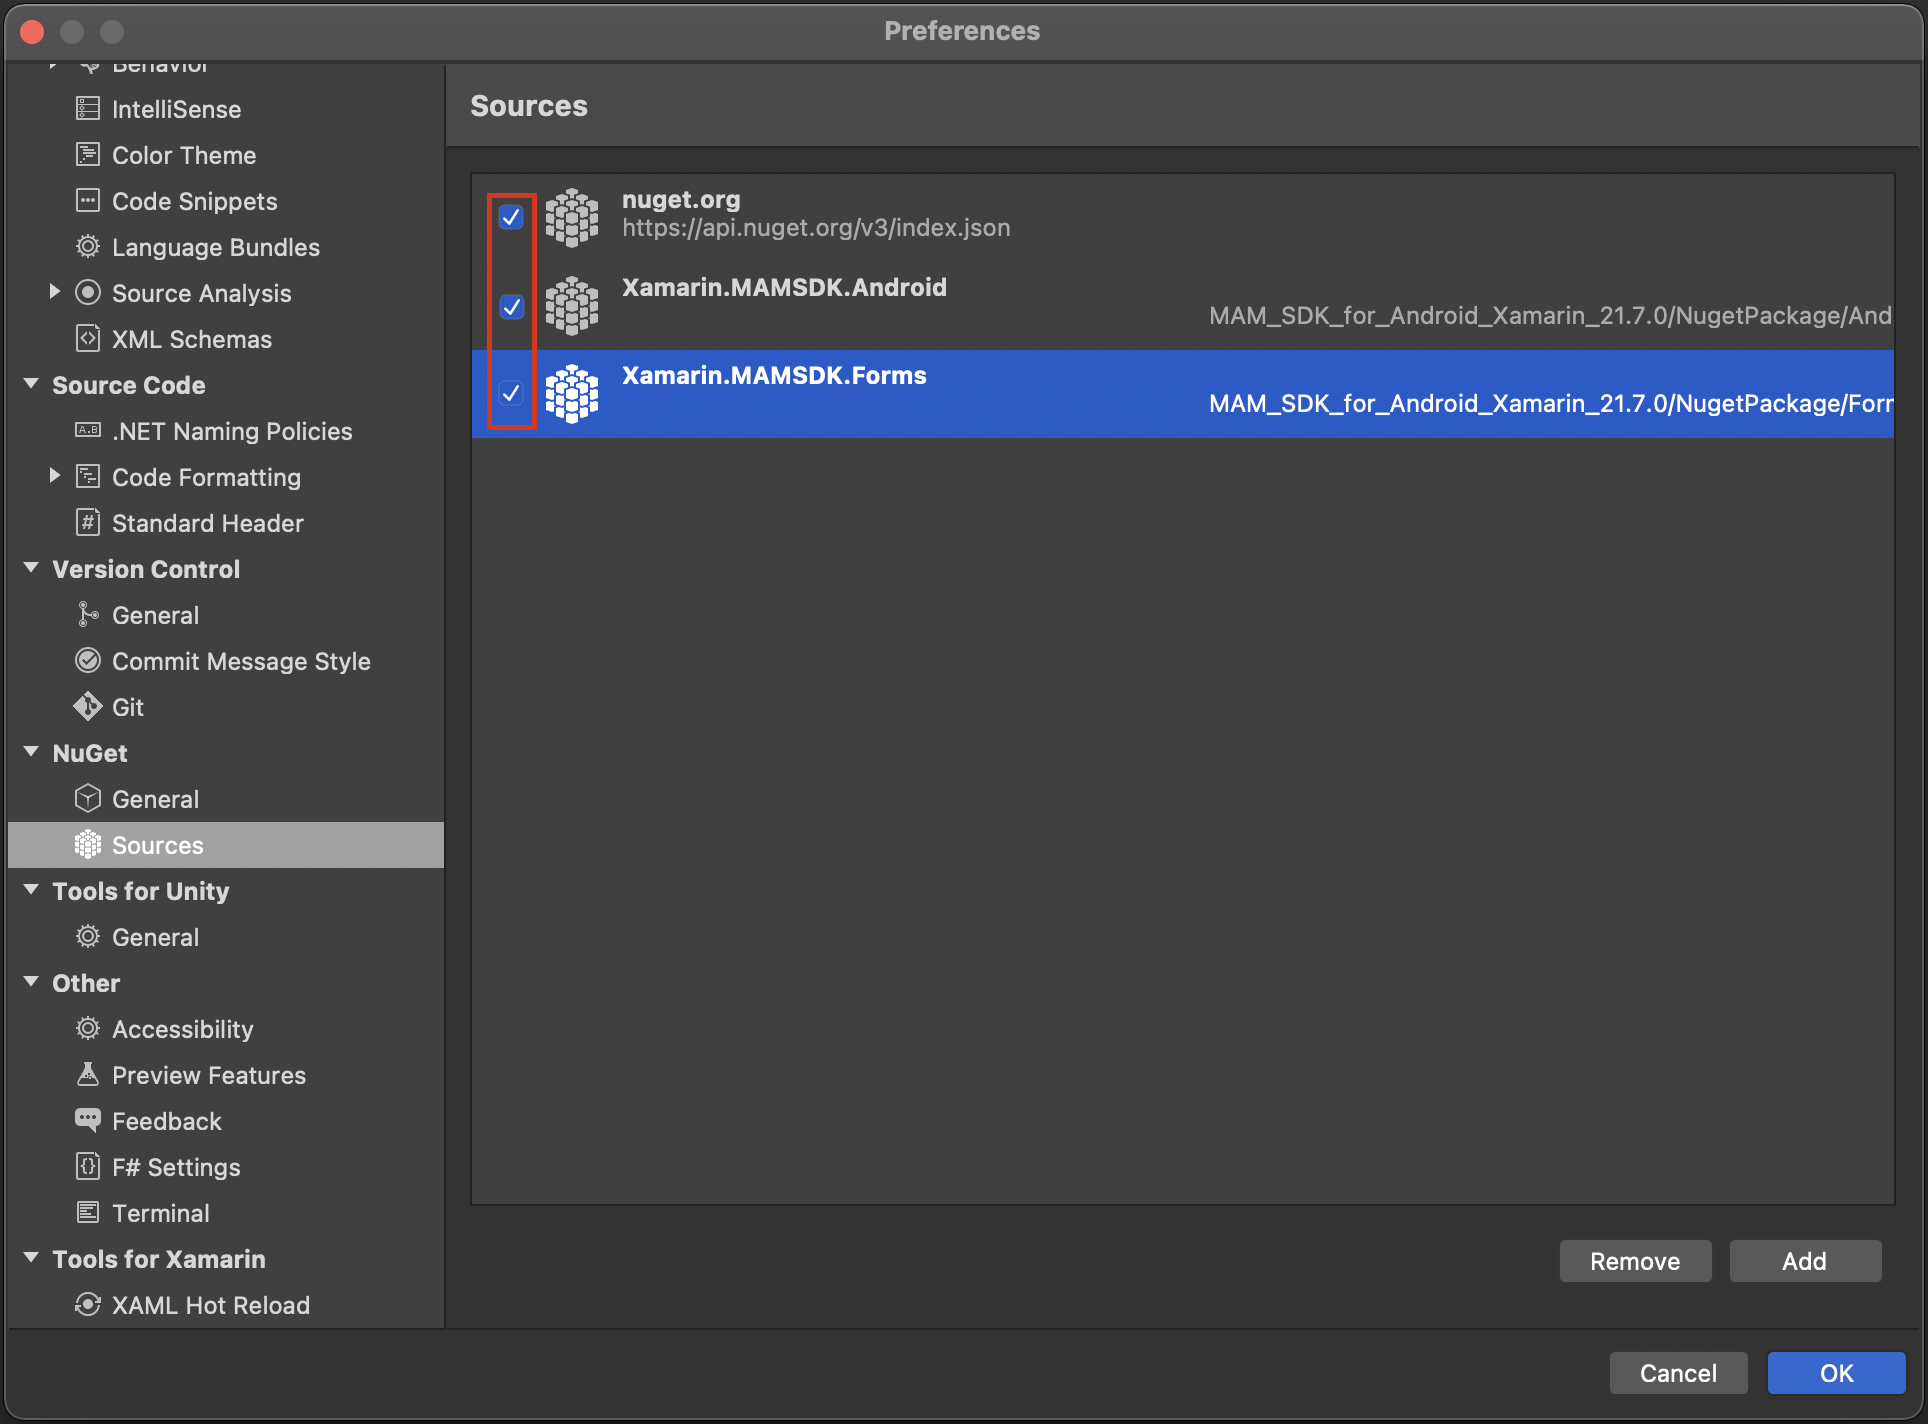
3.3 - Add both Citrix.Xamarin.Android.MAMSDK and Citrix.Xamarin.Forms.MAMSDK NuGet sources to your project.
Choose the latest version of the NuGet sources.
-
If using the cloned MAM SDK repository:
- Xamarin.Android (Native): <path>/citrix-mam-sdks/xamarin/Citrix.Xamarin.Android.MAMSDK/<latest version>
- Xamarin.Forms: <path>/citrix-mam-sdks/xamarin/Citrix.Xamarin.Forms.MAMSDK/<latest version>
-
If using the unzipped MAM SDK:
- Xamarin.Android (Native): <path to Xamarin MAM SDK location>/NugetPackage/Android
- Xamarin.Forms: <path to Xamarin MAM SDK location>/NugetPackage/Forms
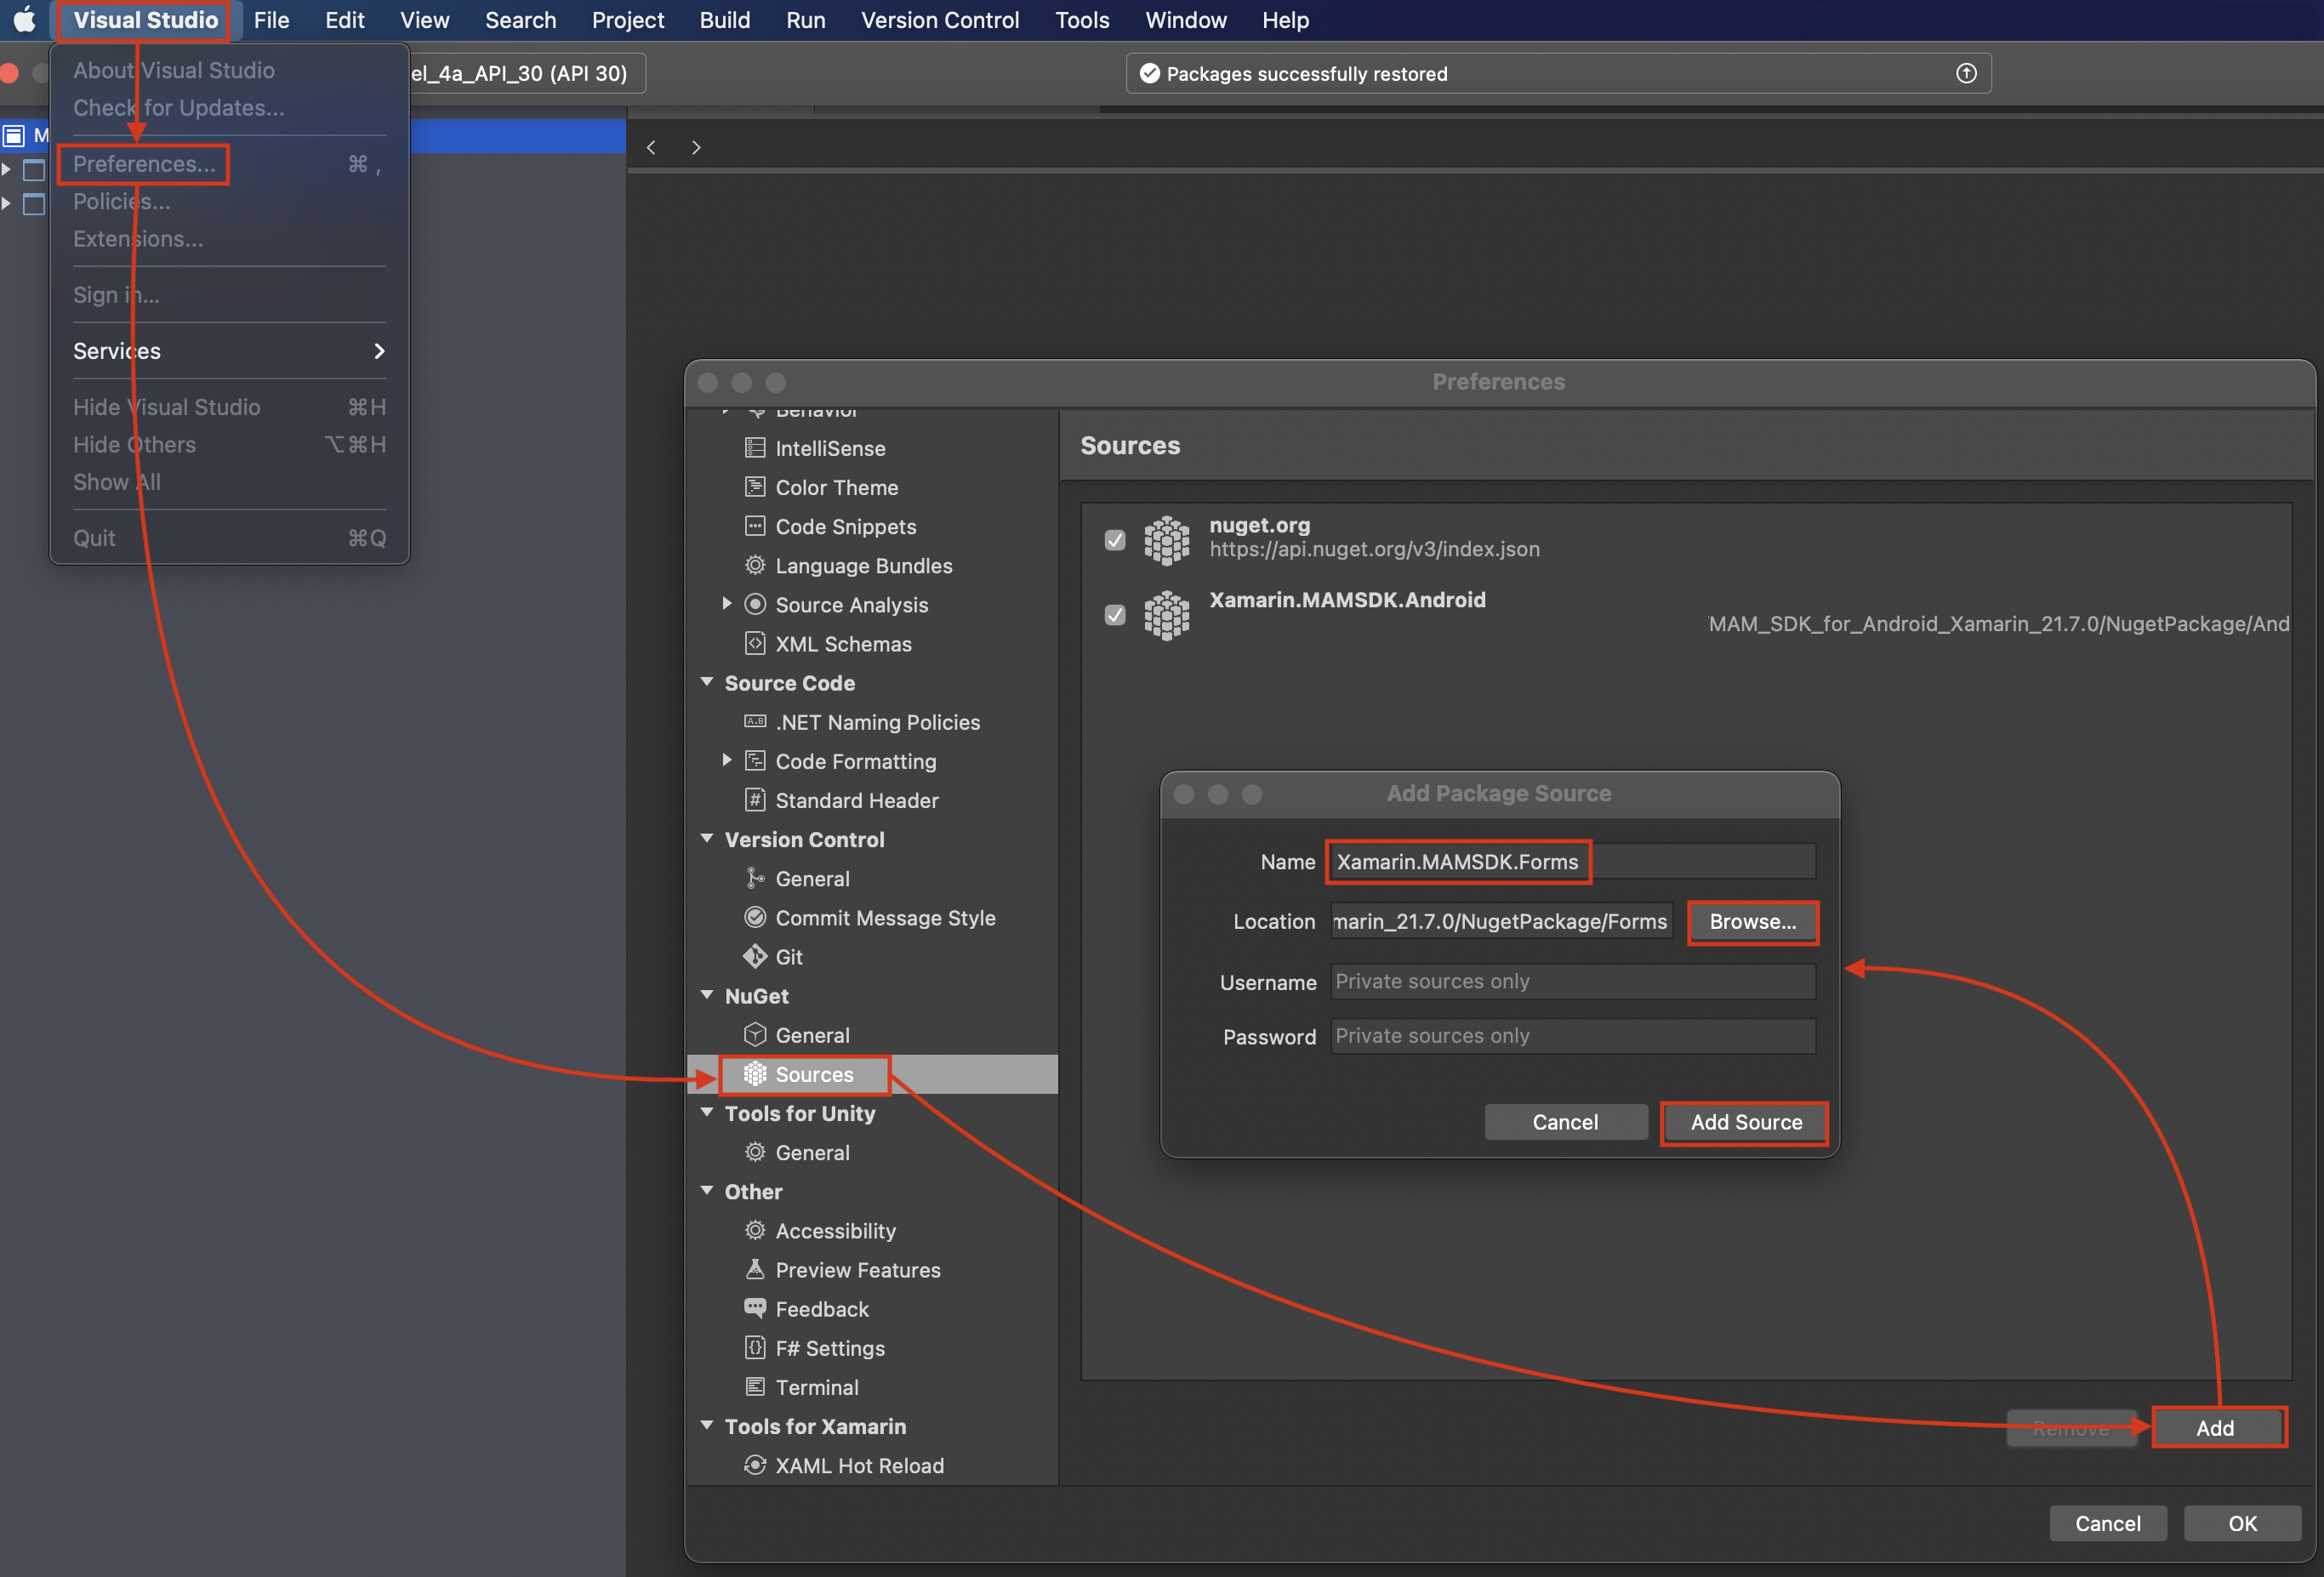
Expand for IDE instructions:
- Click Visual Studio and click Preferences.
- Expand NuGet and click Sources.
- Click Add and enter the name (E.g. Xamarin.MAMSDK.<Android/Forms>).
- Click Browse and select the location of the NuGet library.
- Click Add Source and click OK.
Expand for command line instructions:
The NuGet packages’ location in the following example command is from the MAM SDK zip file.
nuget sources Add -Name Xamarin.MAMSDK.Android -Source <Enter Xamarin MAM SDK Location Here>/NugetPackage/Android
nuget sources Add -Name Xamarin.MAMSDK.Forms -Source <Enter Xamarin MAM SDK Location Here>/NugetPackage/Forms
<!--NeedCopy-->
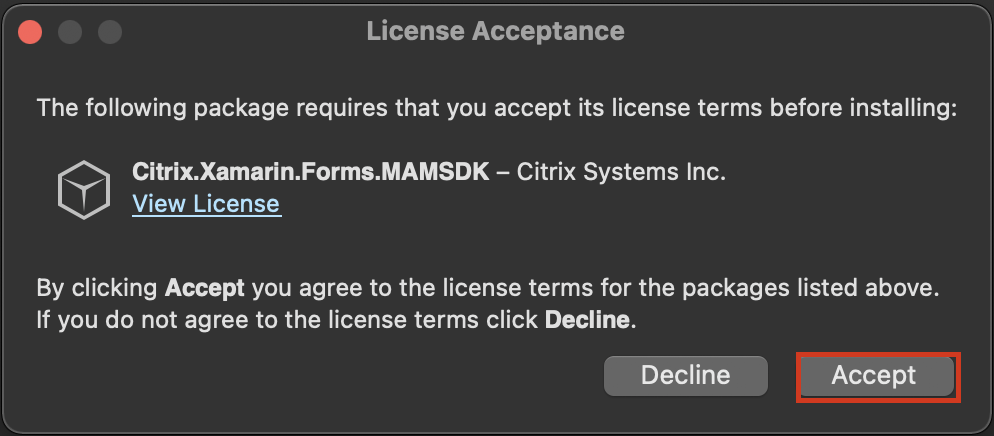
3.4 - Update the Citrix.Xamarin.Forms.MAMSDK NuGet to its latest version.
- Expand the MvpnTestFormsApp project and expand the Dependencies folder.
- Expand the NuGet folder and right-click Citrix.Xamarin.Forms.MAMSDK.
- Click Update and accept any licenses that might be required.

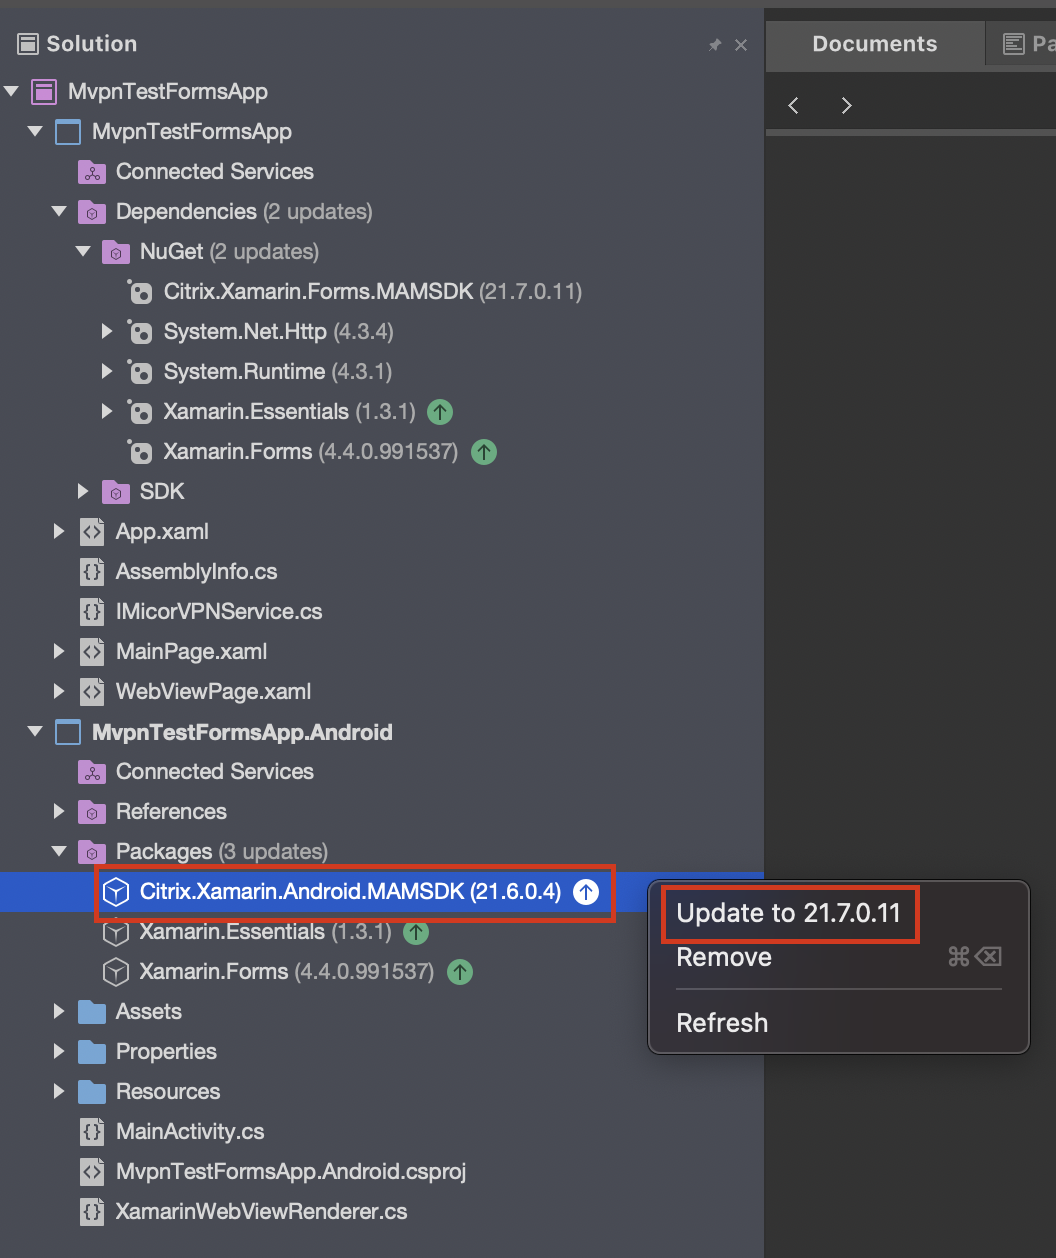
3.5 - Update the Citrix.Xamarin.Andorid.MAMSDK package to its latest version.(Example:21.7.0.11.)
- Expand the MvpnTestFormsApp.Android project.
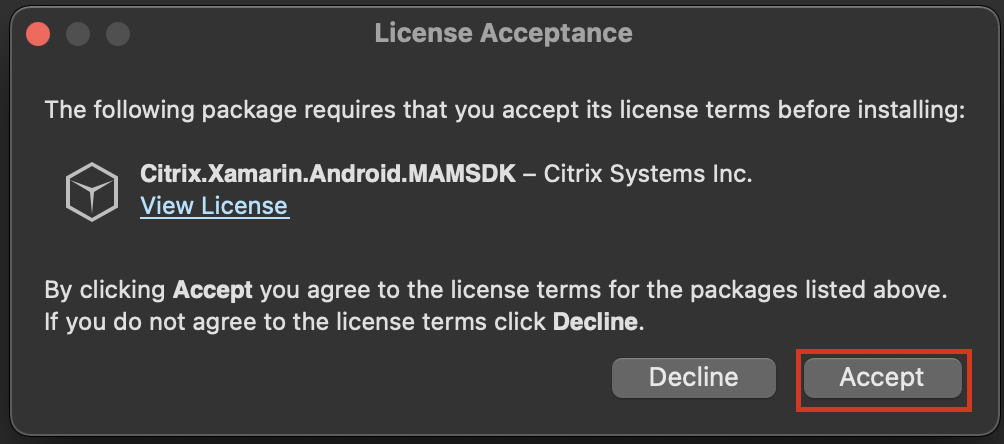
- Expand the Packages folder and right-click Citrix.Xamarin.Android.MAMSDK.
- Click Update and accept any licenses that might be required.
3.6 - Change the DeX compiler to d8 for your Xamarin project.
Add the element <AndroidDexTool>d8</AndroidDexTool> in the PropertyGroup nodes in your .csproj file.
Note: For the sample app provided by Citrix, the following snippet is already included in the file: MvpnTestFormsApp.Android.csproj.
<PropertyGroup Condition=" '$(Configuration)|$(Platform)' == 'Debug|AnyCPU' ">
…
<AndroidDexTool>d8</AndroidDexTool>
…
</PropertyGroup>

<PropertyGroup Condition=" '$(Configuration)|$(Platform)' == 'Release|AnyCPU' ">
…
<AndroidDexTool>d8</AndroidDexTool>
…
</PropertyGroup>
<!--NeedCopy-->
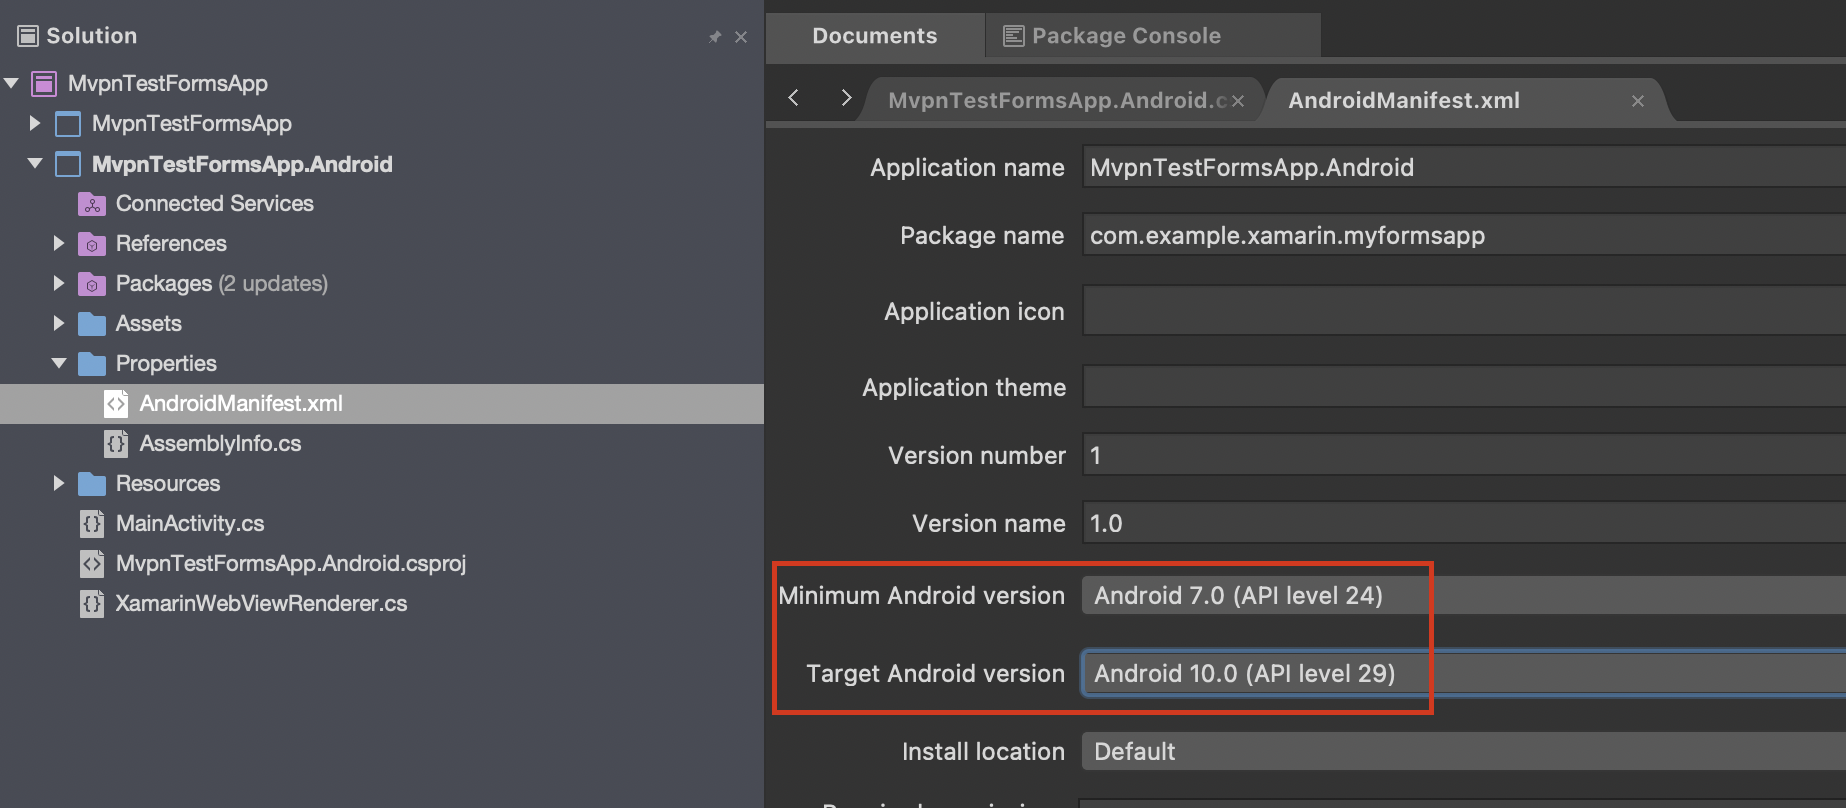
3.7 - Change the minSdkVersion and targetSdkVersion in your Androidmanifest.xml file.
Expand for IDE instructions:
Expand for source code:
<uses-sdk android:minSdkVersion="24" android:targetSdkVersion="31" />
<!--NeedCopy-->
3.8 - Change the package name in your Androidmanifest.xml file to a valid, unique name.
Expand for IDE instructions:
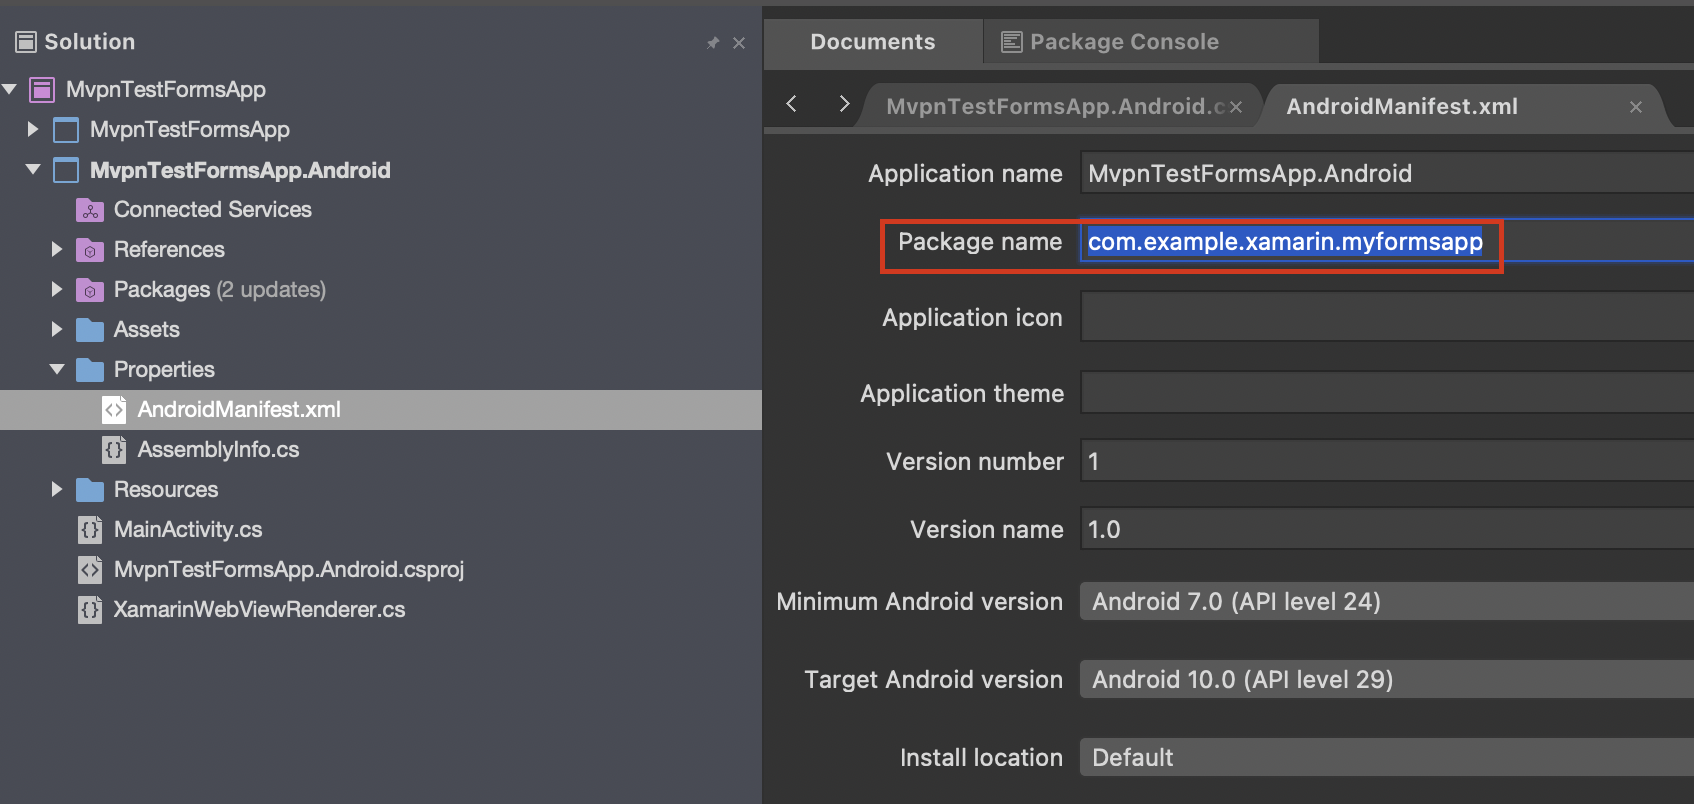
Expand for source code:
<manifest xmlns:android="http://schemas.android.com/apk/res/android" android:versionCode="1" android:versionName="1.0" package="com.example.xamarin.myformsapp">
<!--NeedCopy-->
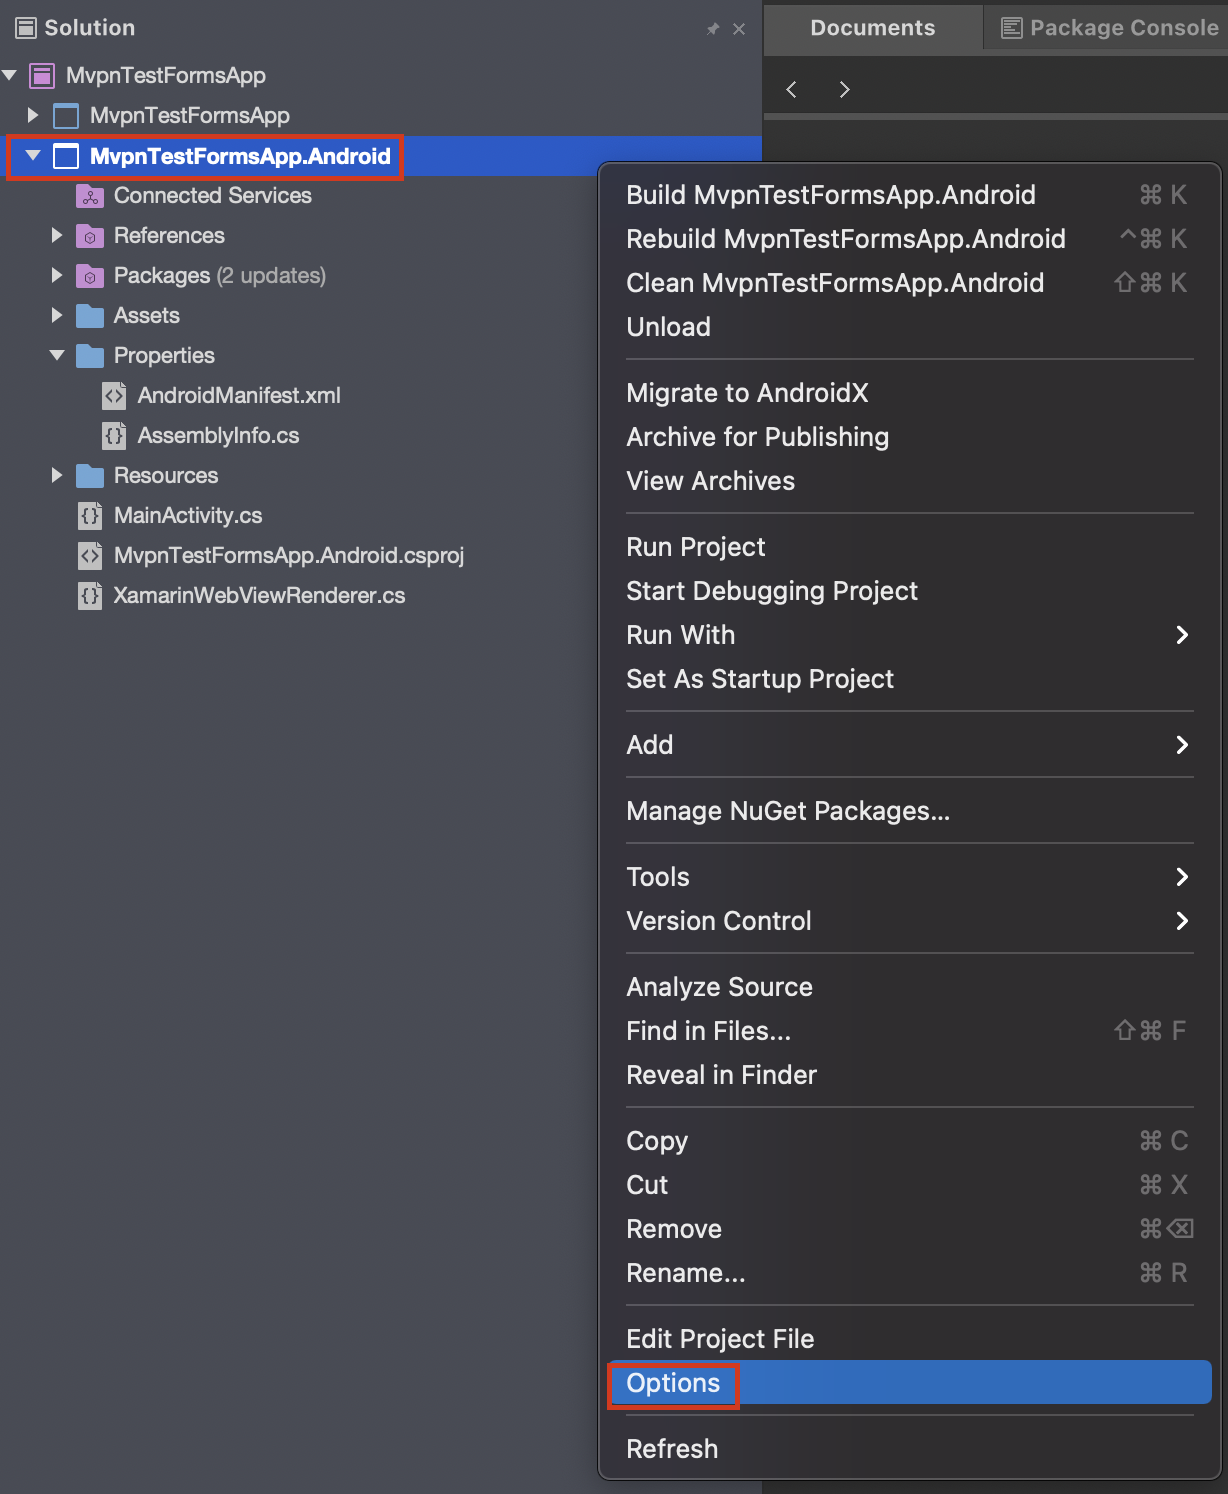
3.9 - Add your KeyStore details using the IDE or by editing the .csproj file.
Expand for IDE instructions:
- Right-click the MvpnTestFormsApp.Android project and click Options.
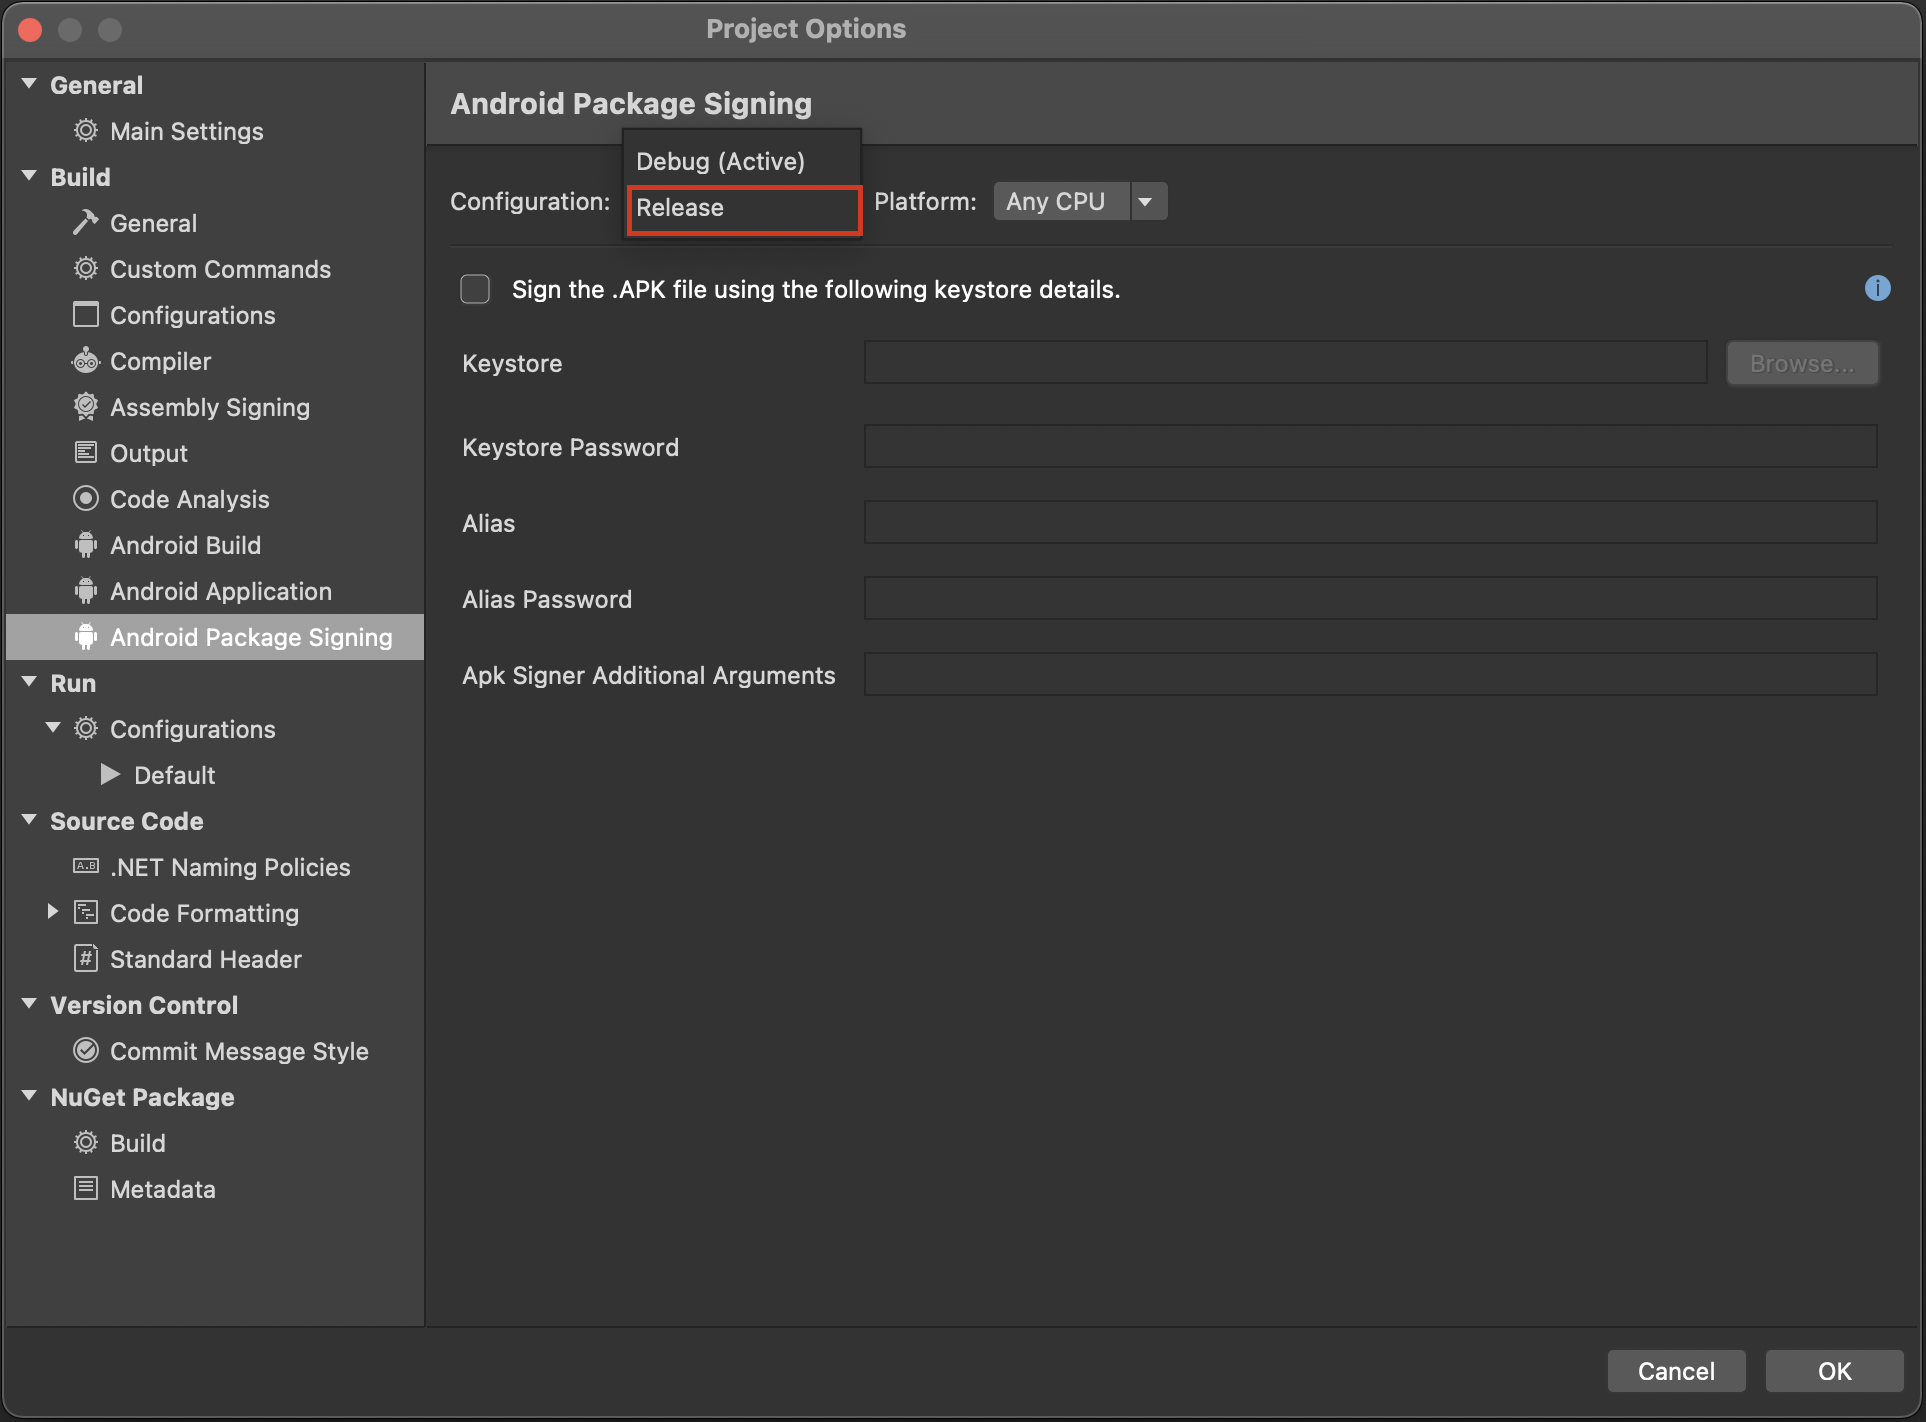
- Expand Build and click Android Package Signing.
- Select the Sign the APK file using the following KeyStore details check box.
- Fill in your KeyStore details.

After you have completed the preceding step, perform the following steps:
- Change the Configuration to Release.
- Select the Sign the APK file using the following KeyStore details check box.
- Fill in your KeyStore details.
Expand for source code:
Add the KeyStore and key details to the .csproj file.
<PropertyGroup Condition=" '$(Configuration)|$(Platform)' == 'Debug|AnyCPU' ">
…
    <AndroidKeyStore>True</AndroidKeyStore>
    <AndroidSigningKeyStore>/Users/****/Downloads/mycompany.keystore</AndroidSigningKeyStore>
    <AndroidSigningStorePass>*****</AndroidSigningStorePass>
    <AndroidSigningKeyAlias>*****</AndroidSigningKeyAlias>
    <AndroidSigningKeyPass>****</AndroidSigningKeyPass>
…
</PropertyGroup>
<PropertyGroup Condition=" '$(Configuration)|$(Platform)' == 'Release|AnyCPU' ">
…
    <AndroidKeyStore>True</AndroidKeyStore>
    <AndroidSigningKeyStore>/Users/****/Downloads/mycompany.keystore</AndroidSigningKeyStore>
    <AndroidSigningStorePass>*****</AndroidSigningStorePass>
    <AndroidSigningKeyAlias>*****</AndroidSigningKeyAlias>
    <AndroidSigningKeyPass>****</AndroidSigningKeyPass>
…
</PropertyGroup>
<!--NeedCopy-->
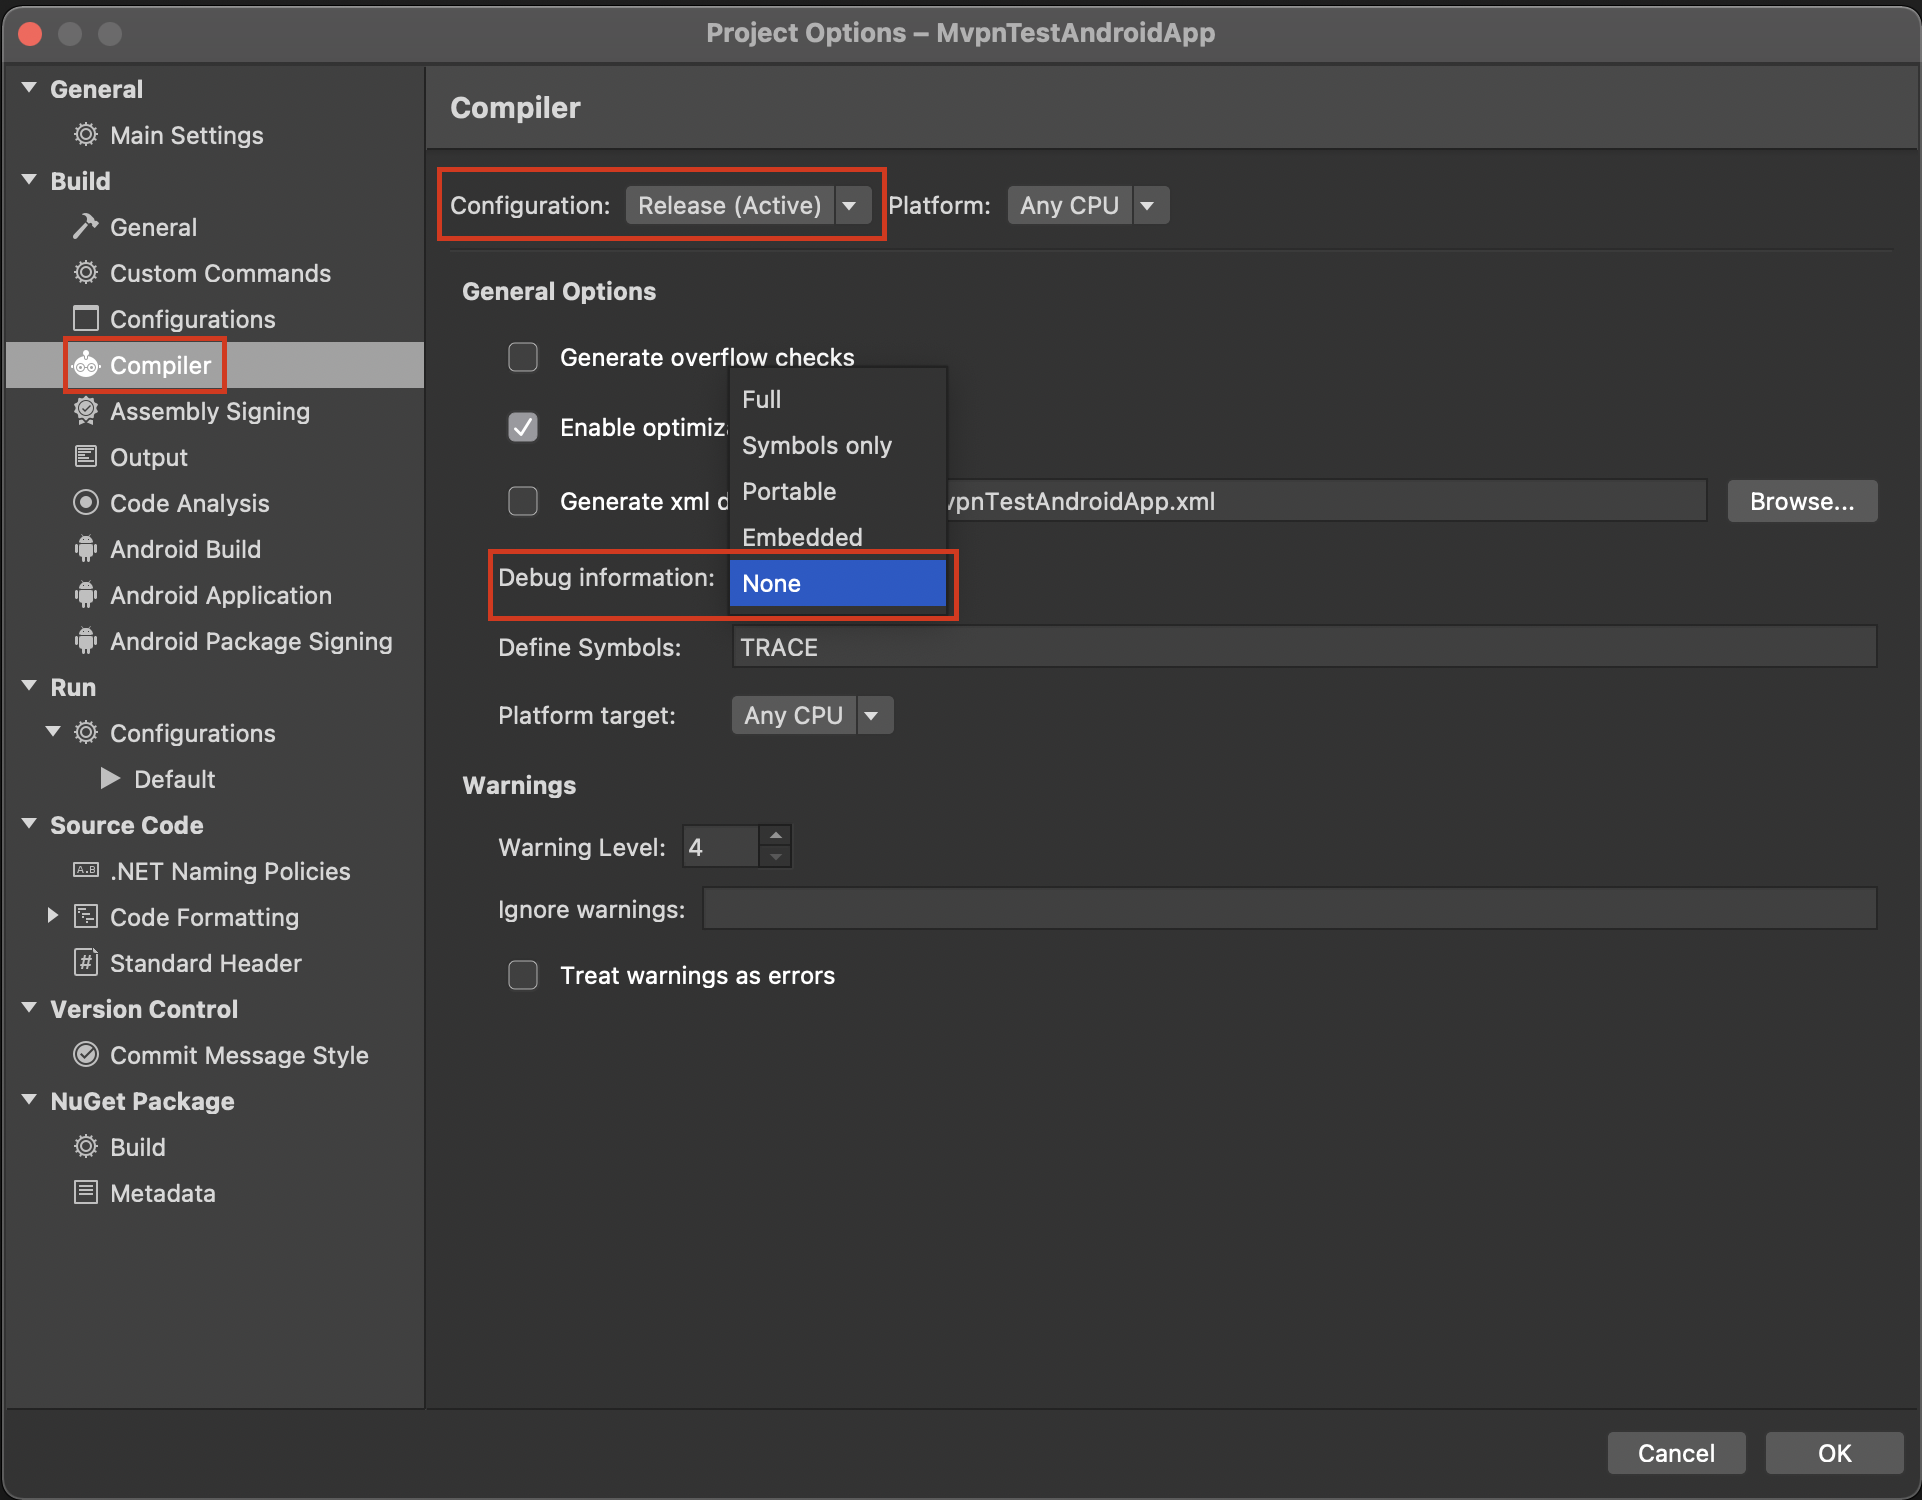
3.10 - Ensure the Release build includes no debugging information.
- Right-click the MvpnTestFormsApp parent project and click Options.
- Expand Build and click Compiler.
- Set the Configuration to Release.
- Set Debug Information to None.
4. Build the sample app
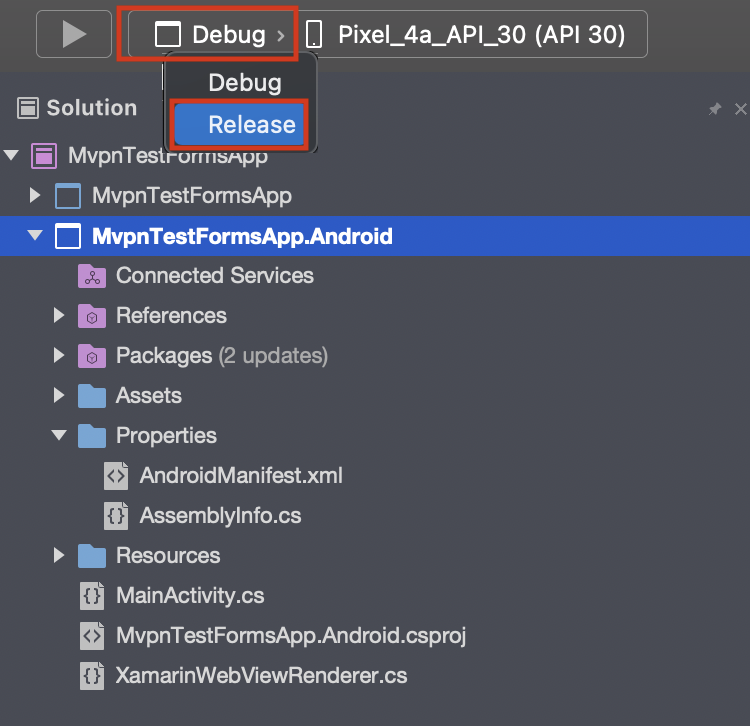
4.1 - Select the build type as Release to generate the release version of the APK.
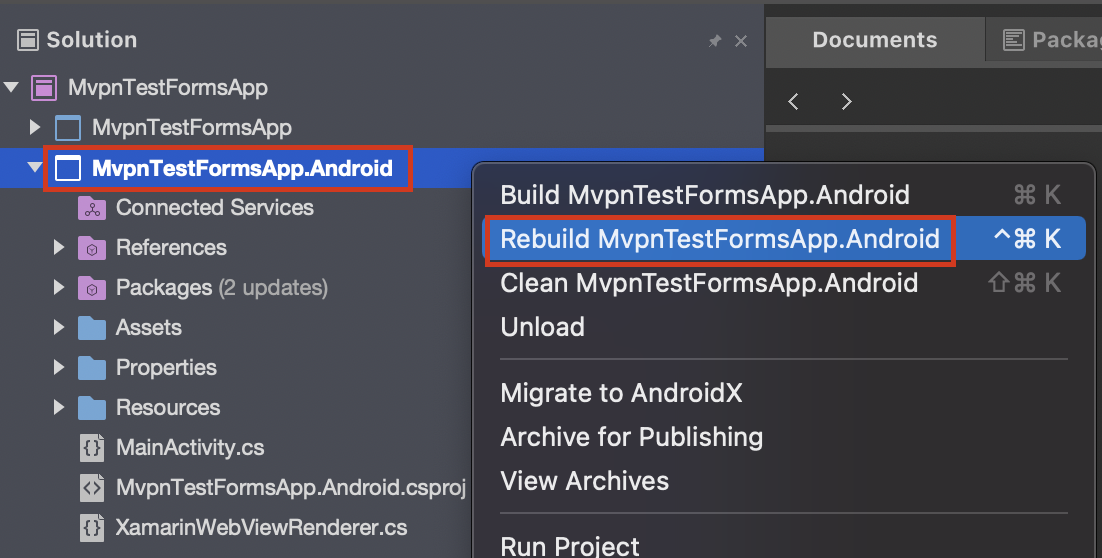
4.2 - Right-click the MvpnTestFormsApp.Android project and click Rebuild MvpnTestFormsApp.Android.
Wait for the build to complete successfully.
4.3 - Right-click the MvpnTestFormsApp.Android project and click Archive for Publishing.

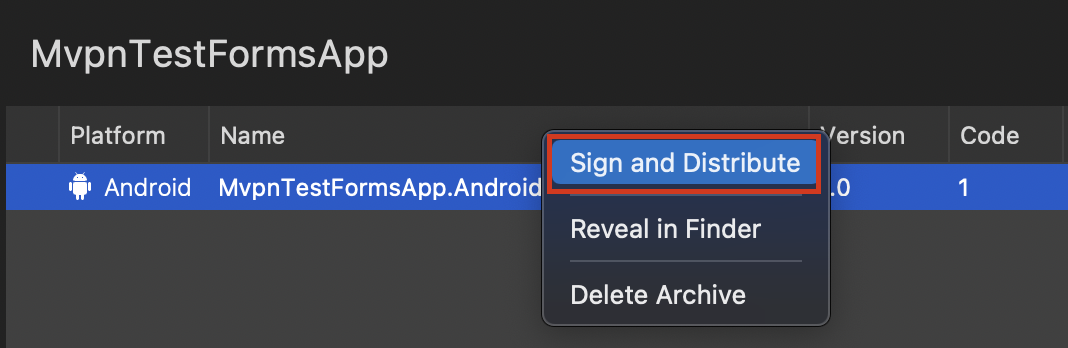
4.4 - Right-click the MvpnTestFormsApp.Android archive and select Sign and Distribute.
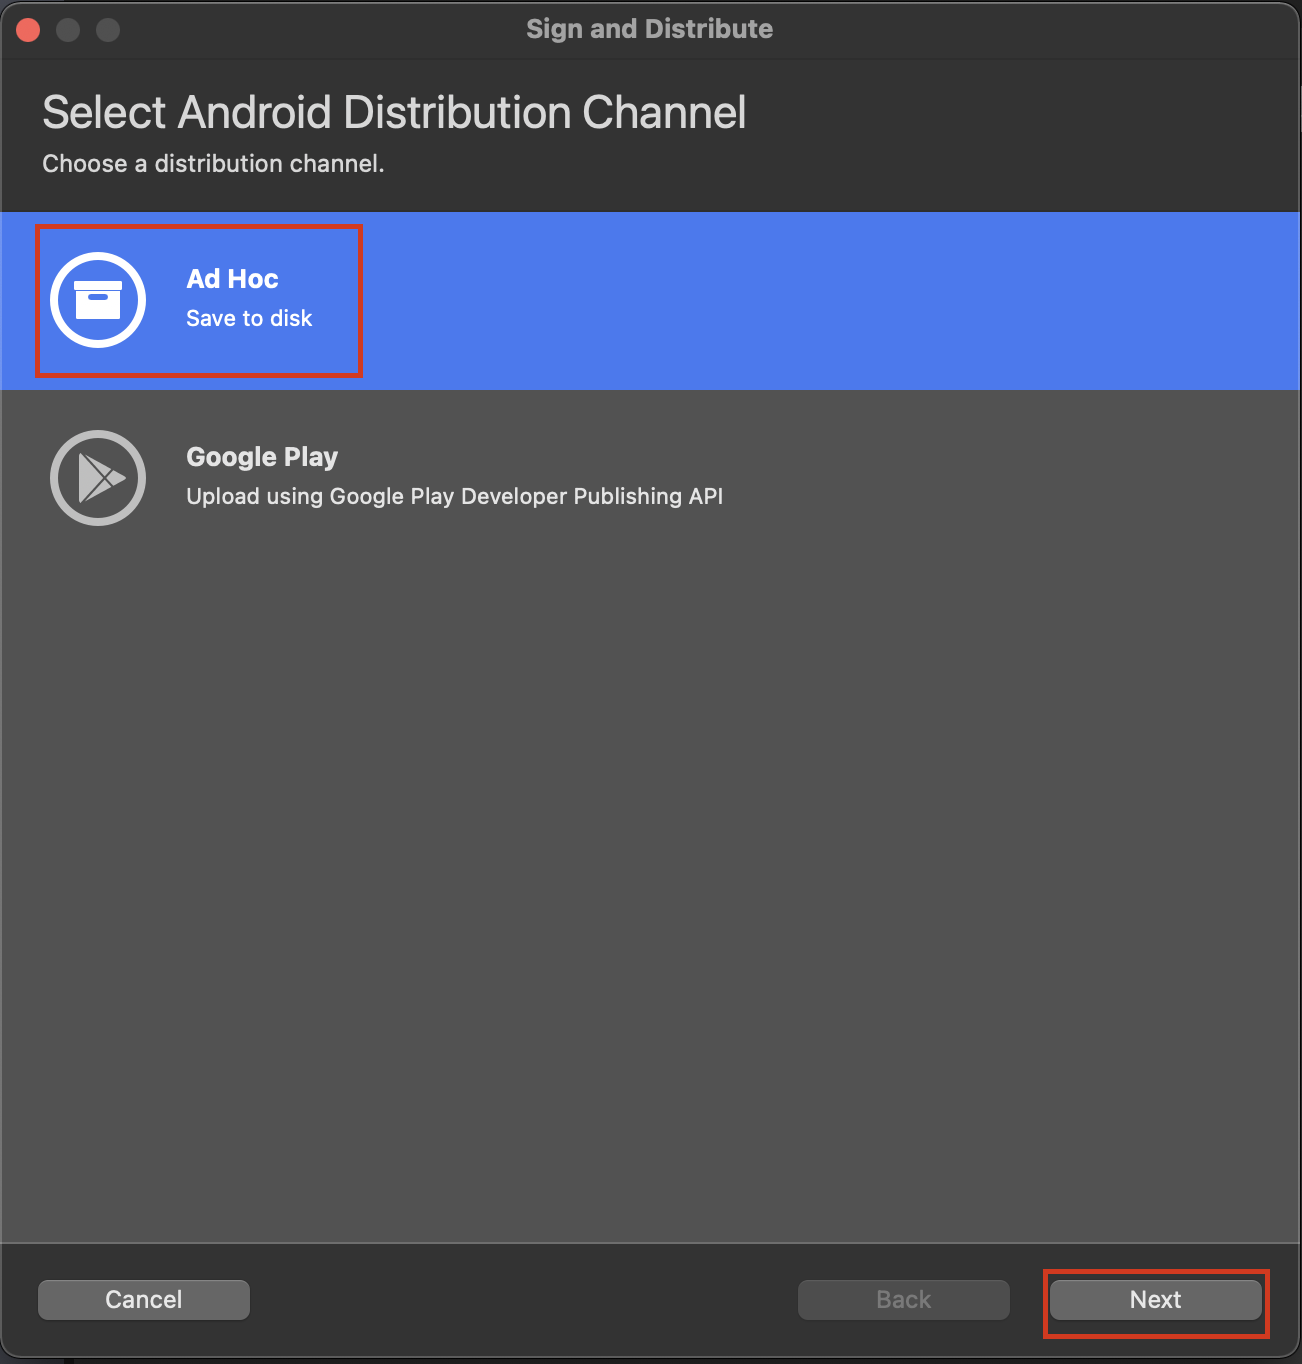
4.5 - Select Ad-Hoc and click Next.
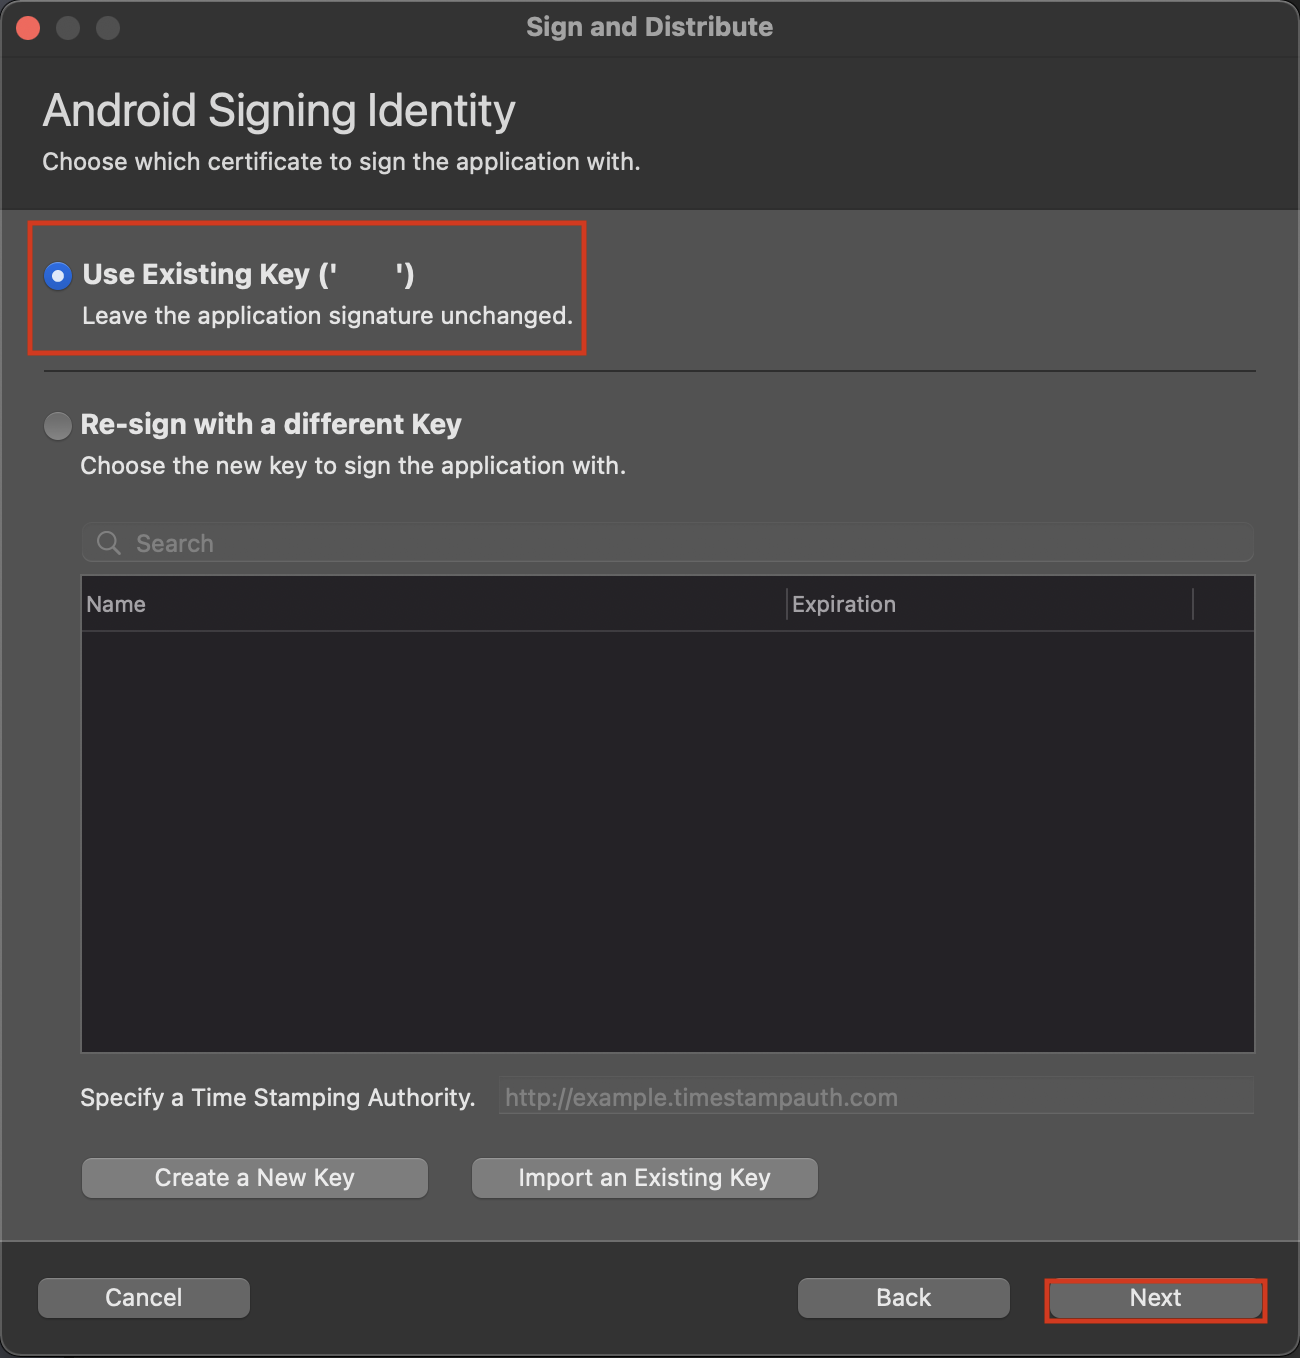
4.6 - Choose your signing option and click Next.
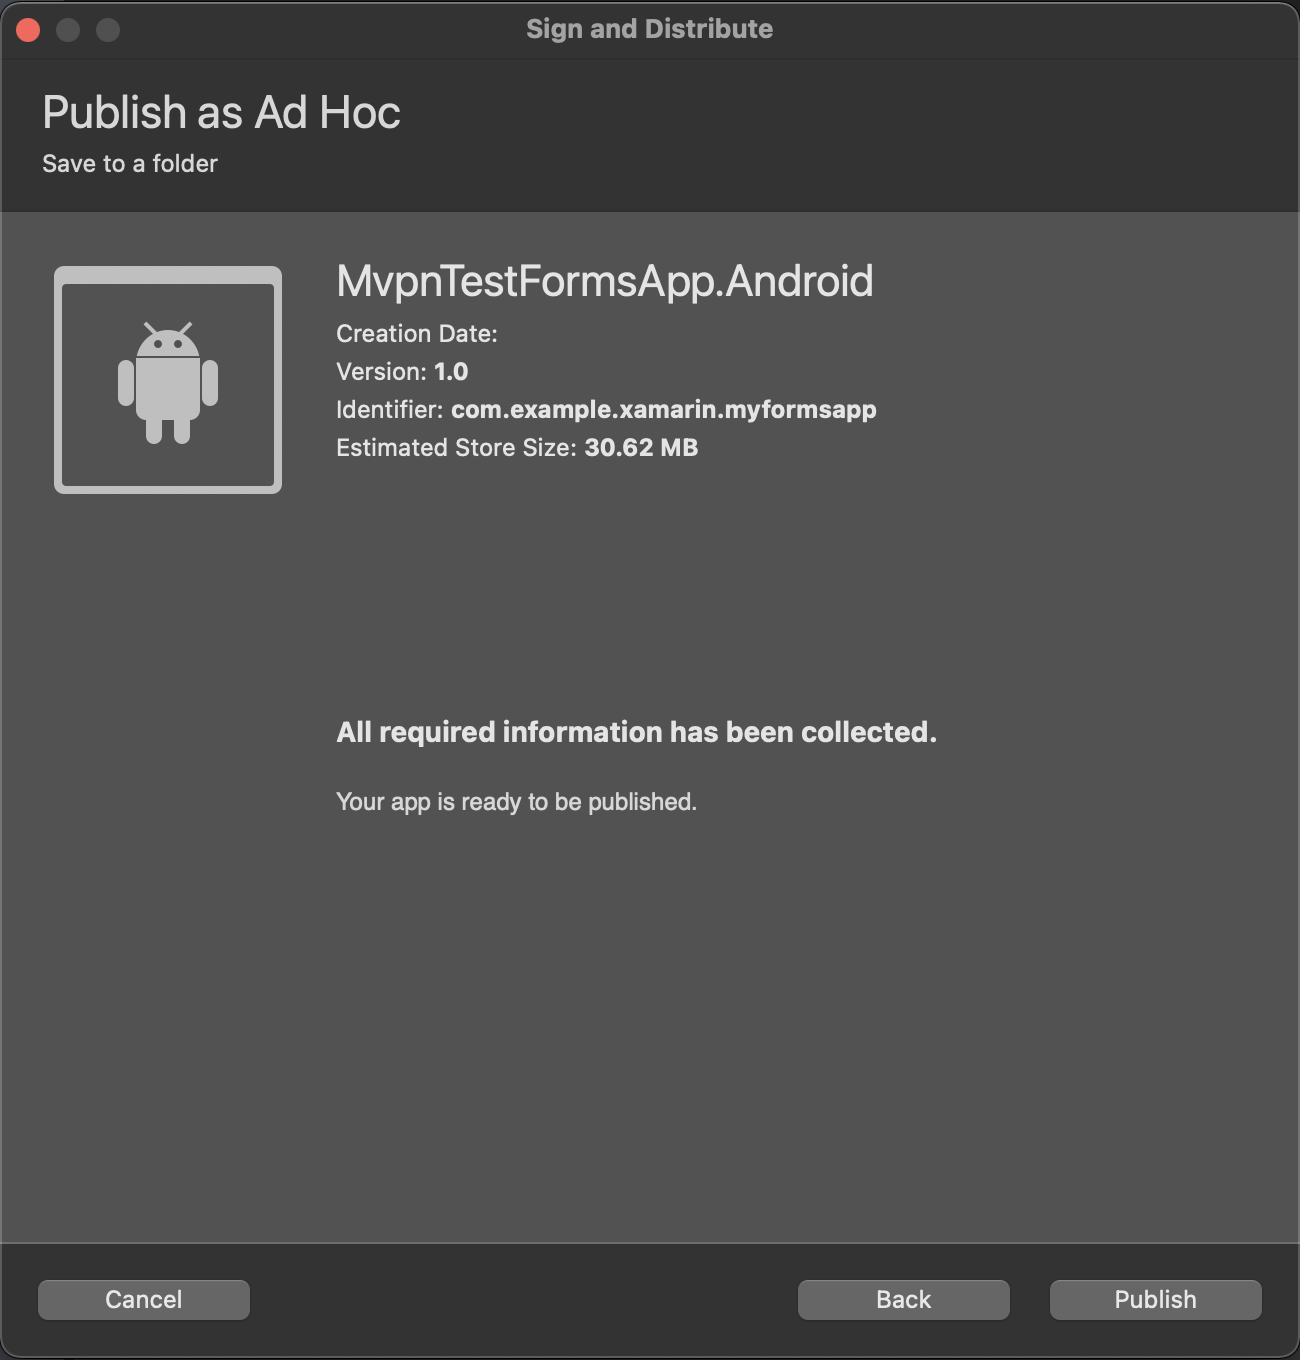
4.7 - Click Publish.
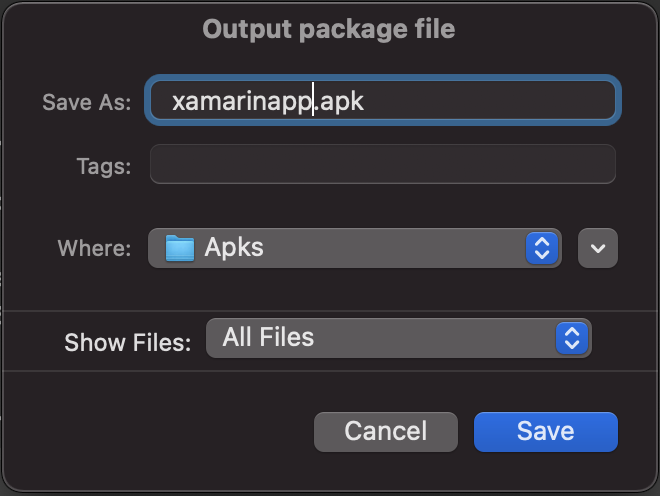
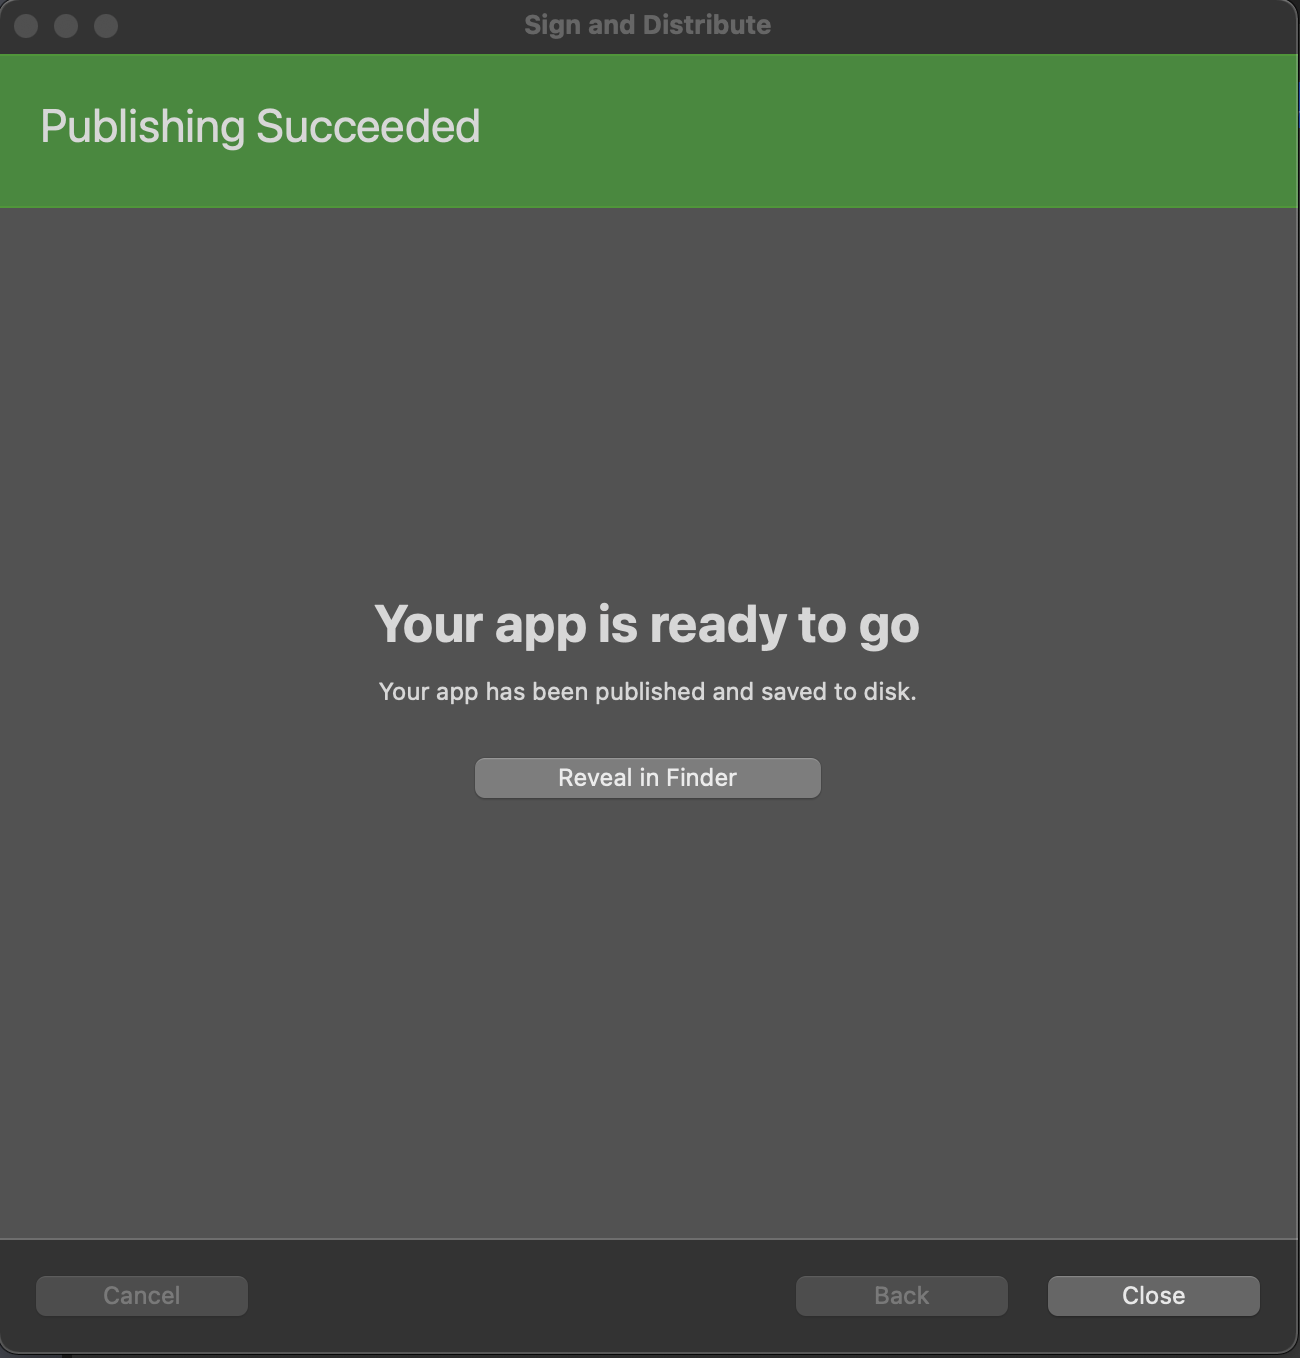
4.8 - Save the APK at your desired location. A window with the message Publishing Succeeded appears.
5. Manually generate the MDX file from the APK file
5.1 - Generate the MDX file corresponding to the sample app’s APK file using the command-line tool managed-app-utility.jar.
You must manually generate the MDX file from the APK you saved earlier. You can see how to manually generate a MDX file in the following page: Generate and update an MDX file.
Note: It is imperative to use the same KeyStore that you signed your APK with, when generating the MDX file.
Use the following command to generate the MDX file:
java -jar <mamSdkLib path>/managed-app-utility.jar \
wrap \
-in <path to apk>/<apk name>.apk \
-out <path to save mdx file>/<mdx name>.mdx \
-appType sdkapp \
-keystore <keyStorePath> \
-storepass <keystorePassword> \
-keyalias <keyAlias> \
-keypass <keyPassword> \
-storeUrl "https://play.google.com/store/apps/details?id=<sample.app.package.name>"
<!--NeedCopy-->
6. Distribute the sample app
6.1 - Choose your platform and distribute the sample app.
MAM SDK is supported for the Android Enterprise platform. To distribute your app, see the following page: Distribute your app.
7. Test the sample app
7.1 - Test the sample app depending on the build type.
Depending on the build type, you can test your app by visiting the following pages:
7.2 - Verify the behavior of the sample app.
- Verify that clicking Start Tunnel is successful.
- Verify that clicking WebView loads the URL entered.
- Verify that clicking HttpClient loads the URL entered.
In this article
- Introduction
- Pre-requisites
- Overview
- 1. Perform the following steps to download the Citrix Xamarin MAM SDK libraries from GitHub
- 2. Perform the following steps to download the Citrix Xamarin MAM SDK zip file from the Citrix website’s downloads page
- 3. Integrate the plugin with the sample app
- 4. Build the sample app
- 5. Manually generate the MDX file from the APK file
- 6. Distribute the sample app
- 7. Test the sample app